- Like
- Digg
- Del
- Tumblr
- VKontakte
- Buffer
- Love This
- Odnoklassniki
- Meneame
- Blogger
- Amazon
- Yahoo Mail
- Gmail
- AOL
- Newsvine
- HackerNews
- Evernote
- MySpace
- Mail.ru
- Viadeo
- Line
- Comments
- Yummly
- SMS
- Viber
- Telegram
- Subscribe
- Skype
- Facebook Messenger
- Kakao
- LiveJournal
- Yammer
- Edgar
- Fintel
- Mix
- Instapaper
- Copy Link
![origami-masu-box-divider-tutorial-paper-kawaii-04](https://www.paperkawaii.com/wp-content/uploads/2015/05/origami-masu-box-divider-tutorial-paper-kawaii-04.png)
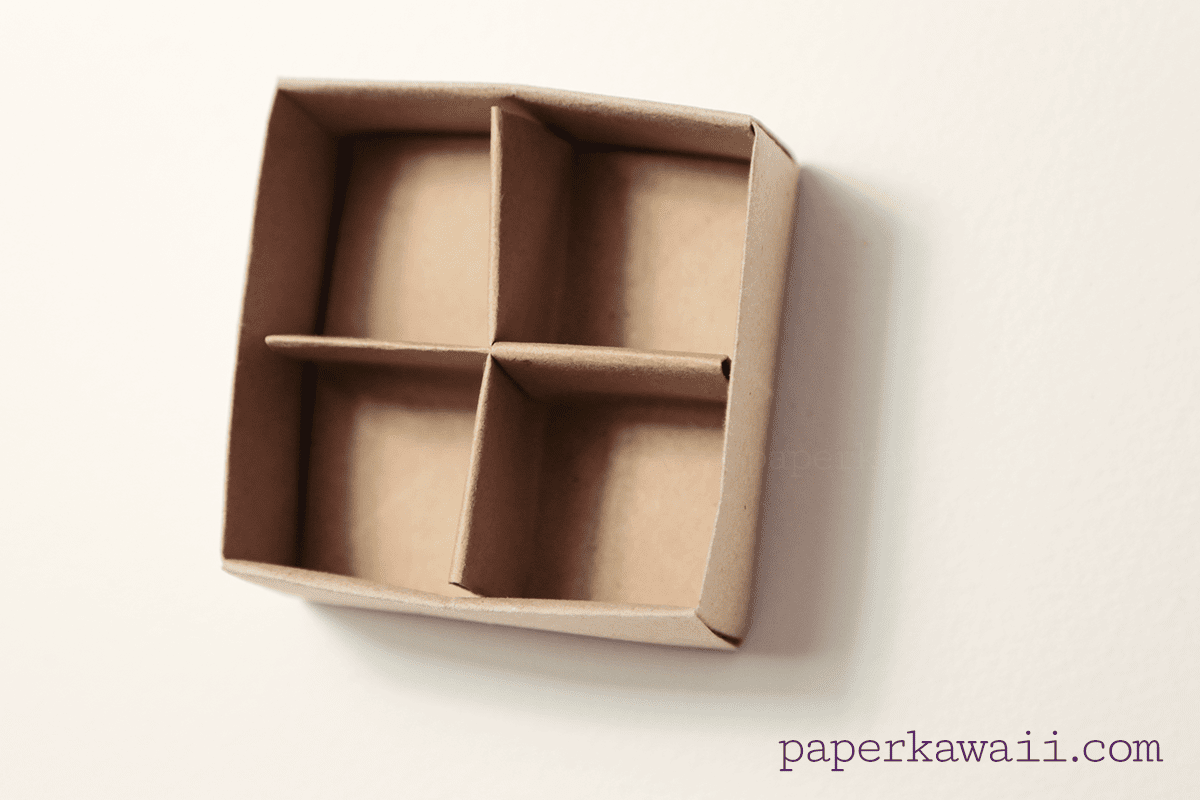
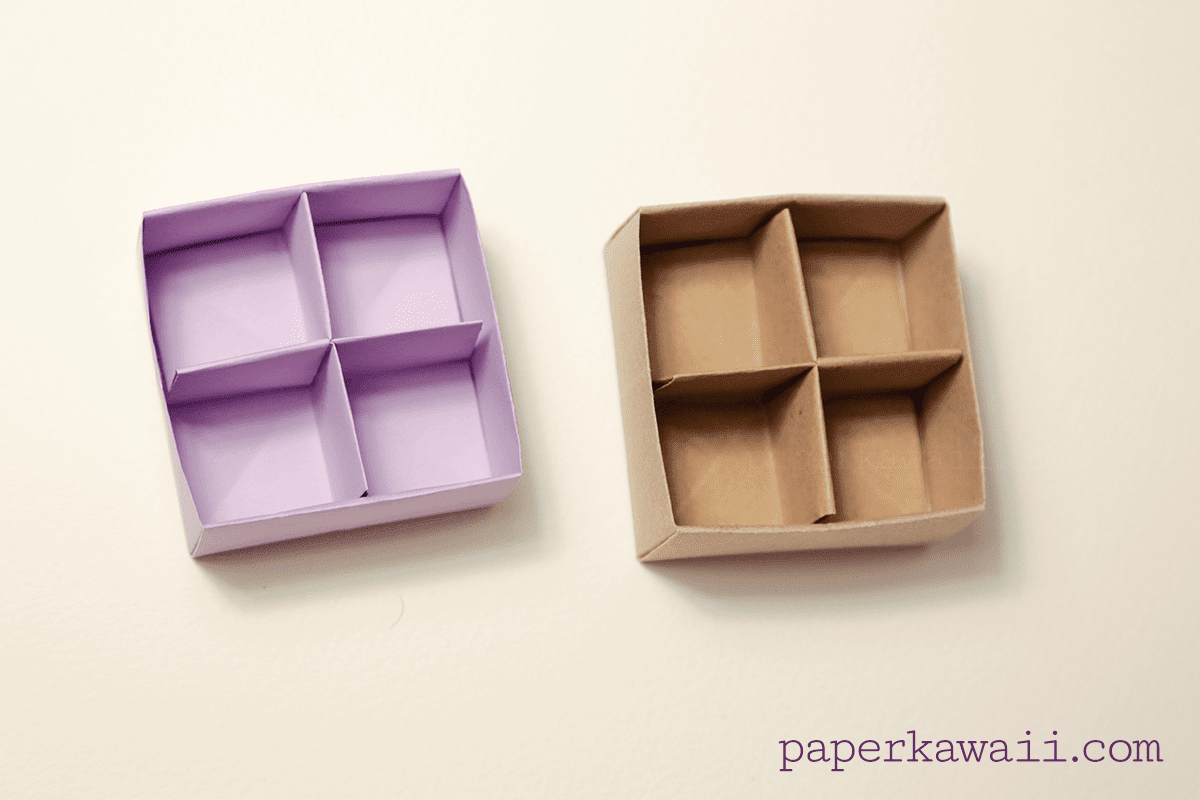
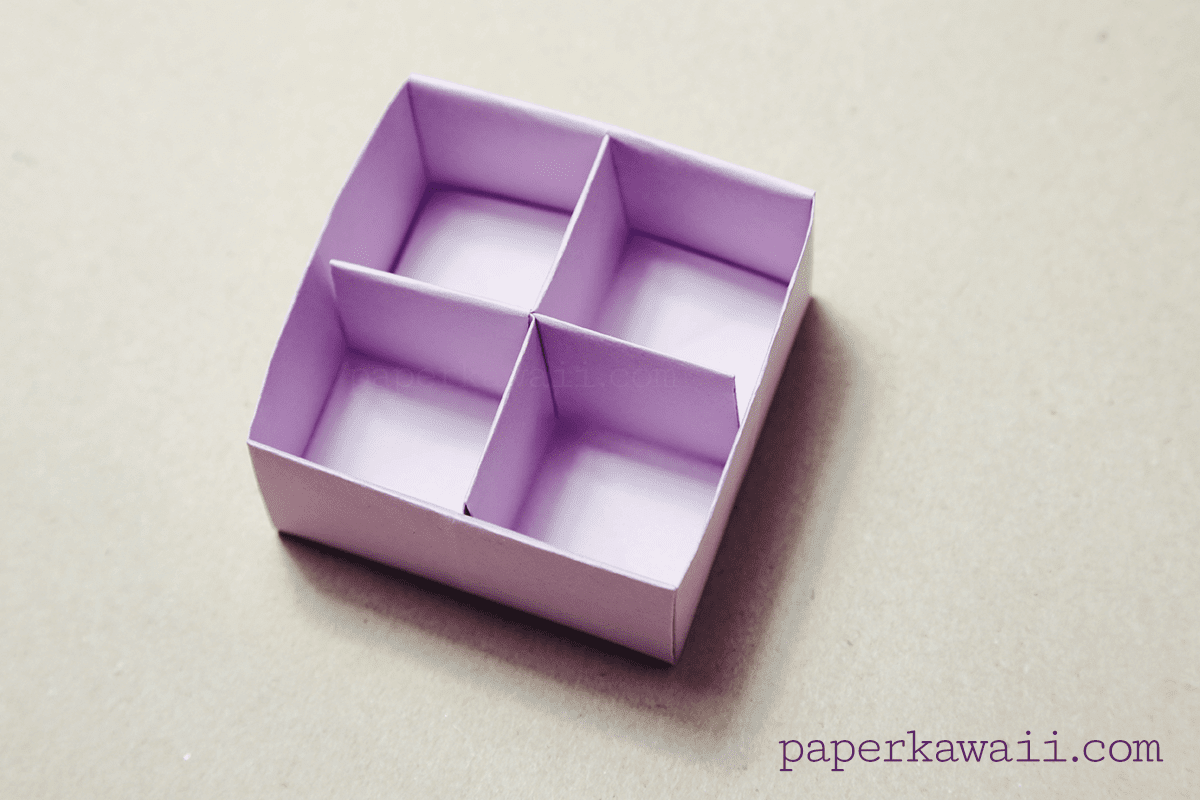
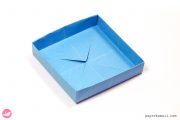
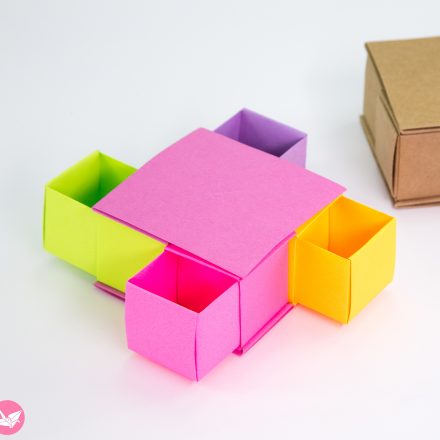
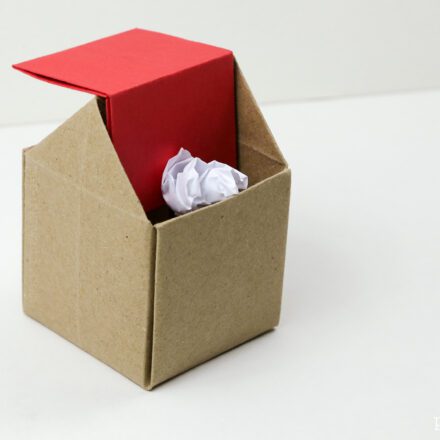
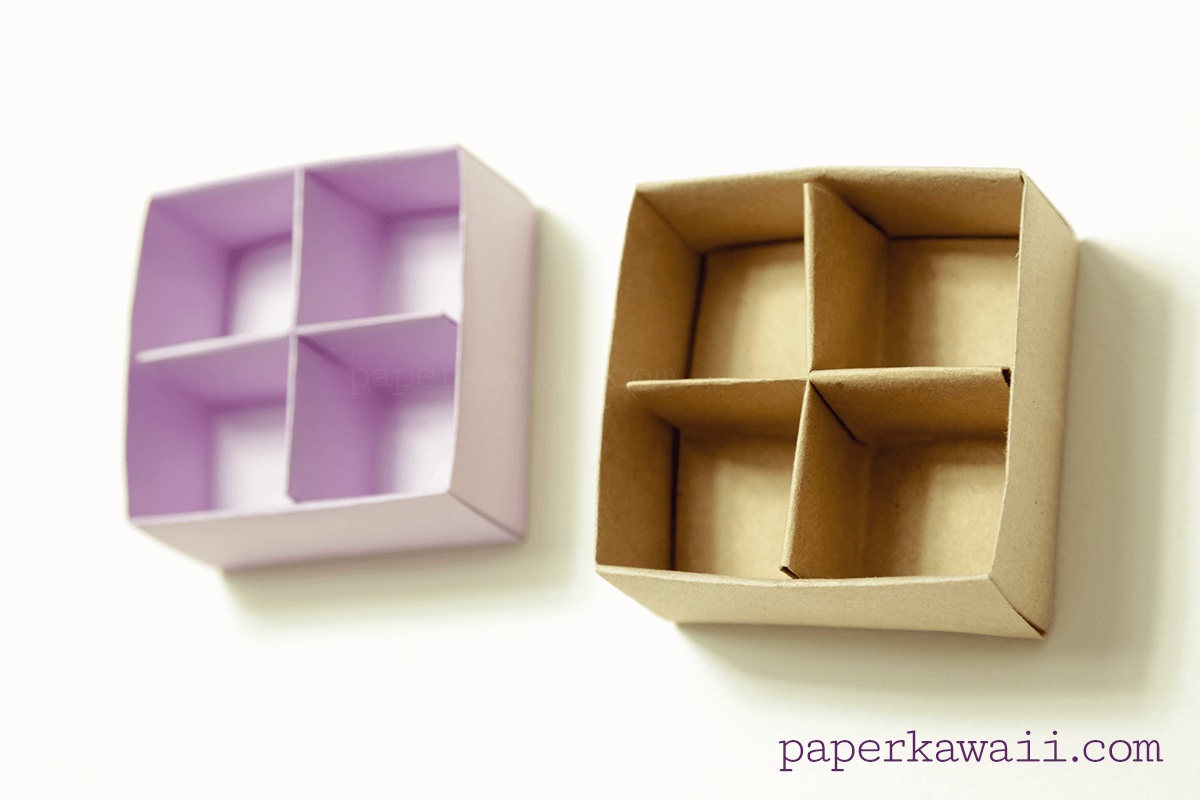
Learn how to make a nifty divider for the Origami Masu box. This model is pretty easy to make even for beginners at origami.
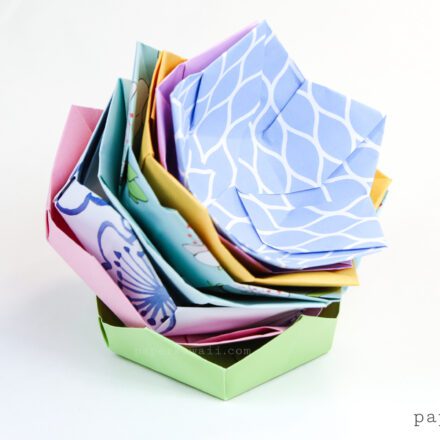
There are plenty of uses for the divider, you could use it to organise stationary like rubbers, pins or you could use it to sort out your jewellery, rings or make-up.
Level: ★★☆☆☆
Designed by Paolo Bascetta
You will need:
Square paper – use the same size that you used for the box itself.
Ruler and Pencil – to measure a third of your paper’s width.
I used: 21 x 21 cm paper.
To learn how to make an easy Origami Masu box and Lid in my video tutorial, here.
A Photo Tutorial is available on the Origami Photo Tutorials page.
- Like
- Digg
- Del
- Tumblr
- VKontakte
- Buffer
- Love This
- Odnoklassniki
- Meneame
- Blogger
- Amazon
- Yahoo Mail
- Gmail
- AOL
- Newsvine
- HackerNews
- Evernote
- MySpace
- Mail.ru
- Viadeo
- Line
- Comments
- Yummly
- SMS
- Viber
- Telegram
- Subscribe
- Skype
- Facebook Messenger
- Kakao
- LiveJournal
- Yammer
- Edgar
- Fintel
- Mix
- Instapaper
- Copy Link