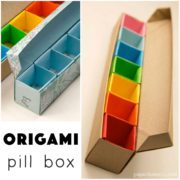
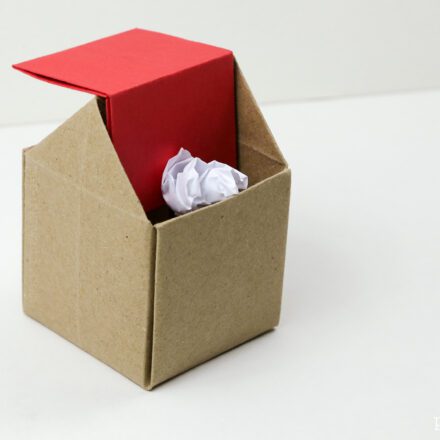
Learn how to make an origami pencil box with a hinged lid with this easy to follow step by step video tutorial. Use for pens or as a gift box.
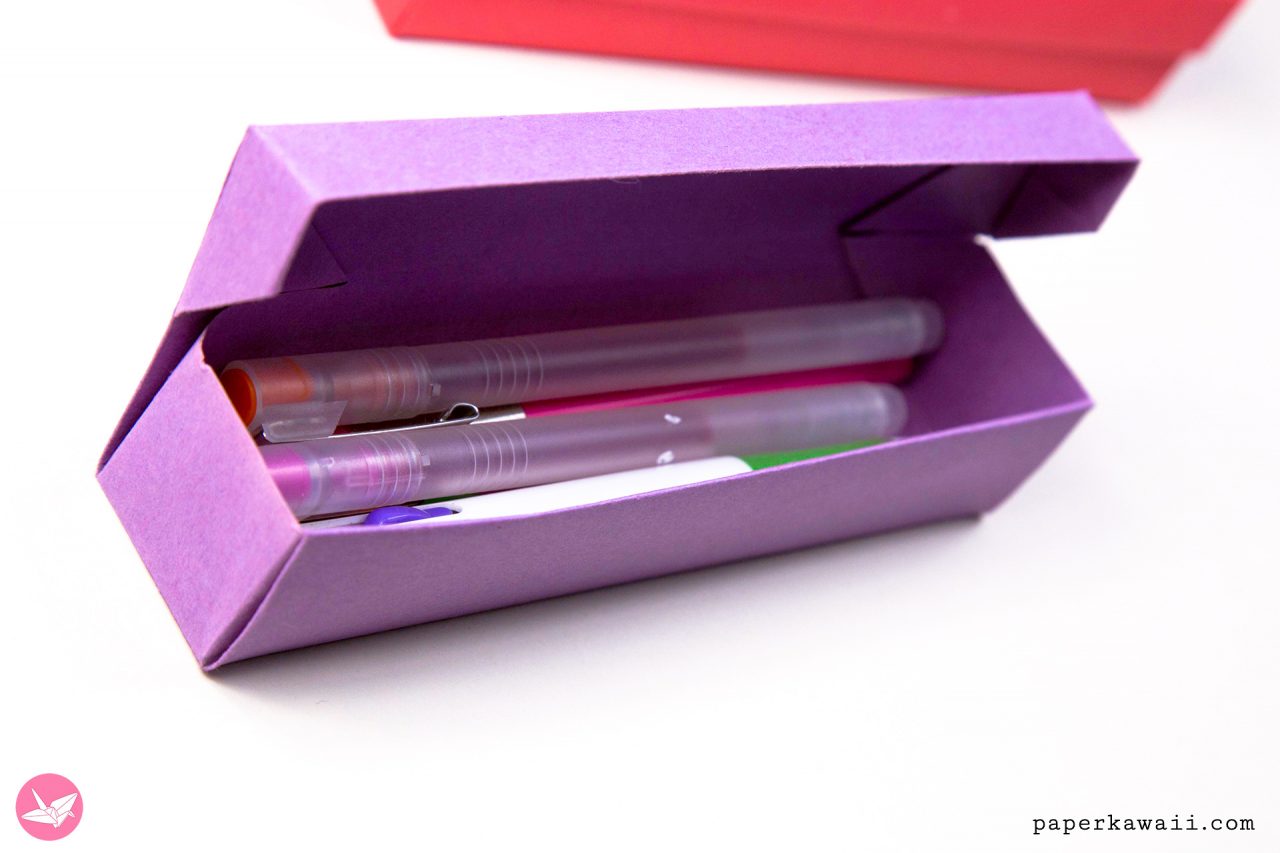
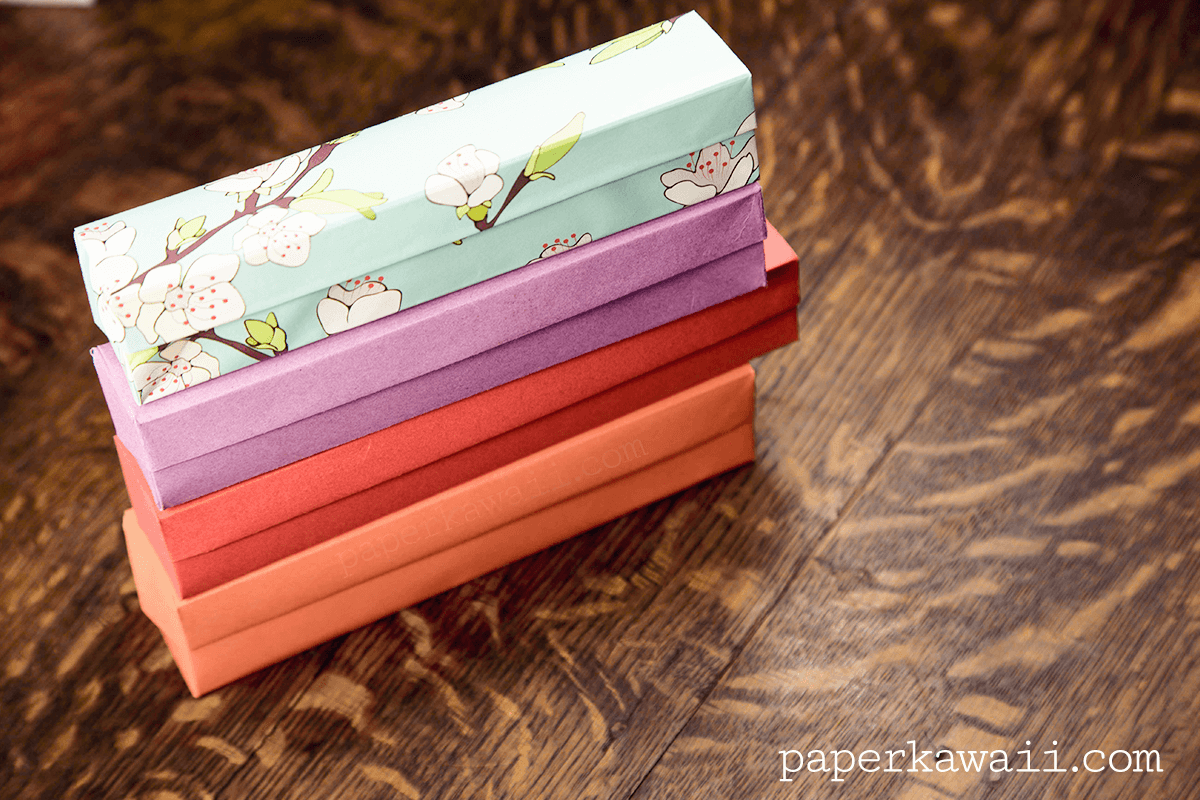
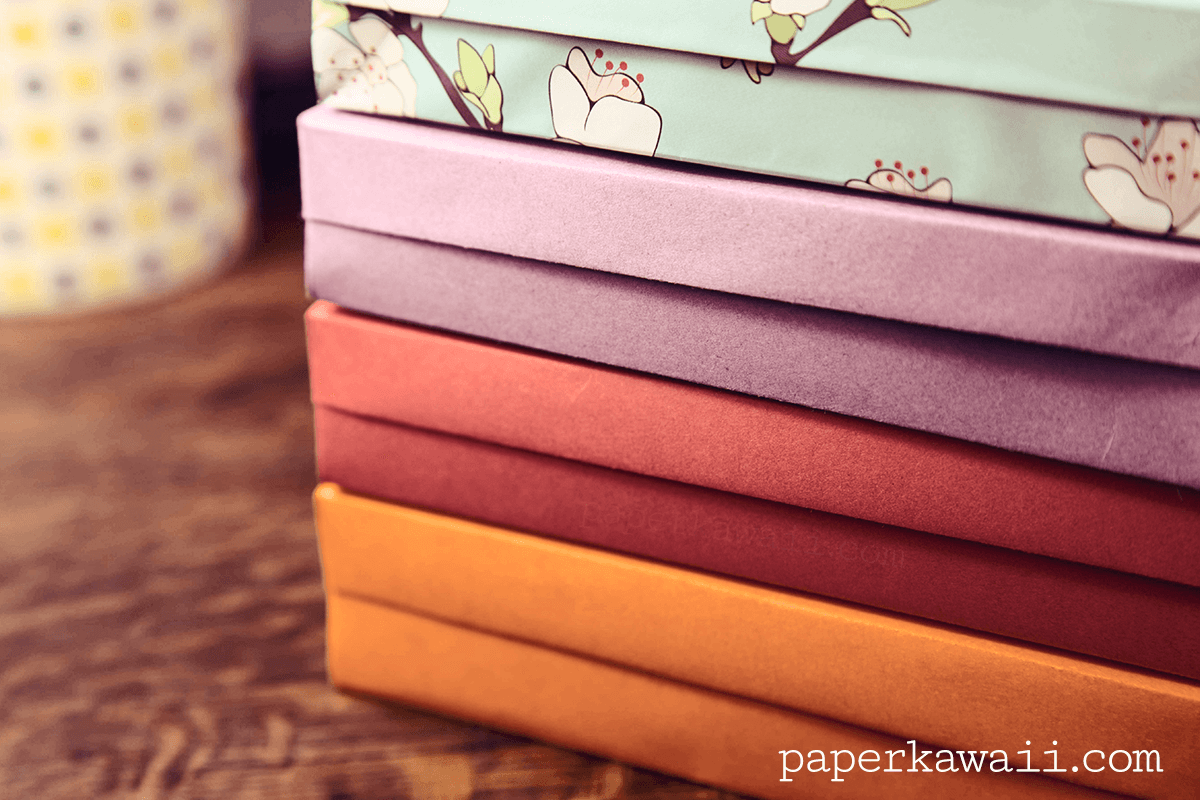
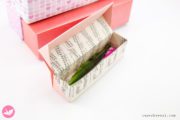
If you use thicker paper or thin to medium card for this, the box ends up pretty sturdy, although not suitable for carrying around in a school bag really! This box would be a great gift for stationary fanatics and also as a gift box for jewellery, sun glasses and other long items.
Design: © Paper Kawaii Copyright Information
Level: ★★★☆☆
You will need:
· 1 square sheet of thick paper or thin card
· A ruler & pencil (to measure 7ths)
· Optional glue
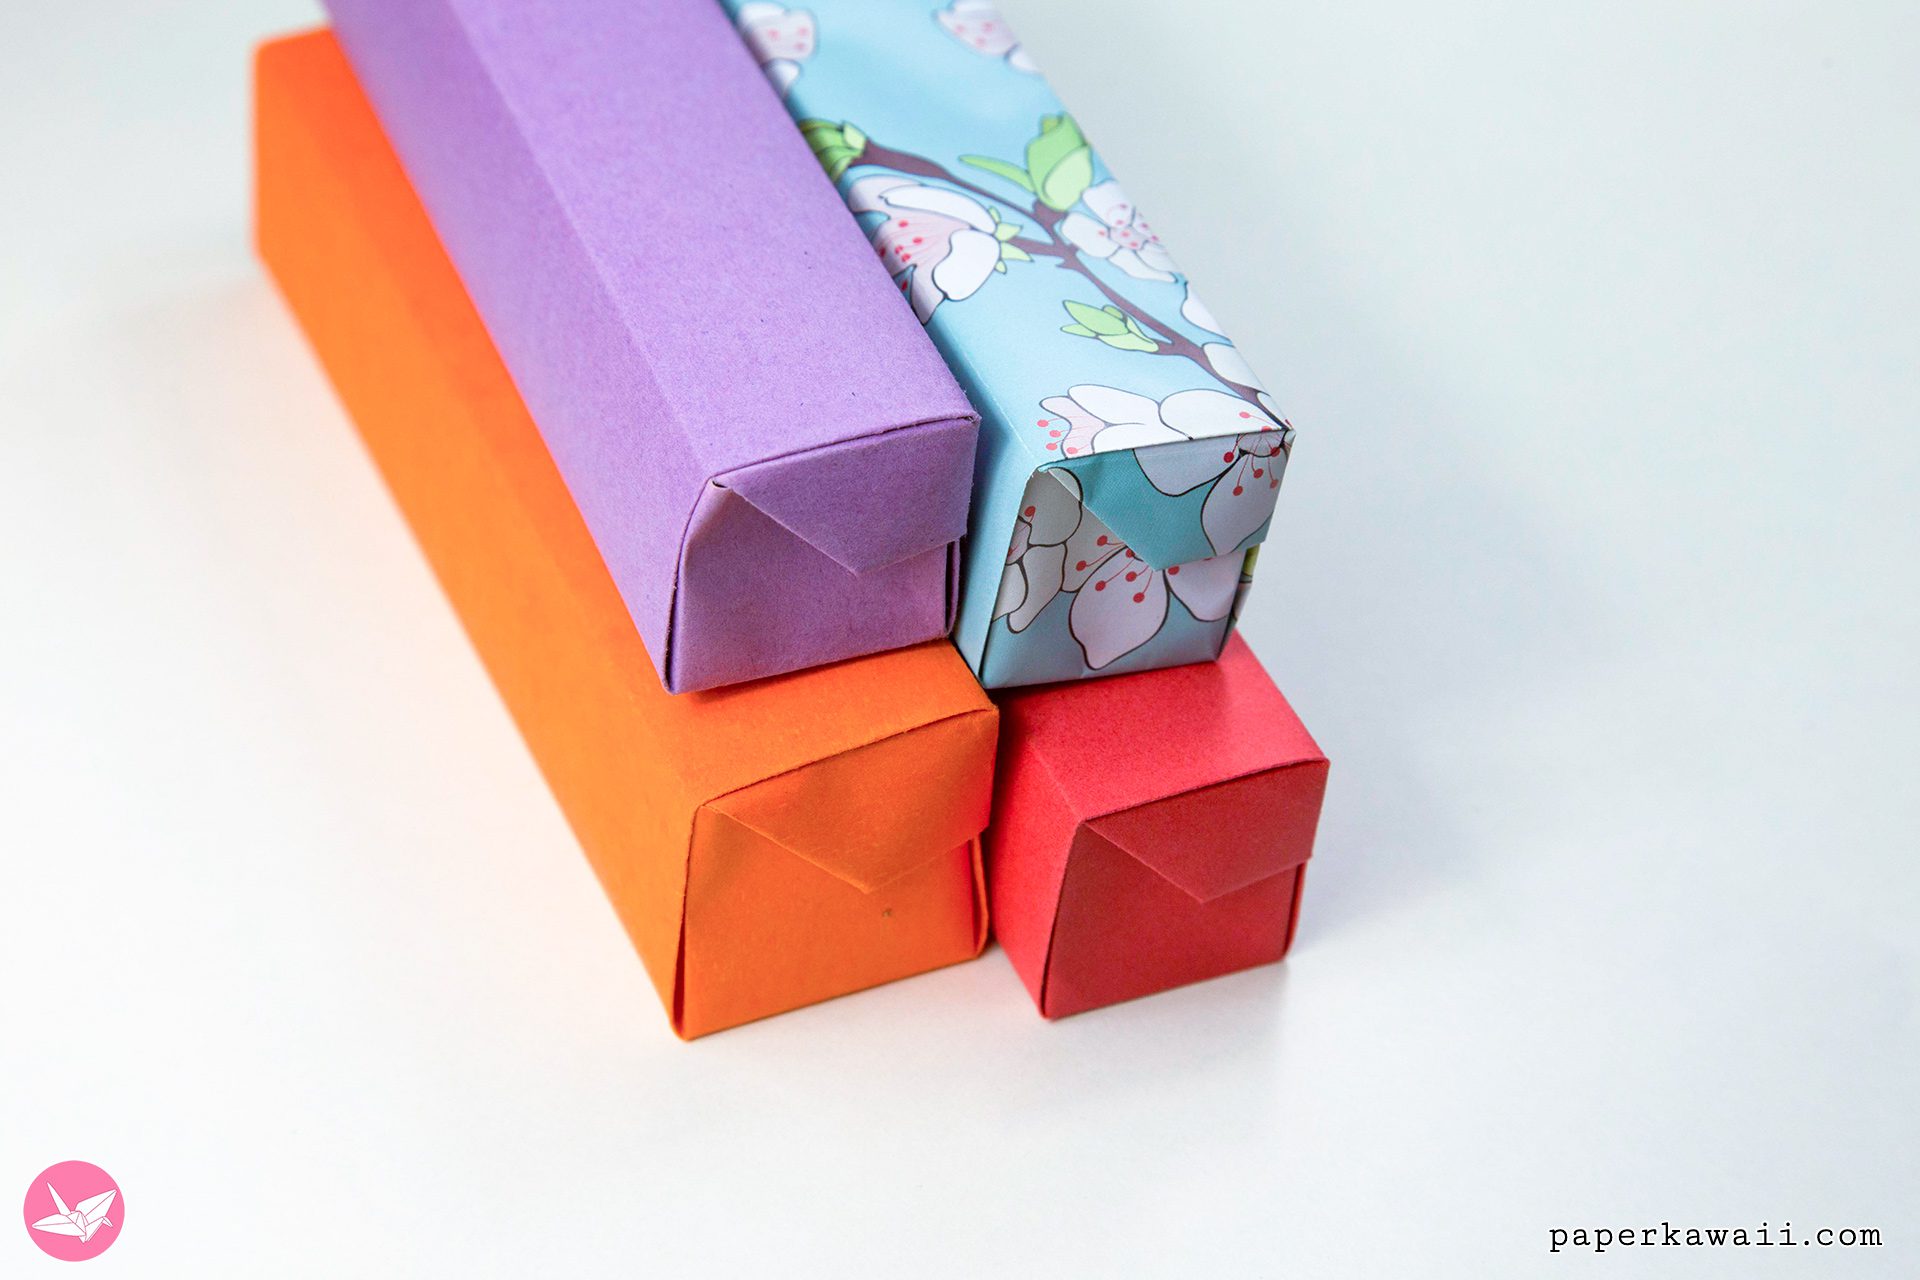
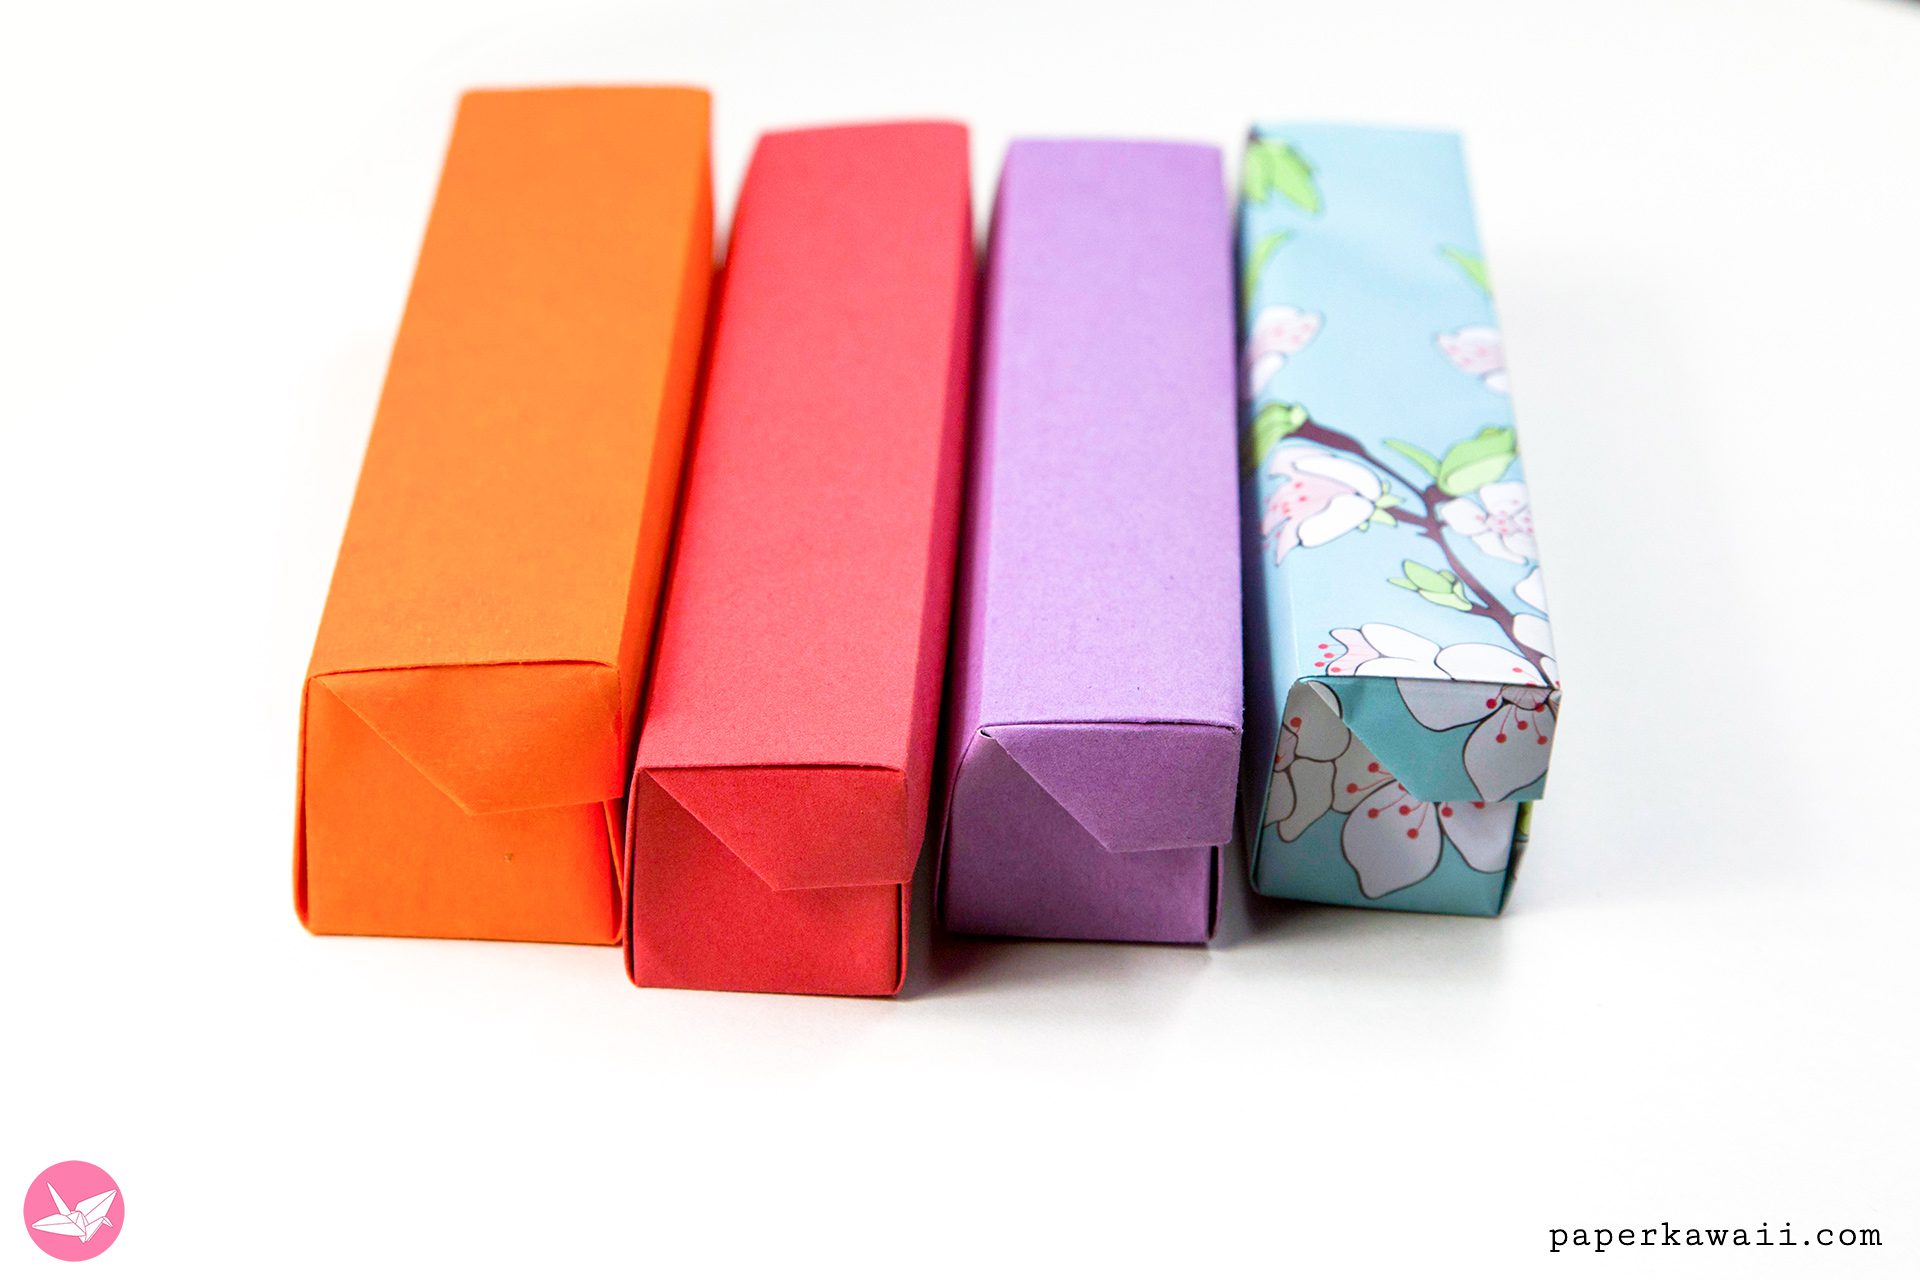
I used paper that was 21 x 21 cm
Use larger paper up to 30 x 30 cm for longer pencils.
A Photo Tutorial is available on the Origami Photo Tutorials page.
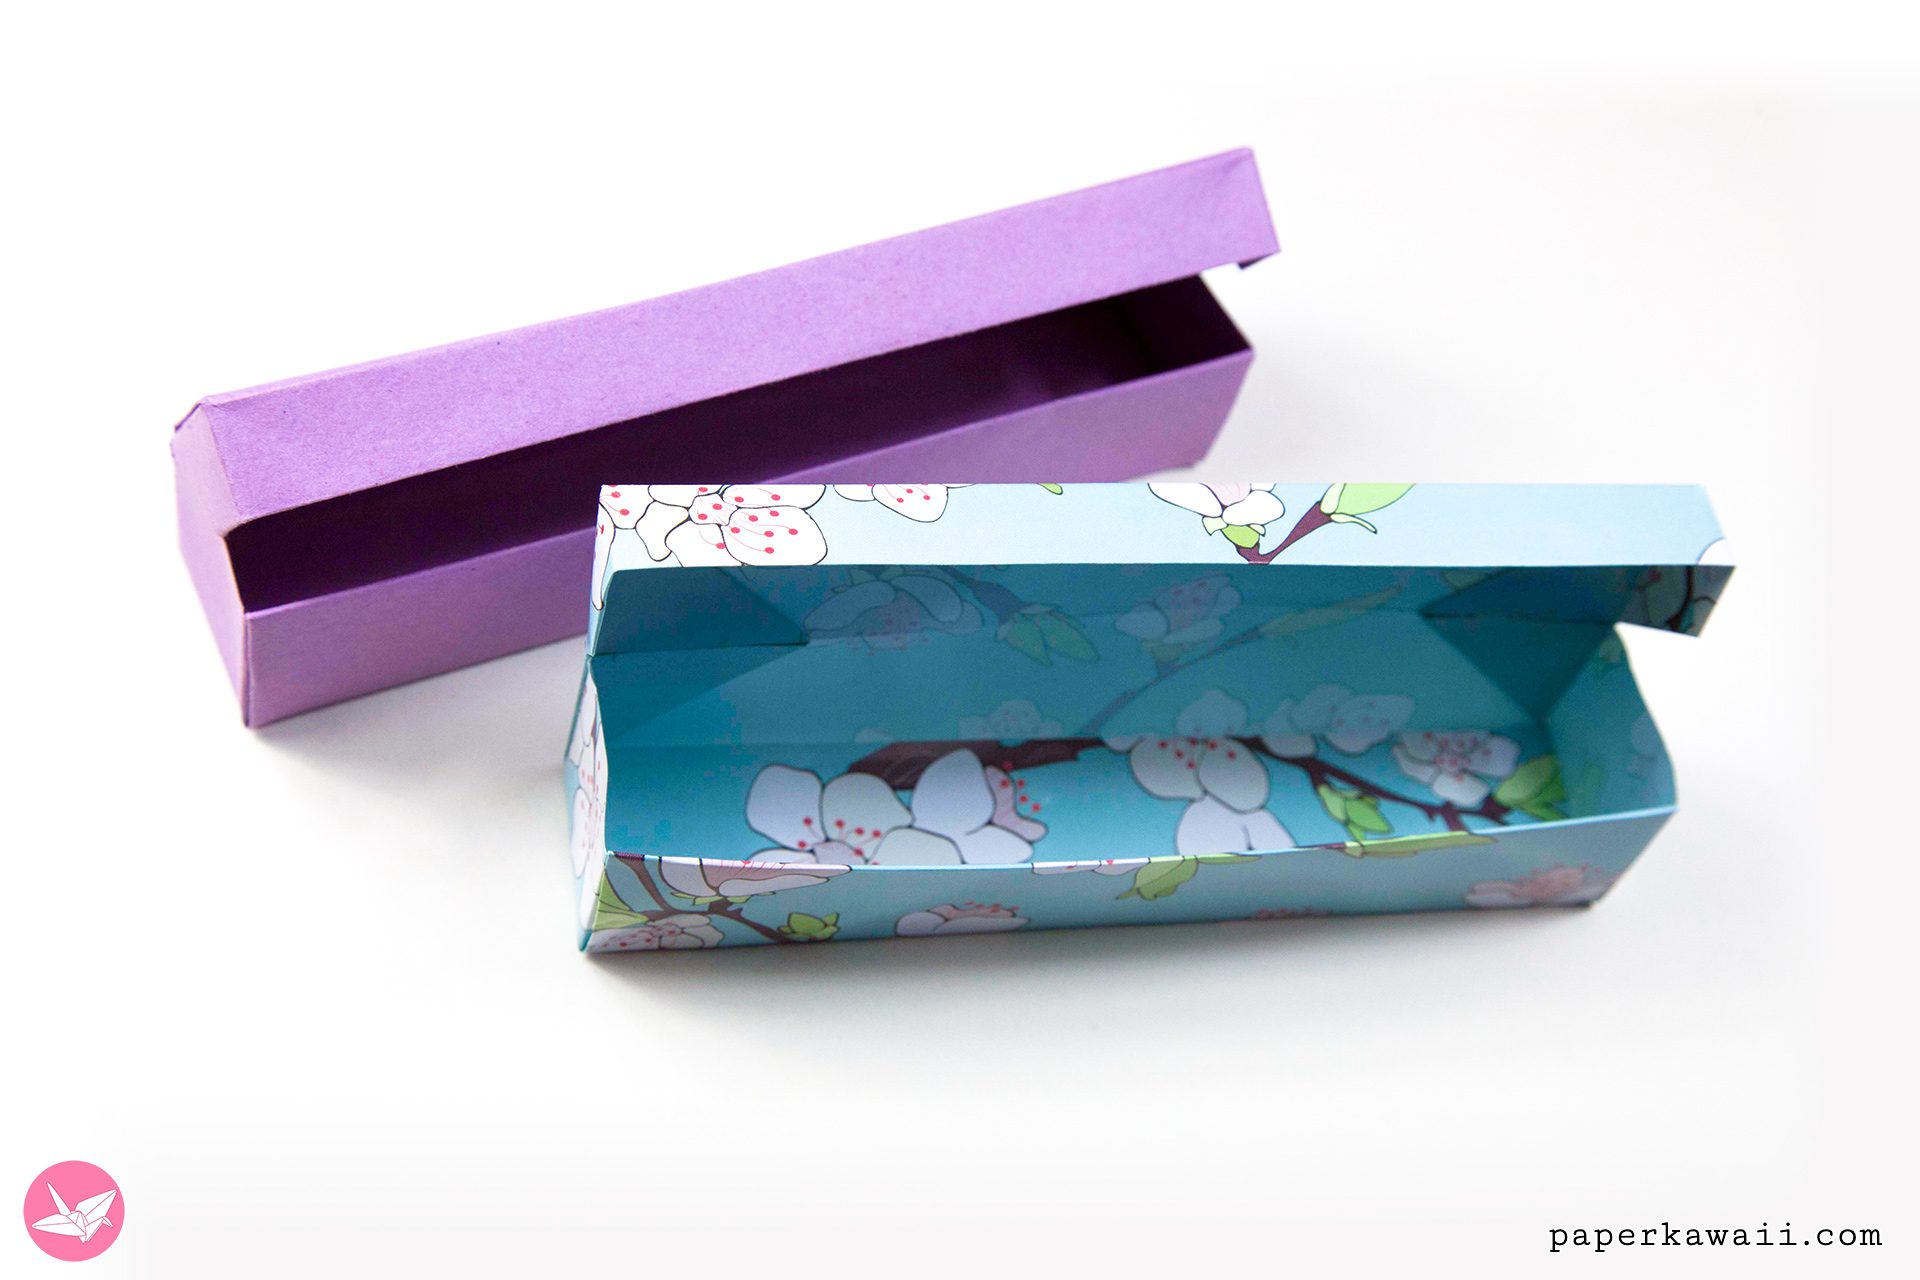
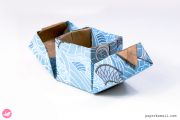
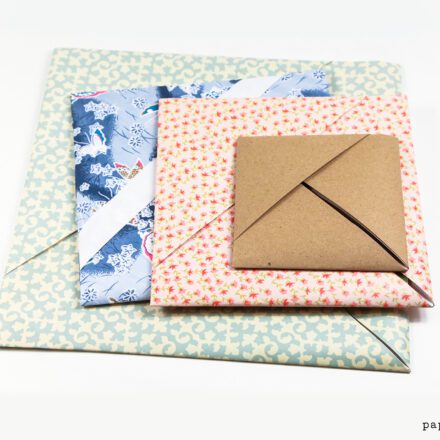
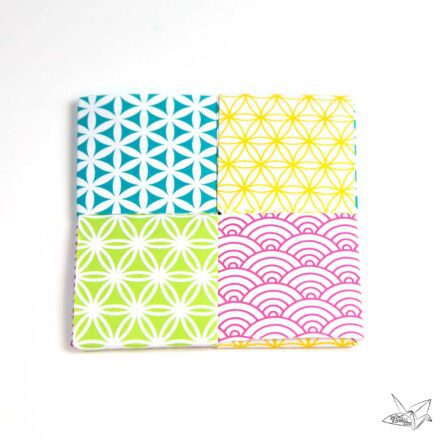
The blue paper with cherry blossoms is part of a origami paper pack by Tuttle publishing, who kindly sent me the paper to review, which is coming in the next few weeks, check out that paper here, you get a set of 48 sheets with 8 different patterns, the size is 20 x 20 cm.