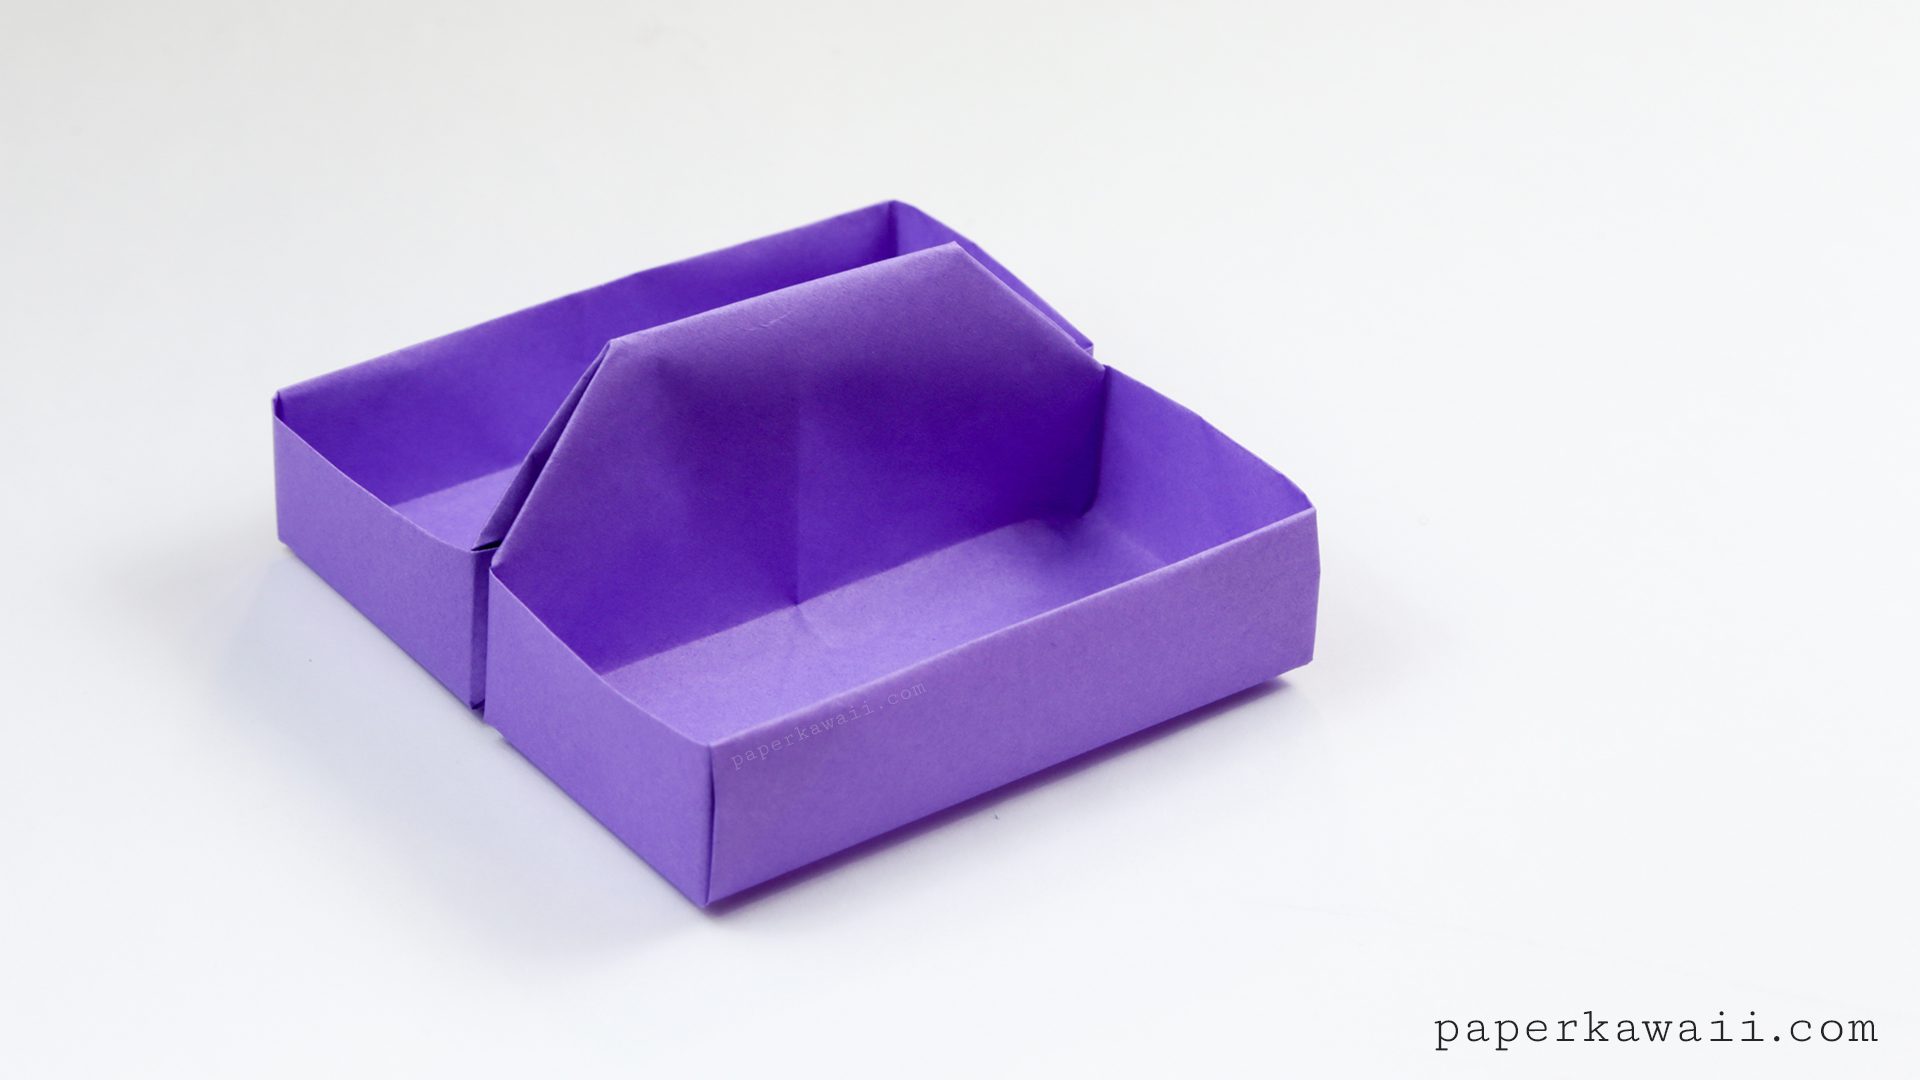
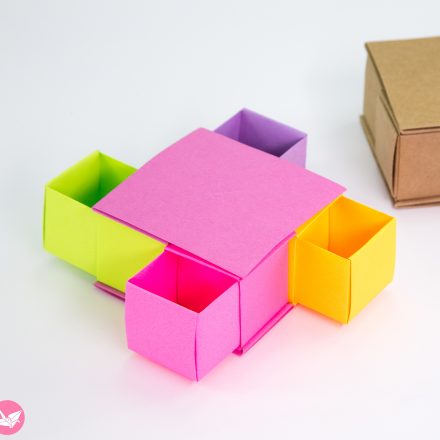
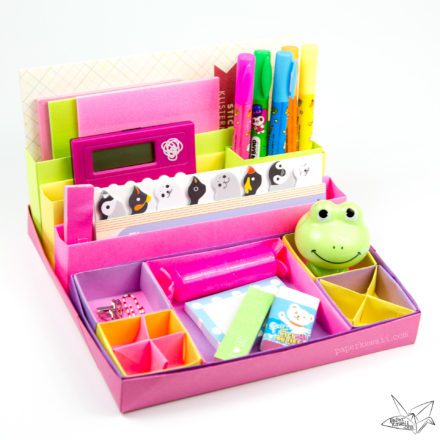
Learn how to make a square origami tray, table caddy or toolbox. You can use this to keep things neat on your desk, or display jewellery, stationary, pens and more.
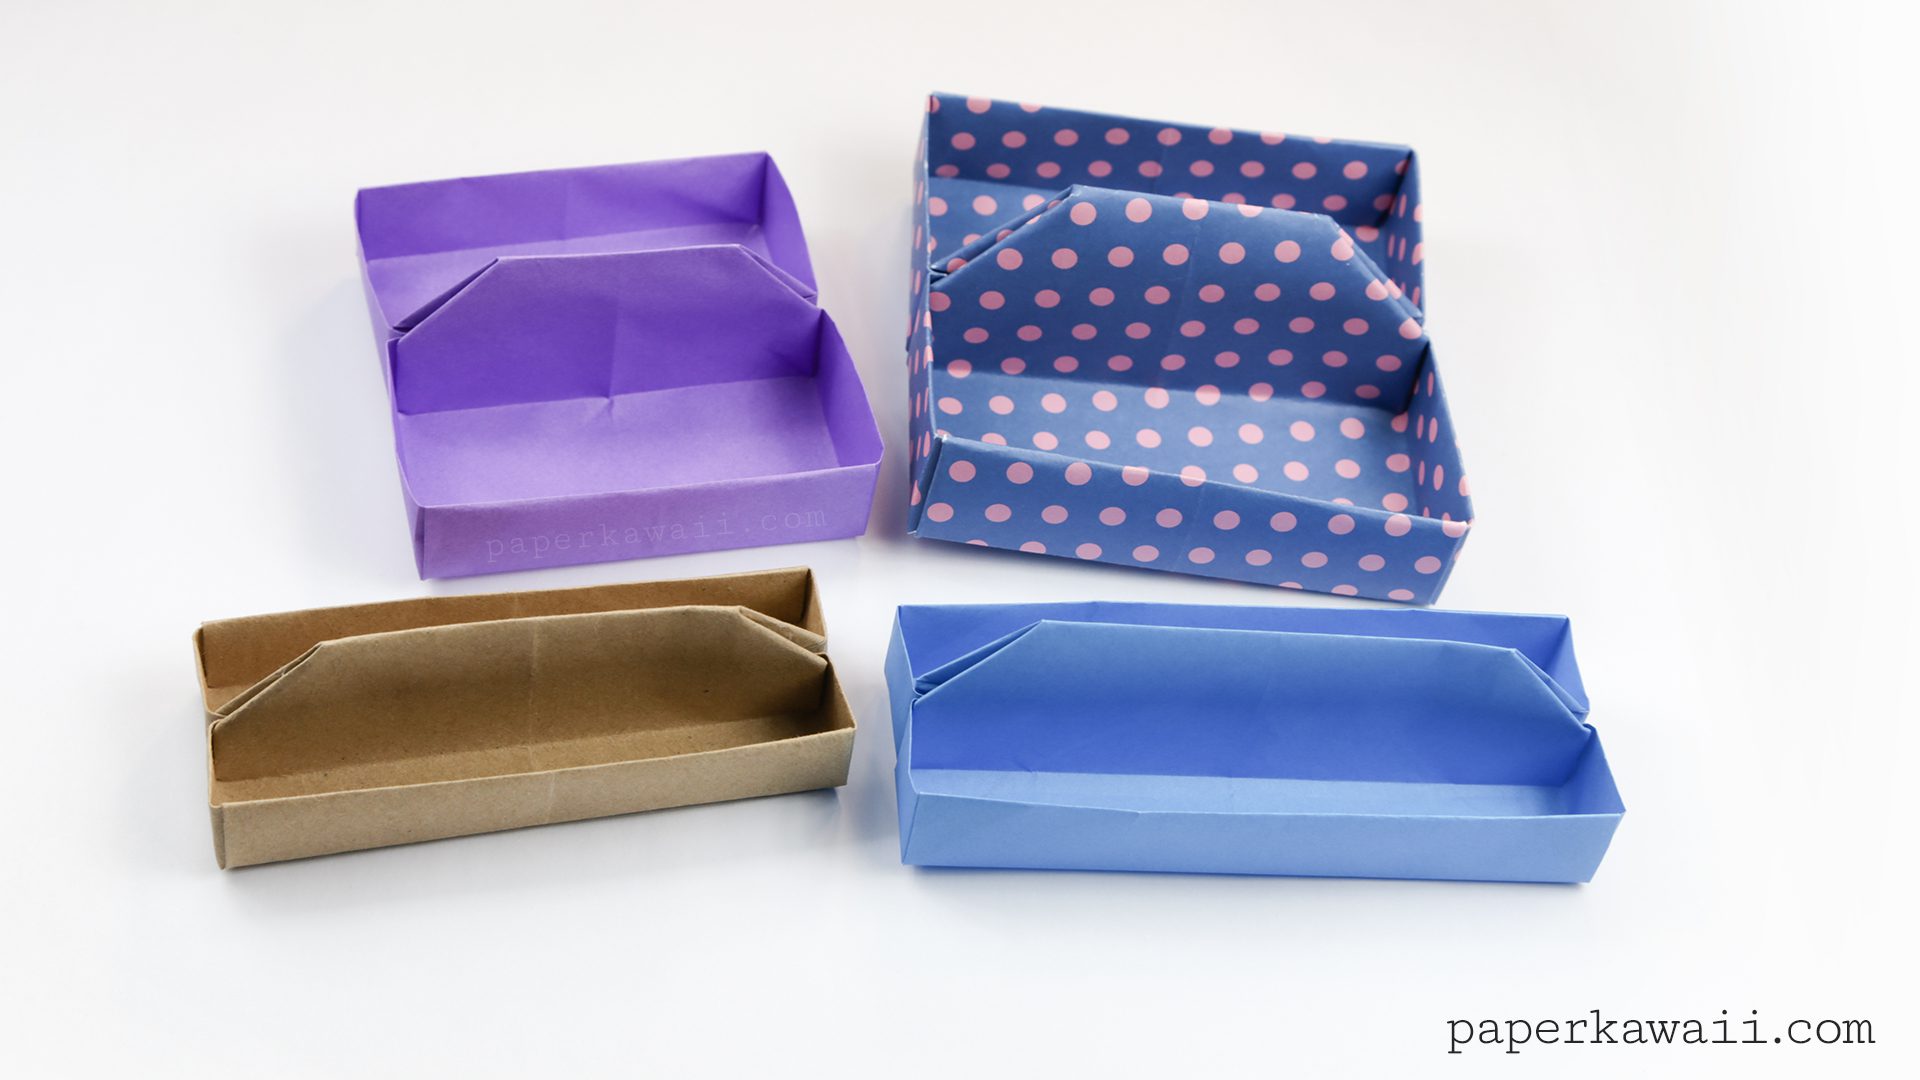
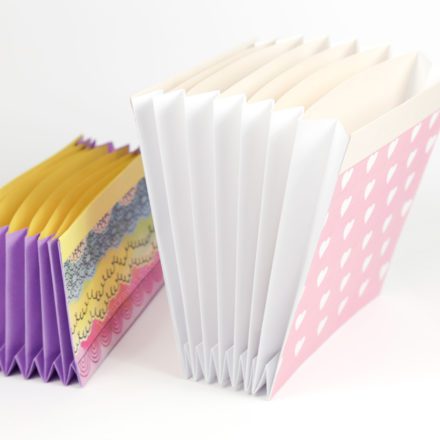
This origami table caddy is pretty much a long masu box with a section in the middle. There are many different variations you could make this into, such as a longer version, tutorial here. You could also make 4 little masu boxes to divide the trays even more.
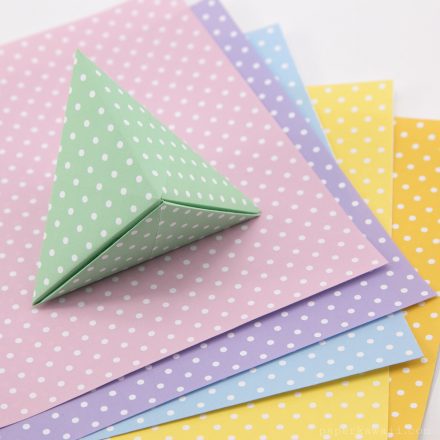
The polka dot caddy in the photos was made with thick 30 x 30 cm paper.
Design: © Paper Kawaii Copyright Information
Level: ★★★☆☆
You will need:
– 1 sheet of square paper. I used 9.75 x 9.75 inches (25 cm) Paper used found here. Use thicker paper for best result.
– Bit of glue.
Final sizes: 15 x 15 = 5.5 x 5.5 cm | 21 x 21 = 7.7 x 7.7 cm | 25 x 25 = 9 x 9 cm | 30 x 30 = 10.5 x 10.5 cm