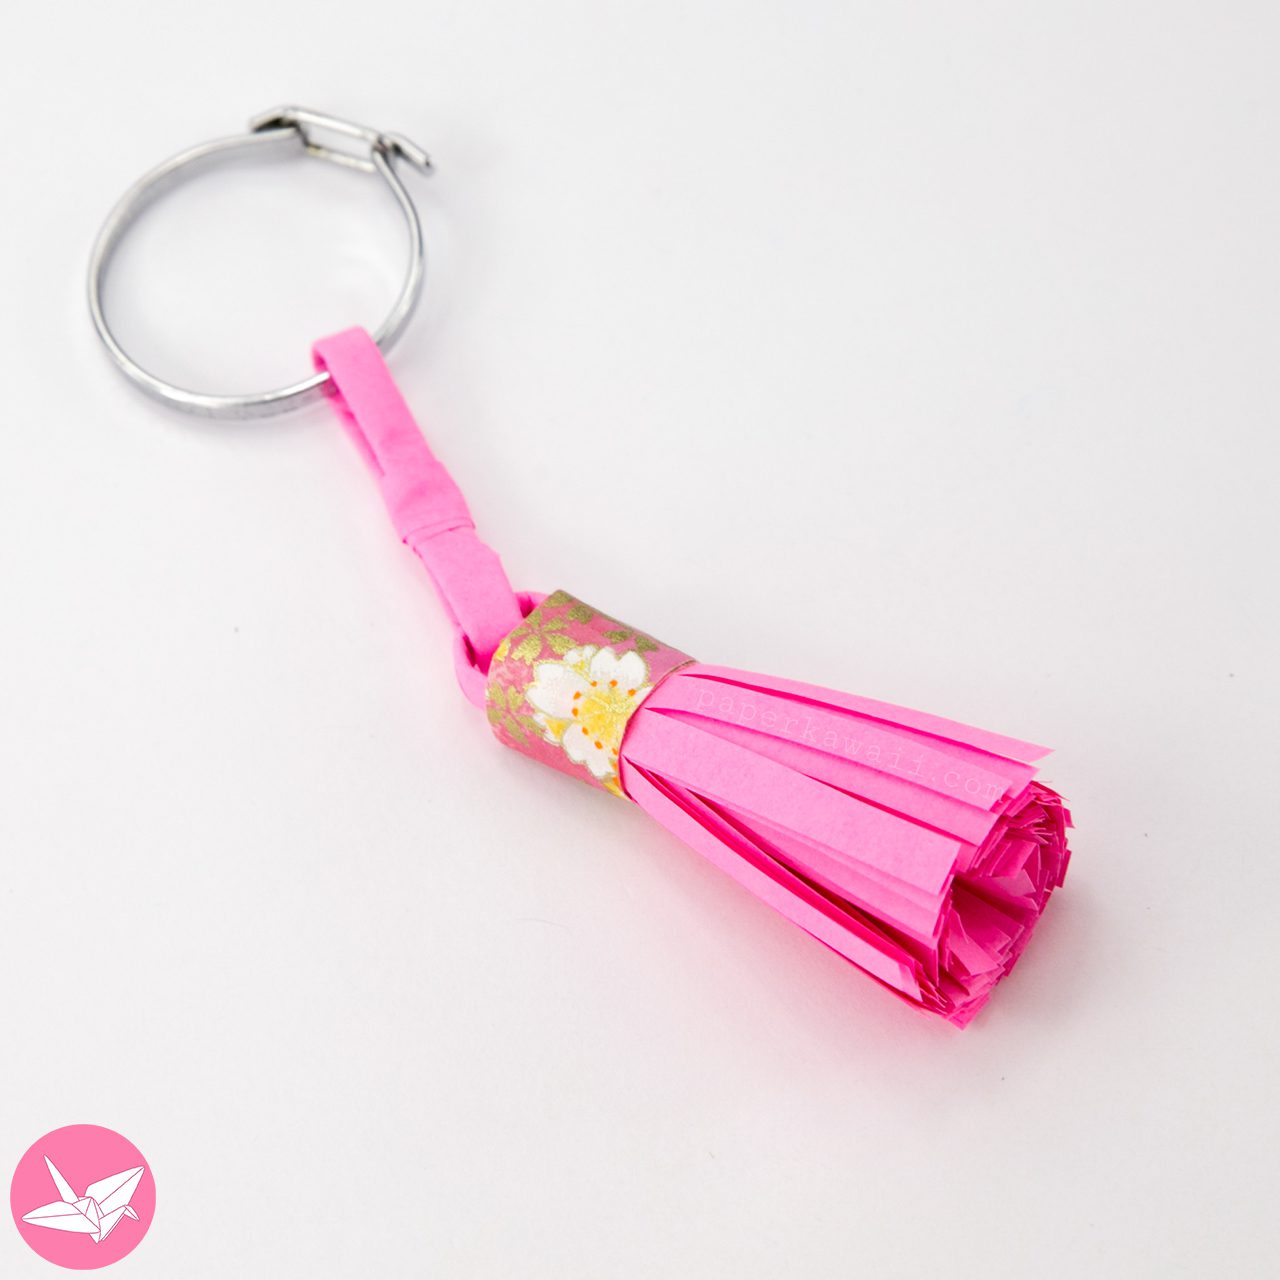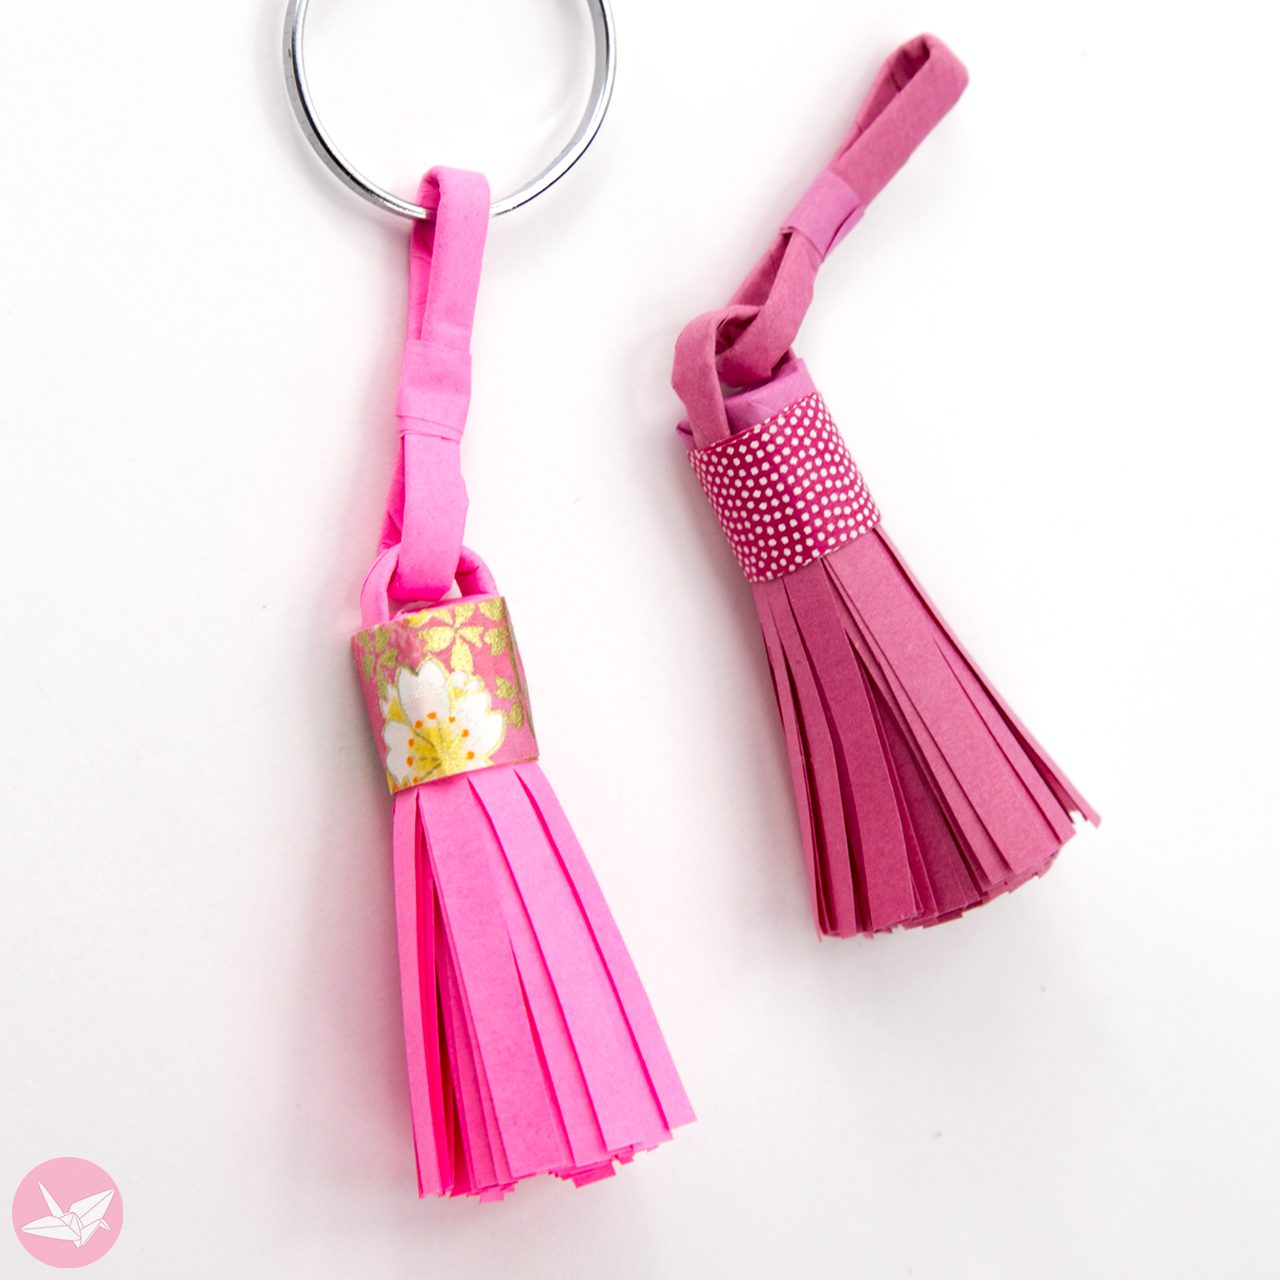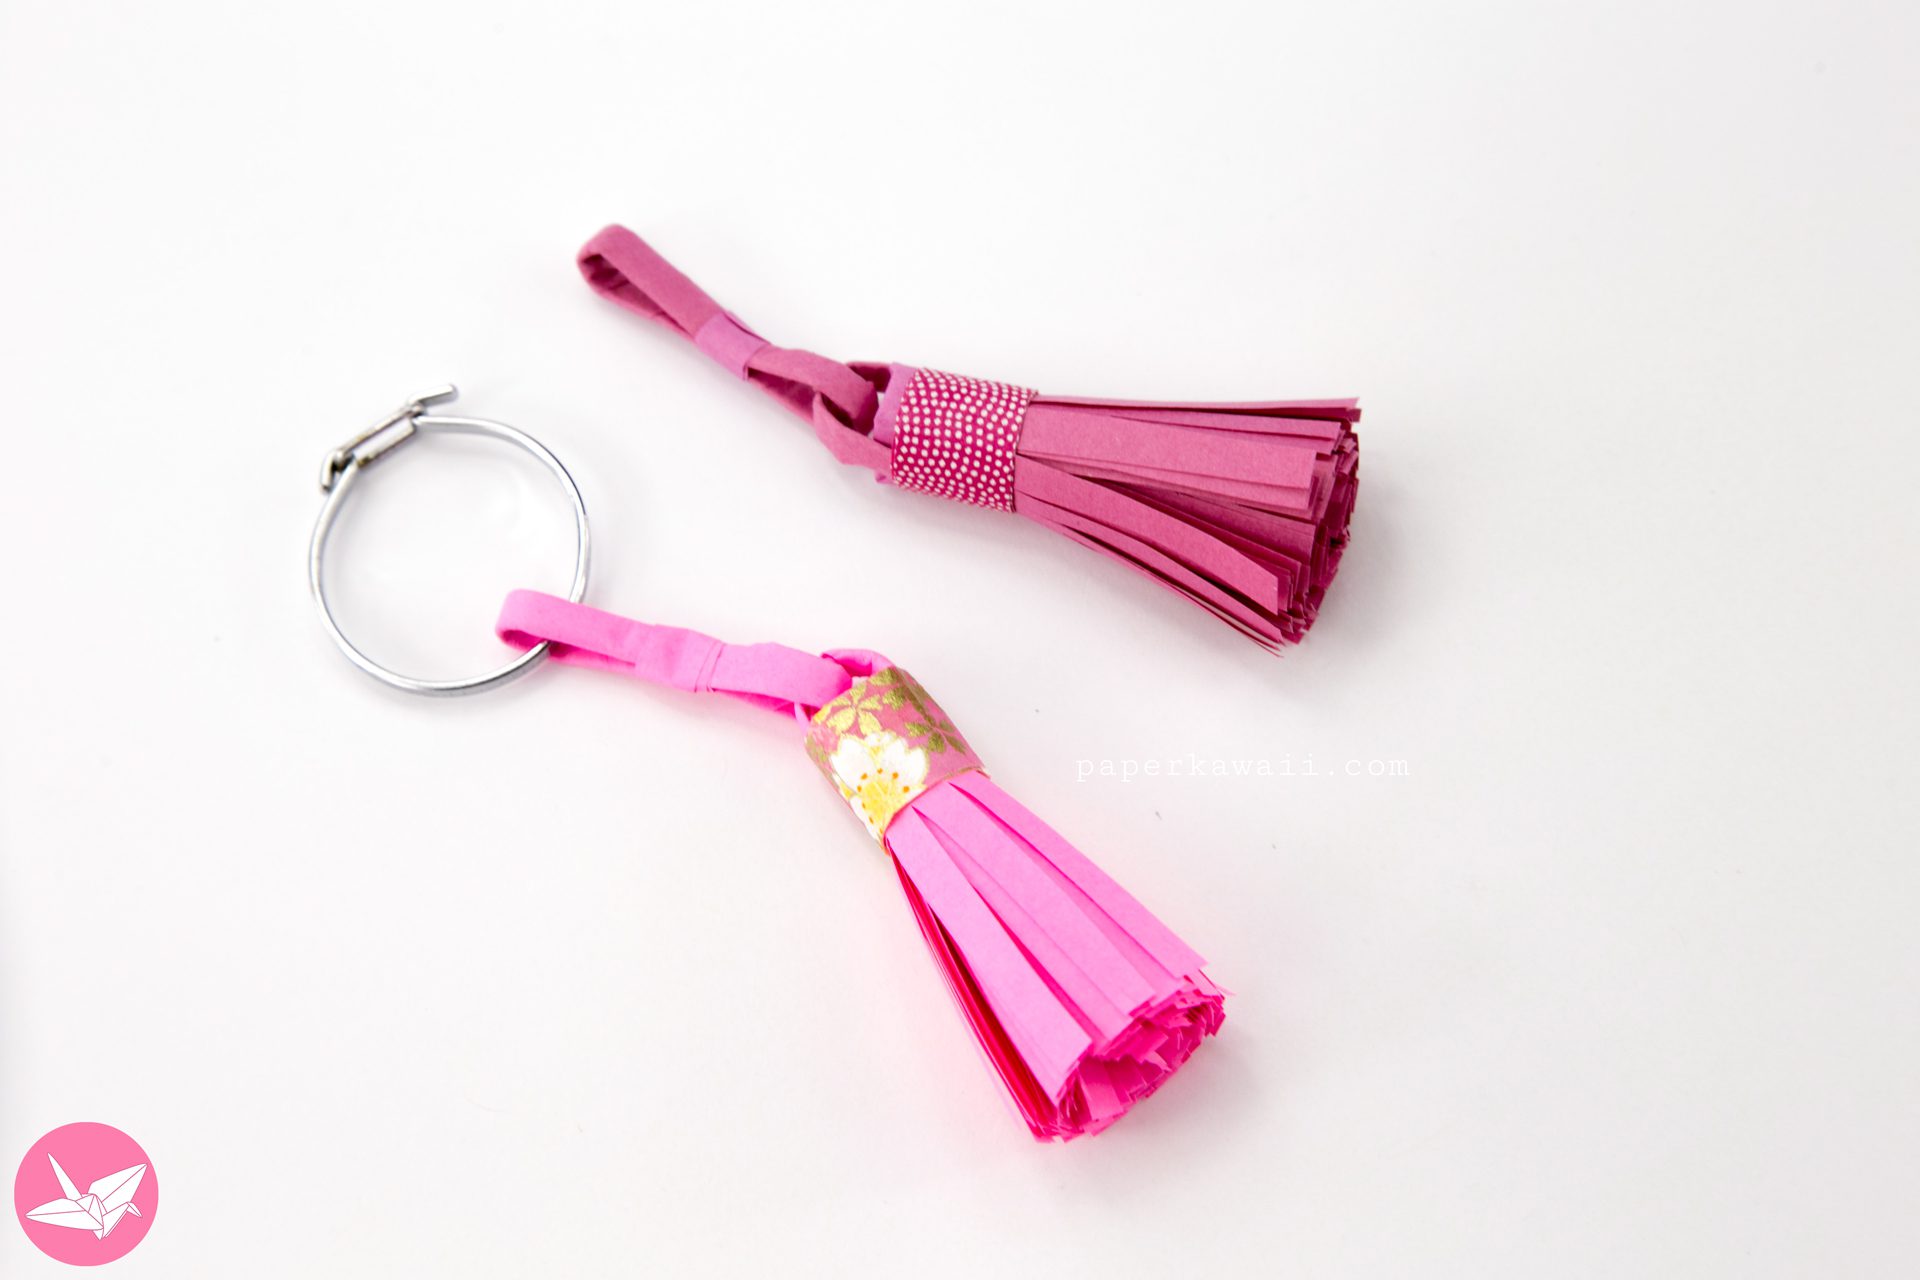

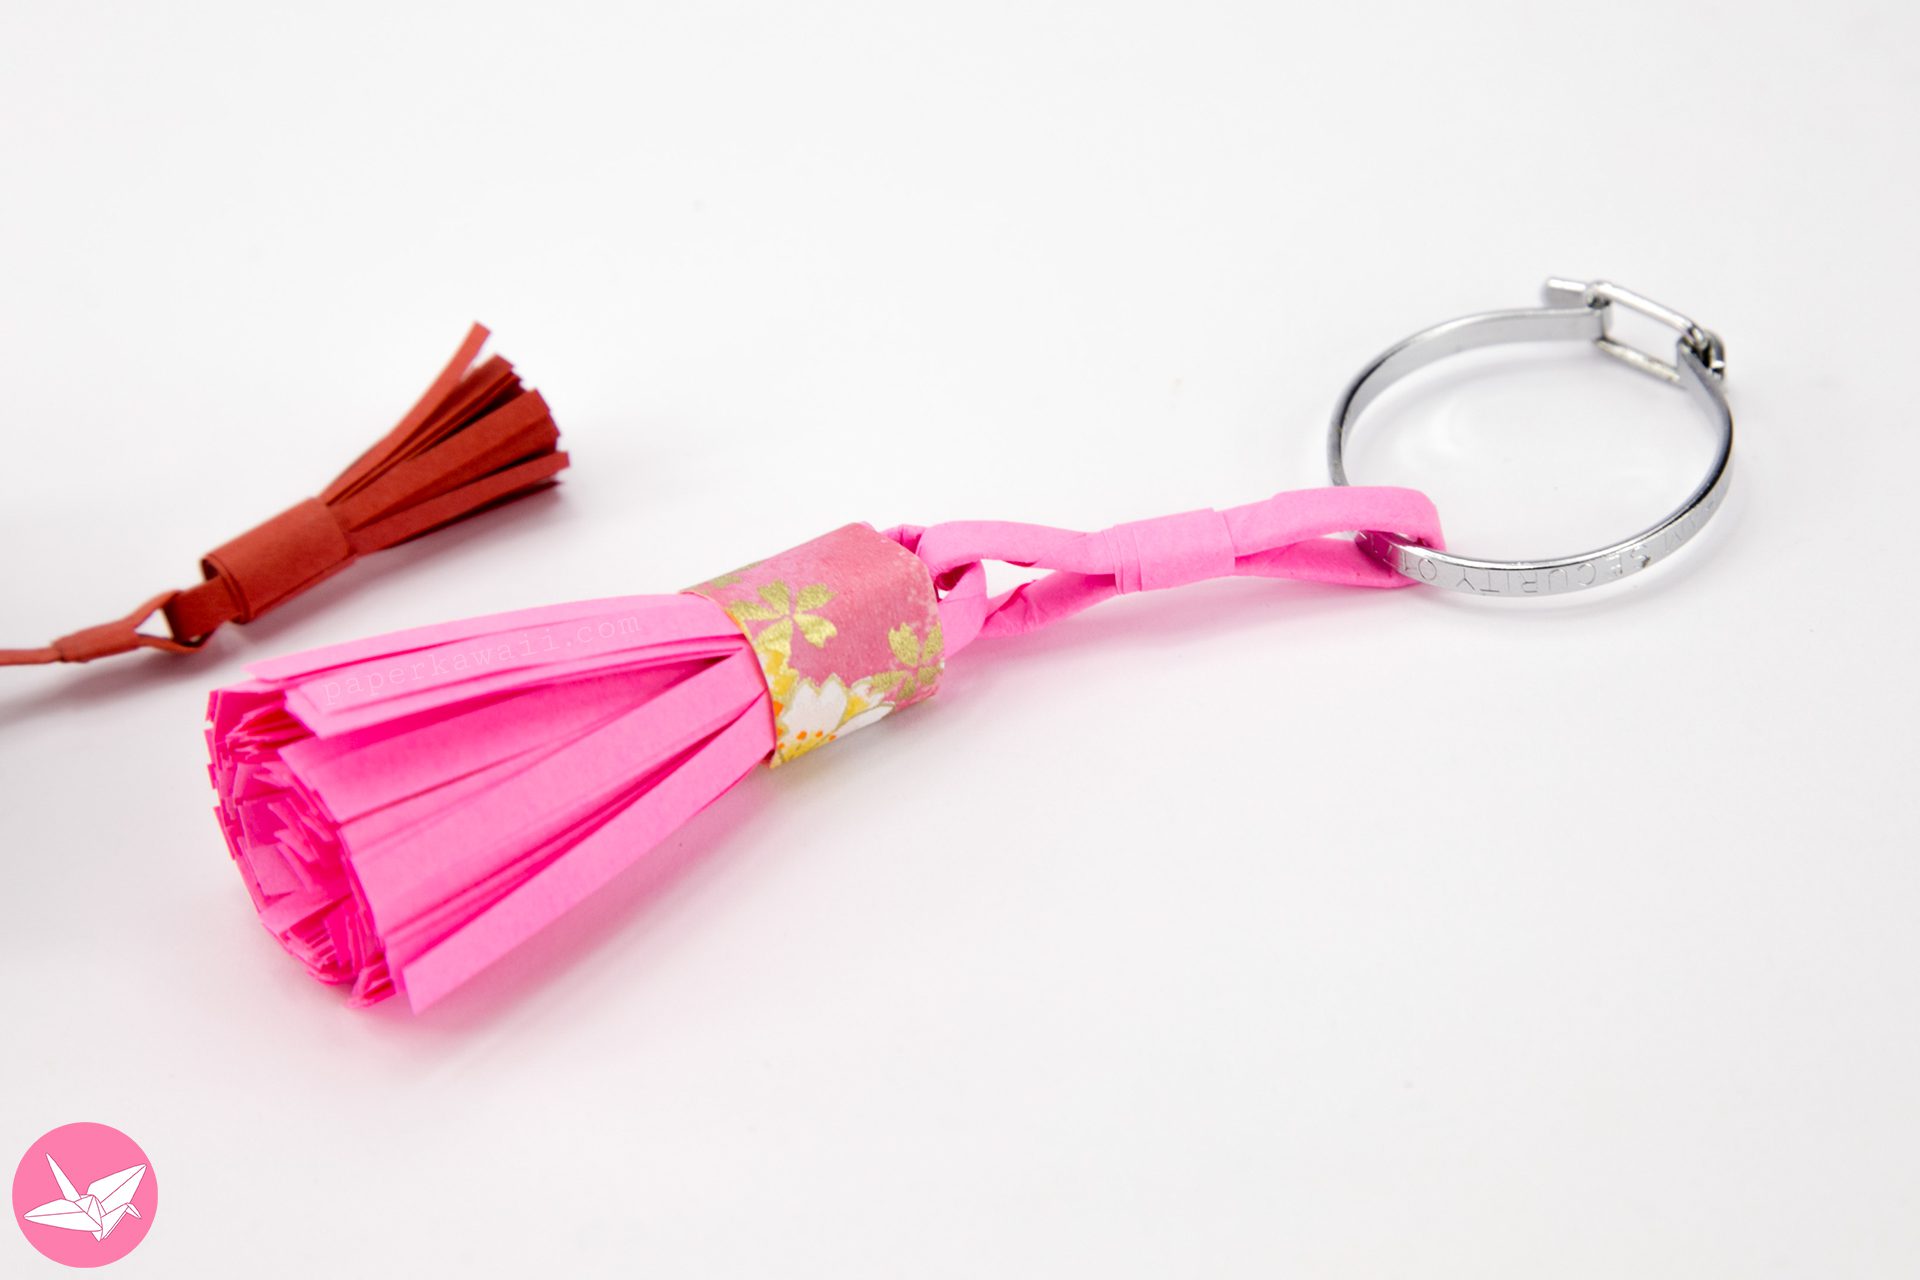
Learn how to make a pretty tassel out of a sheet of paper. This DIY paper tassel makes a great decoration to add to many different kinds of craft projects. You can make it as big as you like, a simple loop method is also shown.
This is a pretty simple method to make a tassel, this one in particular is made (with the intention) to hang on the end of an origami Kusudama (an origami ball of flowers). Usually you’d have a silk tassel, but I thought it would be fun to use paper instead.
You could make this tassel on a much larger scale, use more or less paper for a thinner or thicker tassel. You can make the top part bigger or smaller too. If you want to use this as a keyring or jewellery, you’d need to use something that wouldn’t break off. Such as plastic, the metallic plastic from a chip/crisp packet etc.
This could also be a sword knot, for an origami samurai sword…
I ended up using this paper tassel for my origami graduation hat, you can check that out here if you like, it’s a miniature version.
Paper Tassel
Level: ★★☆☆☆
You will need:
▸ 1 sheet of paper/plastic. Used: A4 21 x 29.7 cm (you can use any size)
▸ Scissors
▸ Glue
▸ Chopstick (or something)
I also used a small square of different paper to wrap around the top part.
You can check out my personal favourite origami papers, paper craft tools and more on my Amazon.com store.