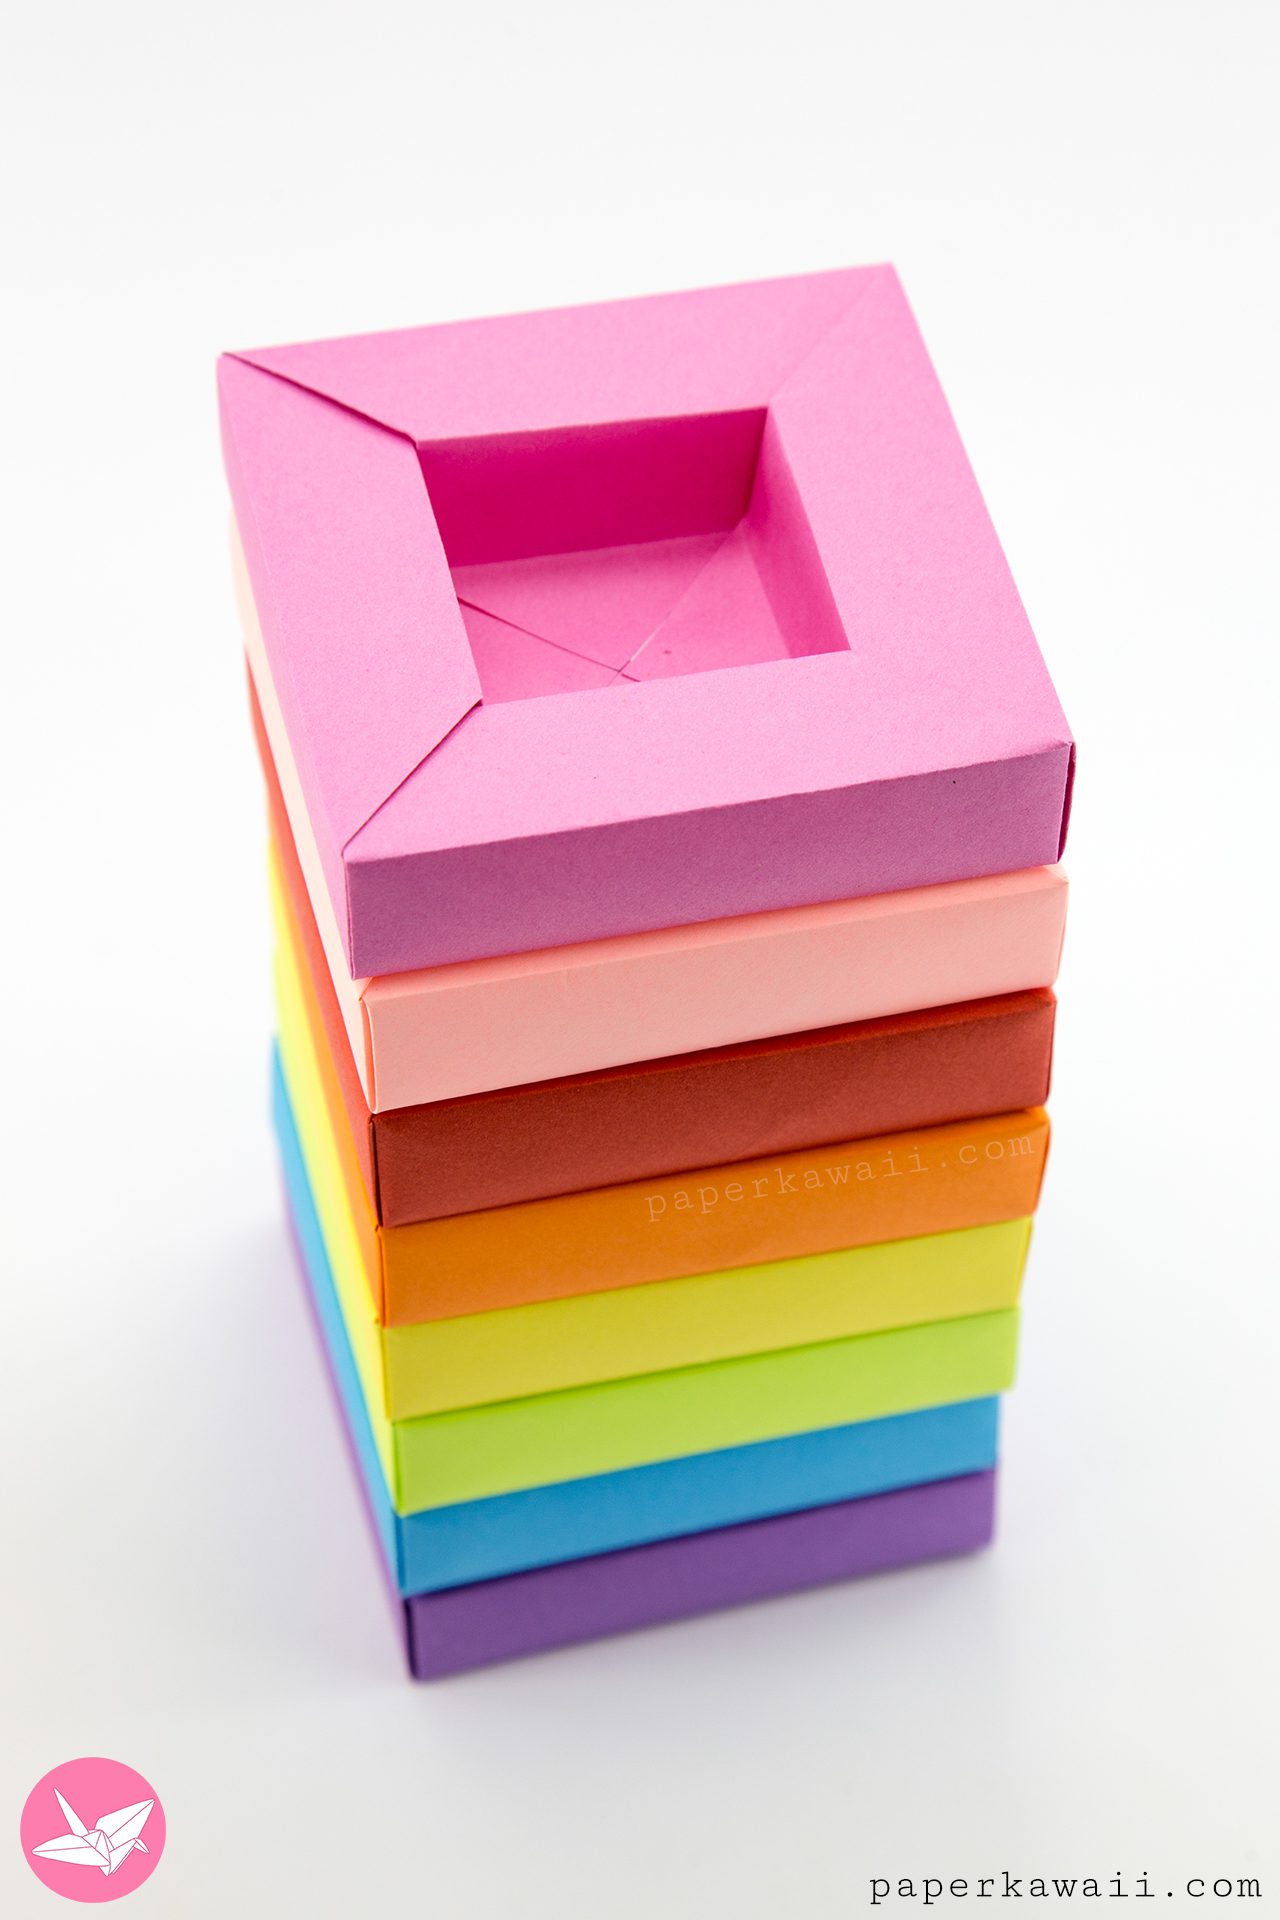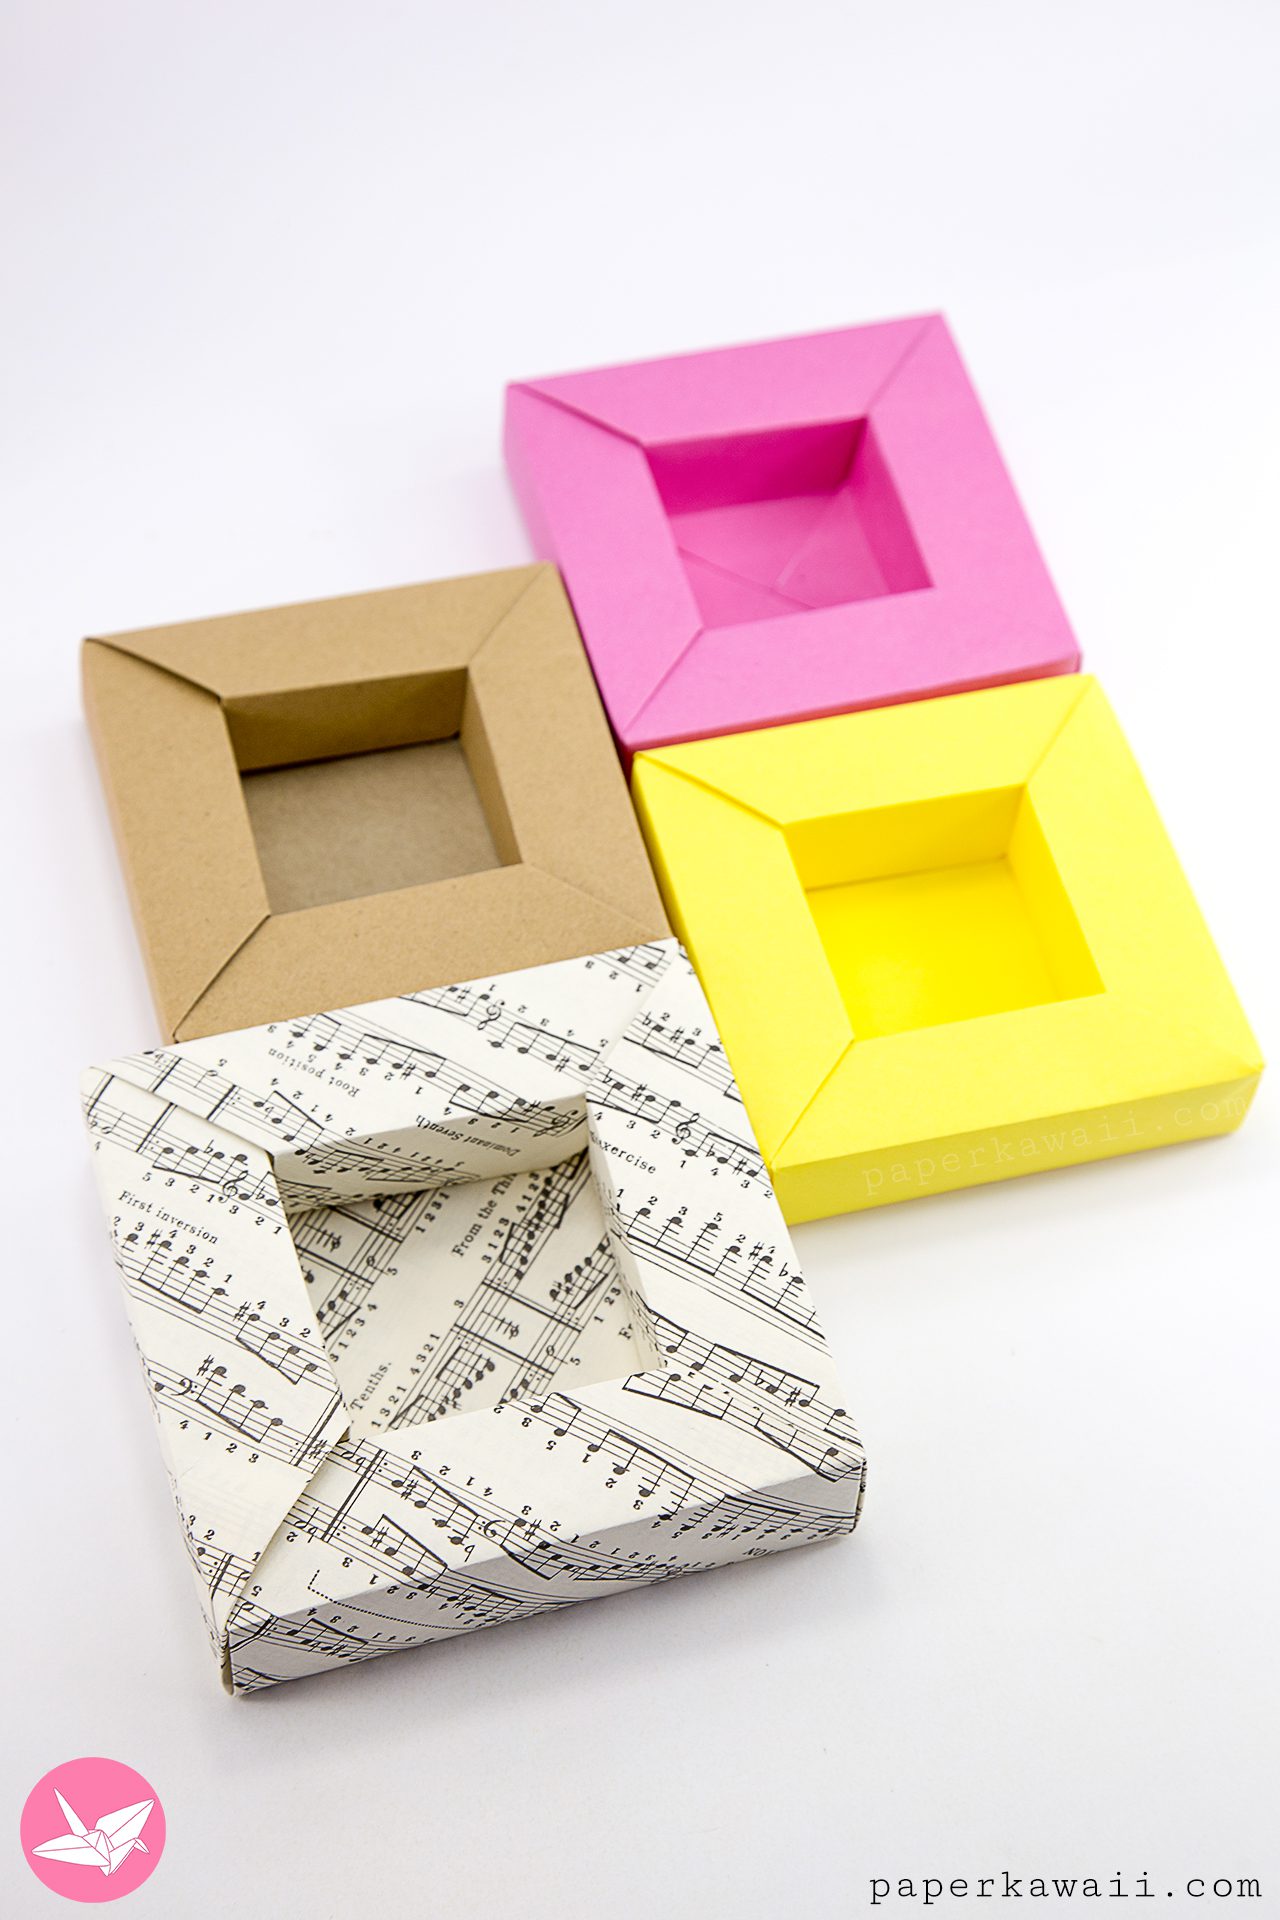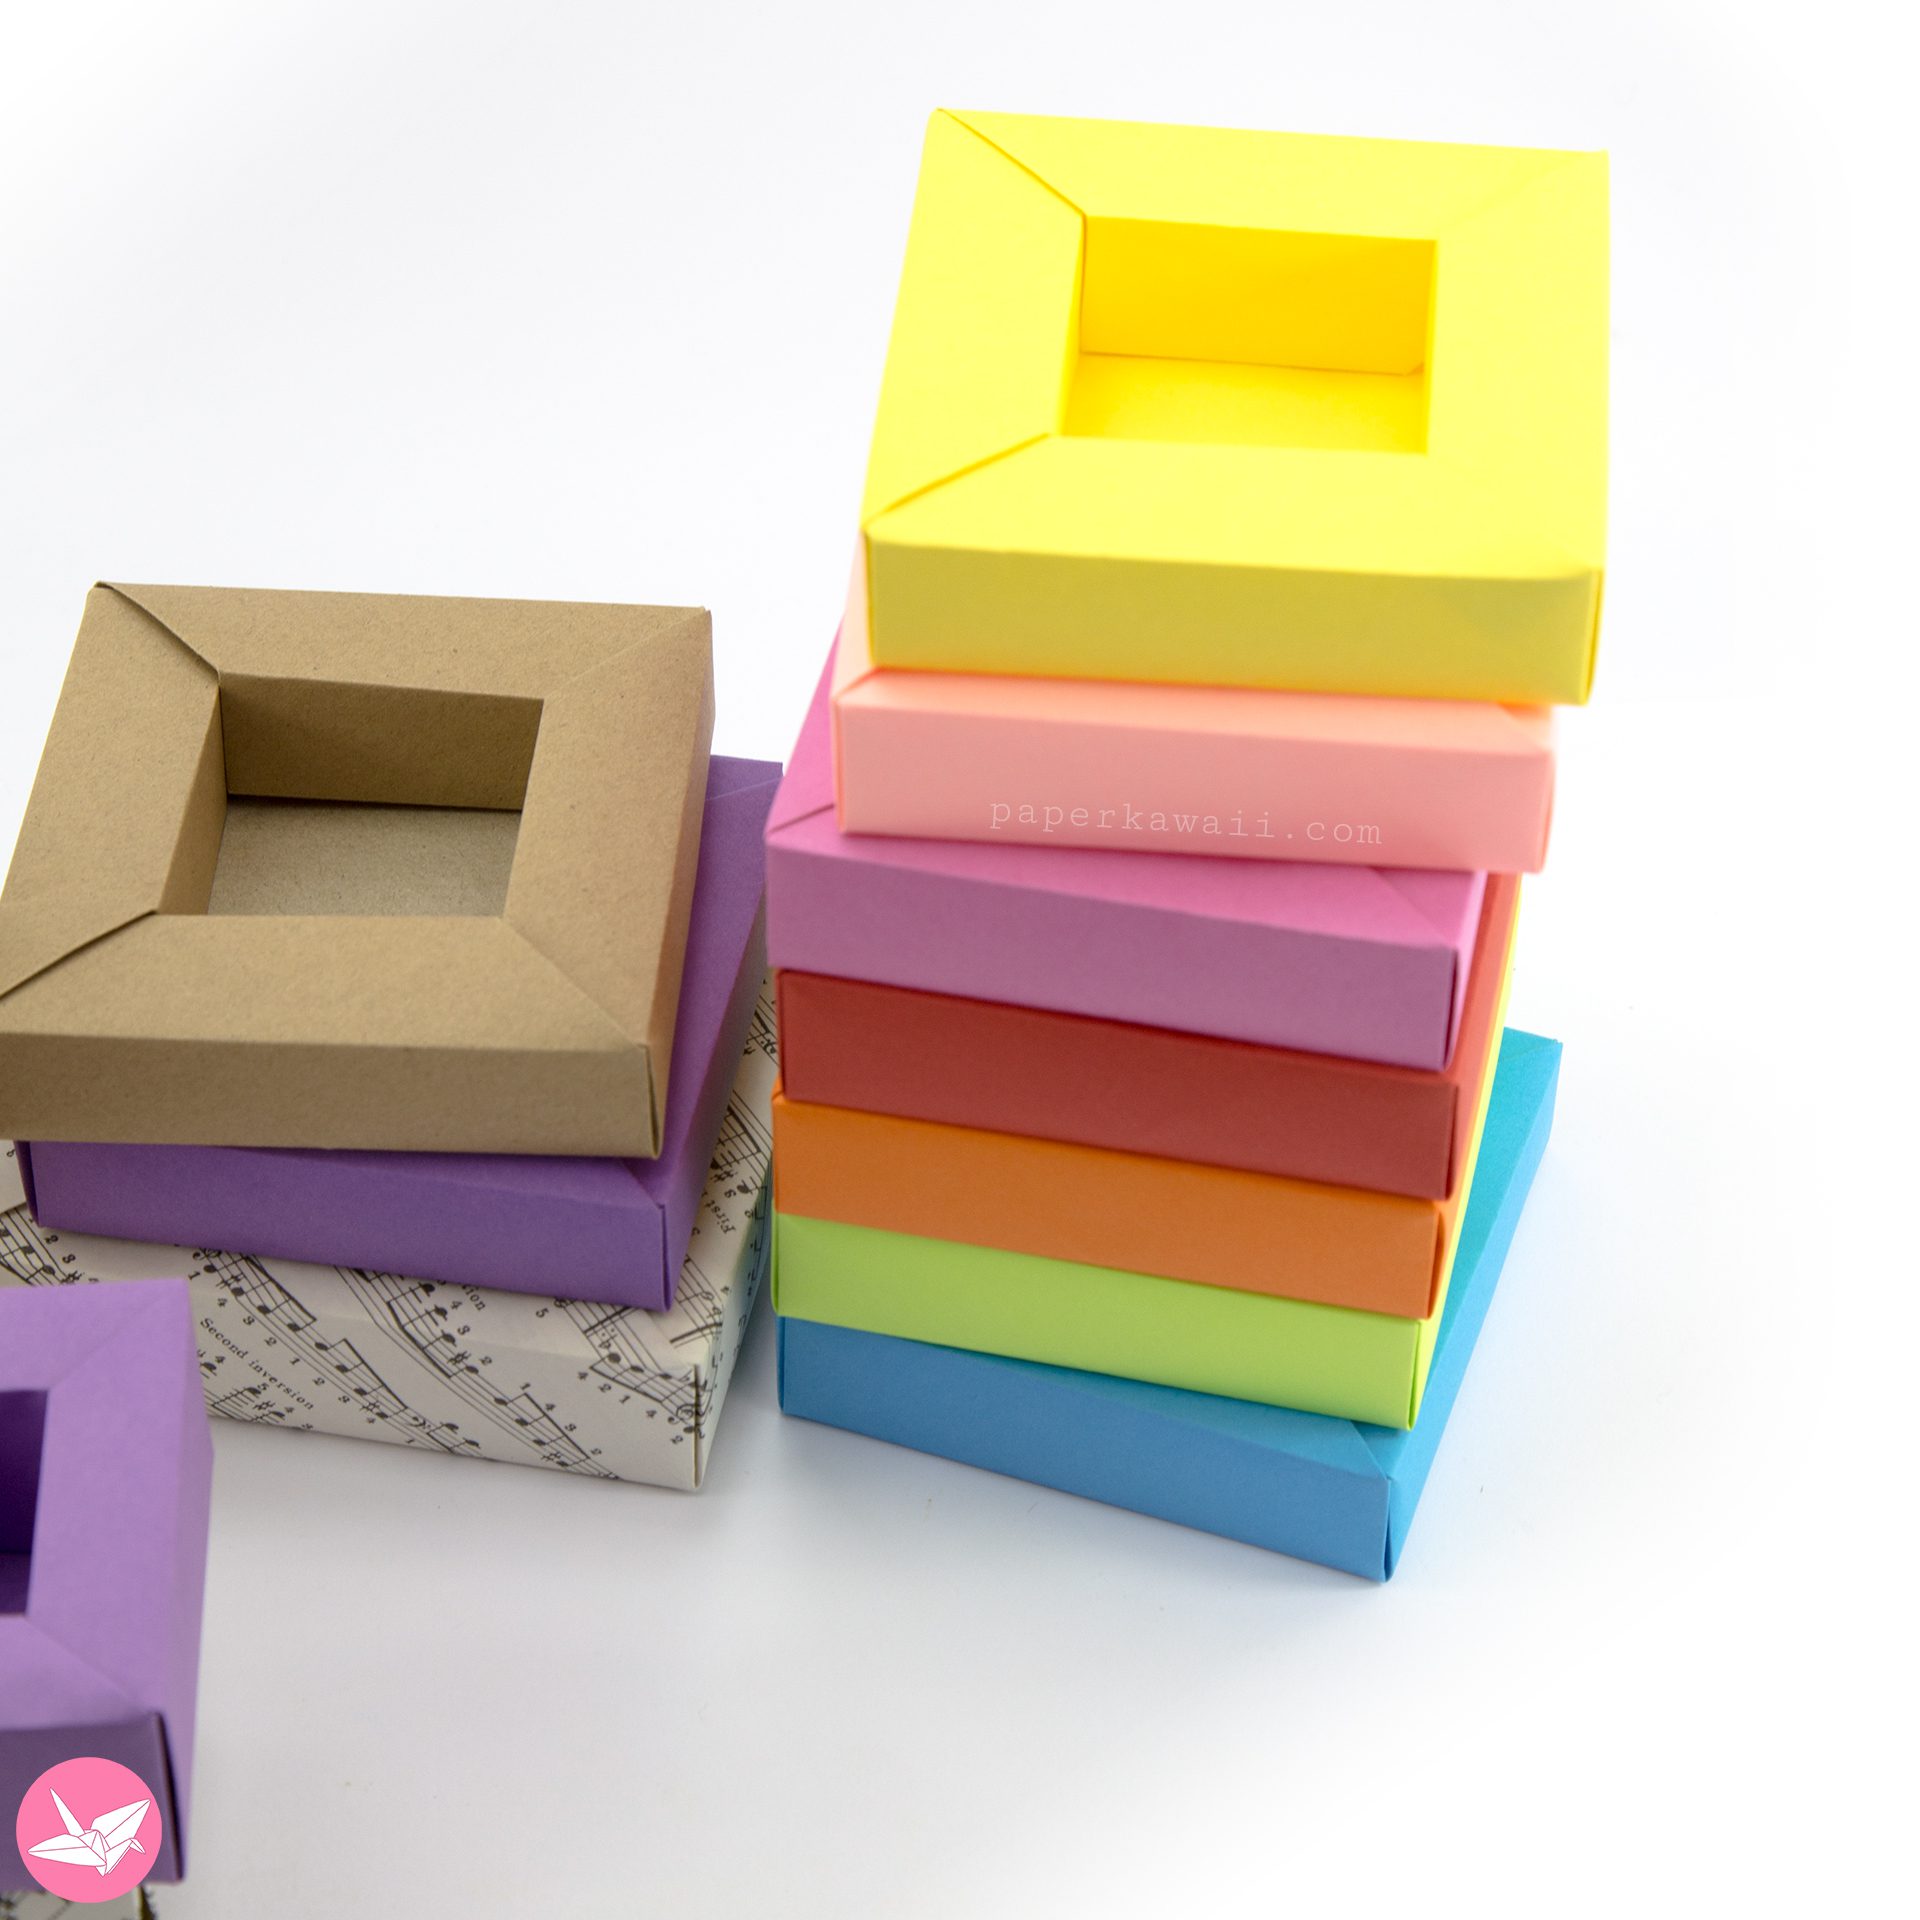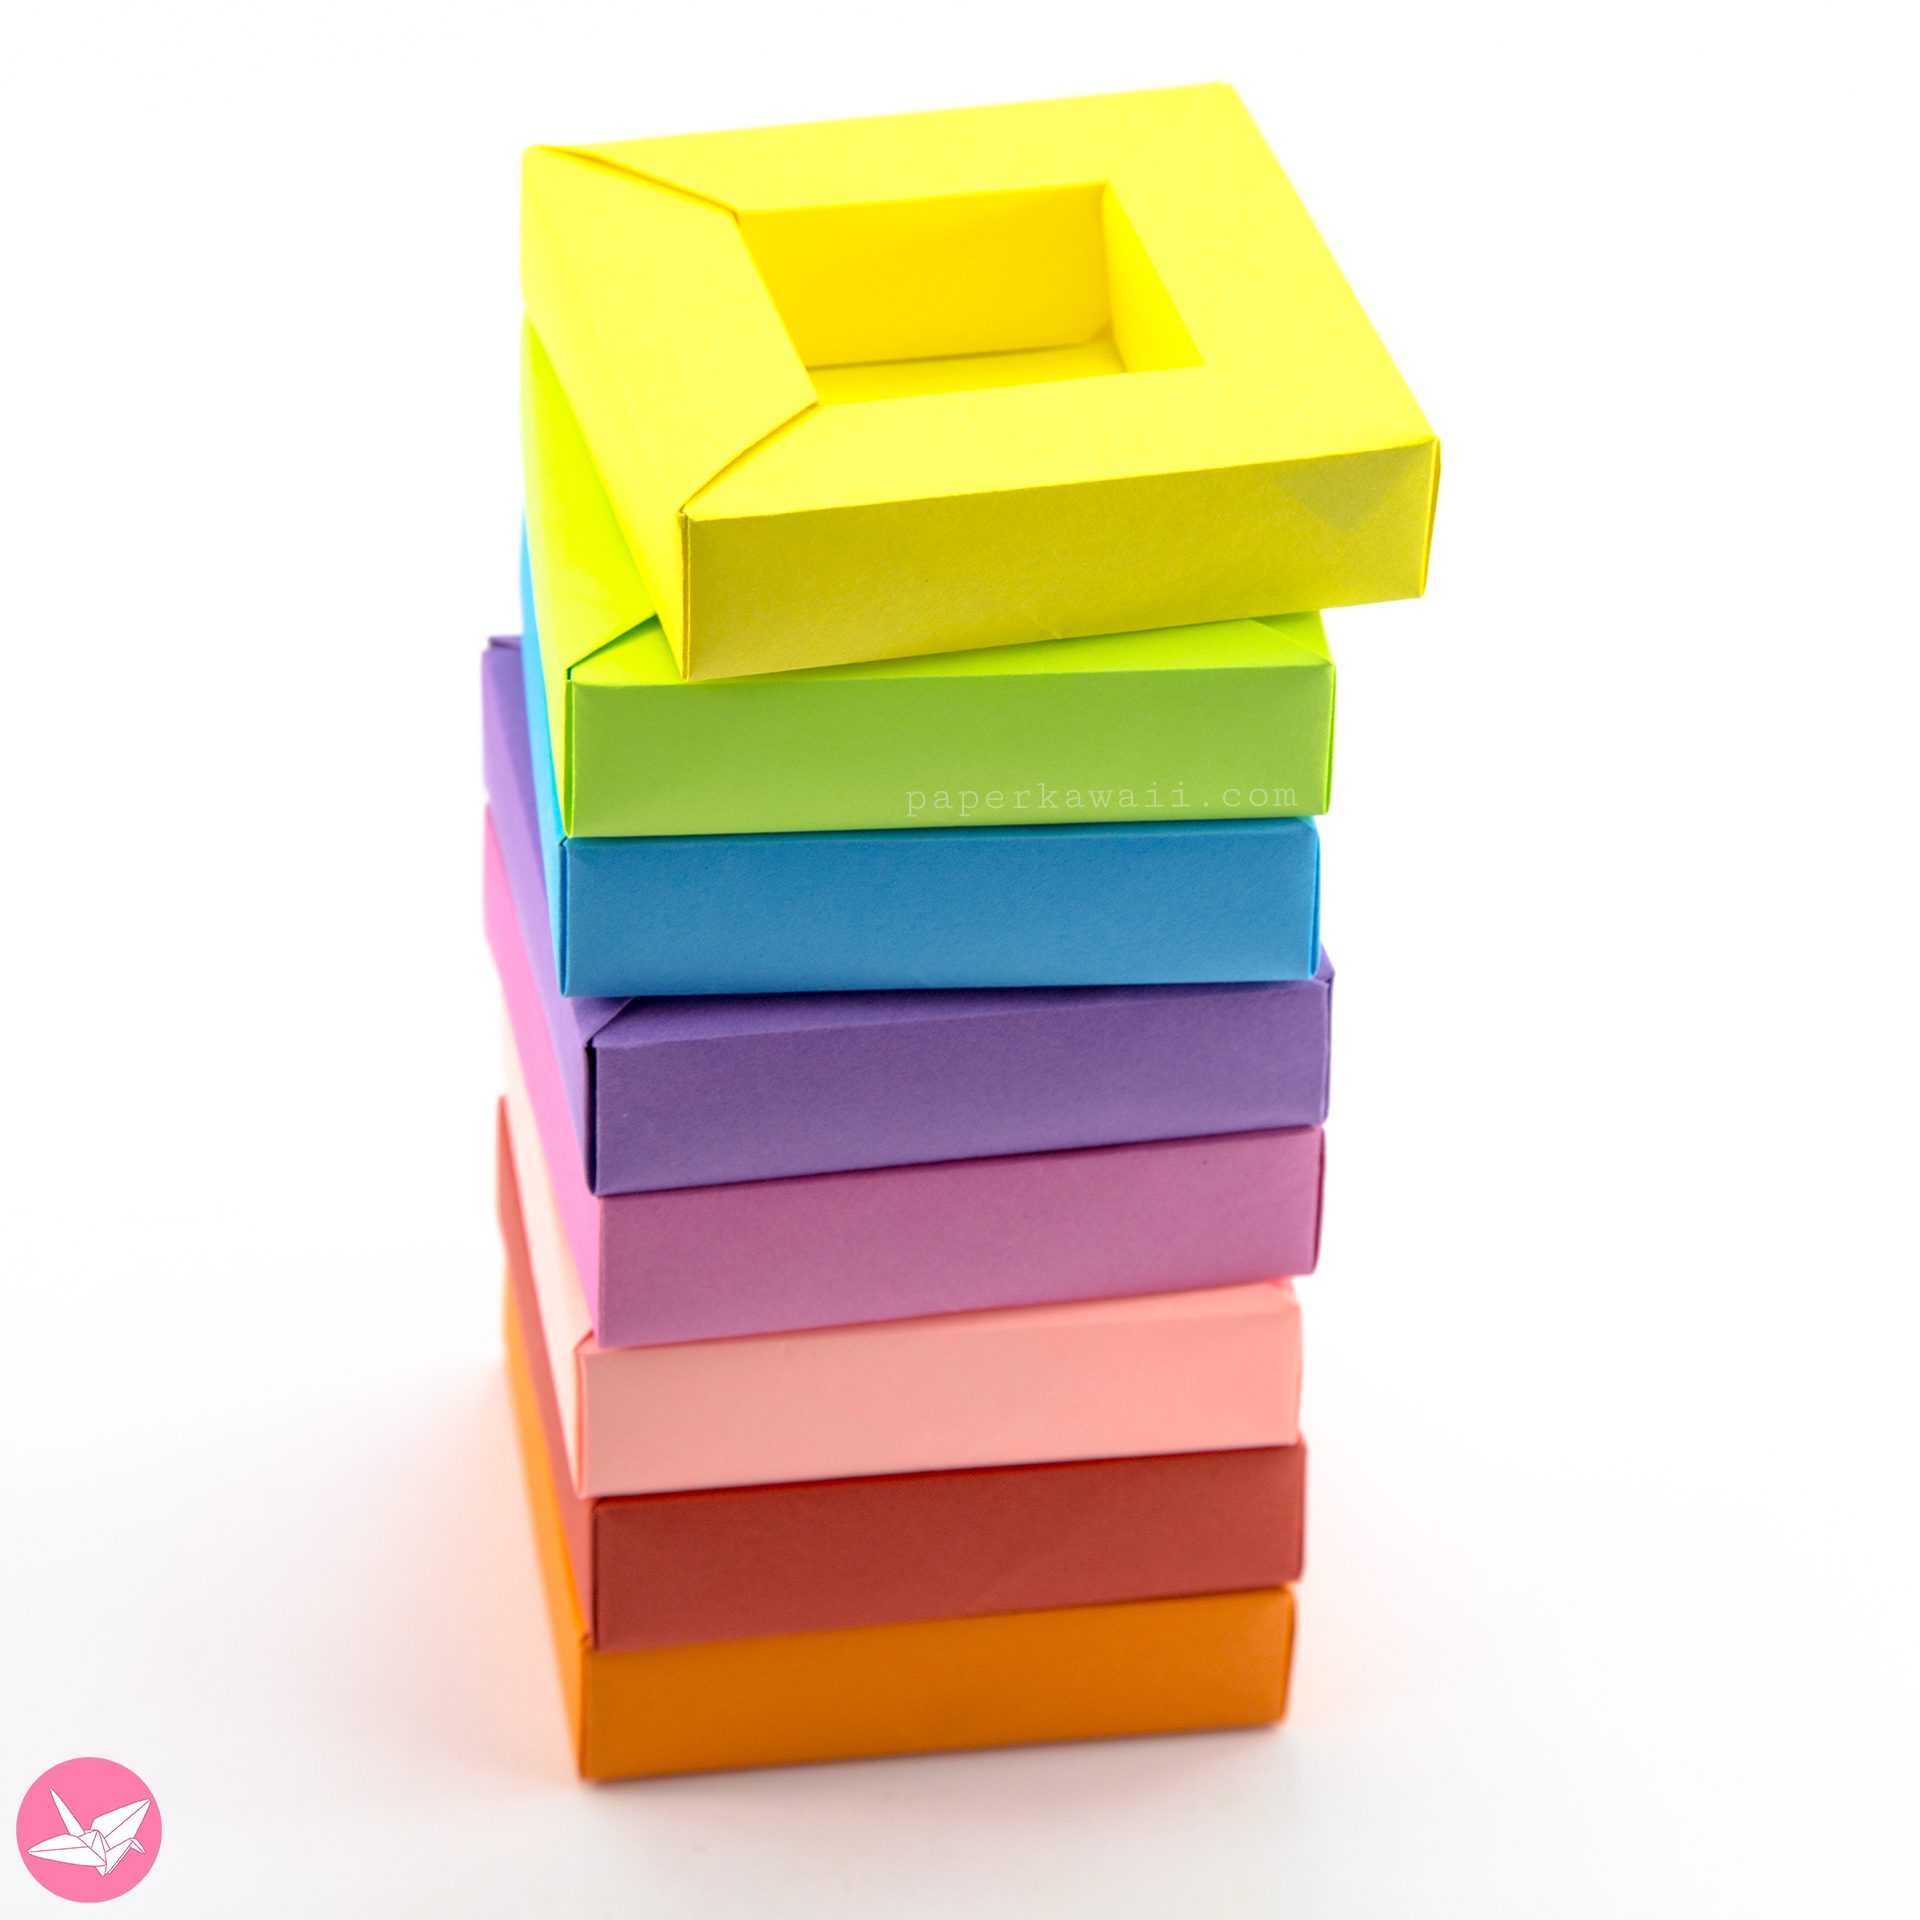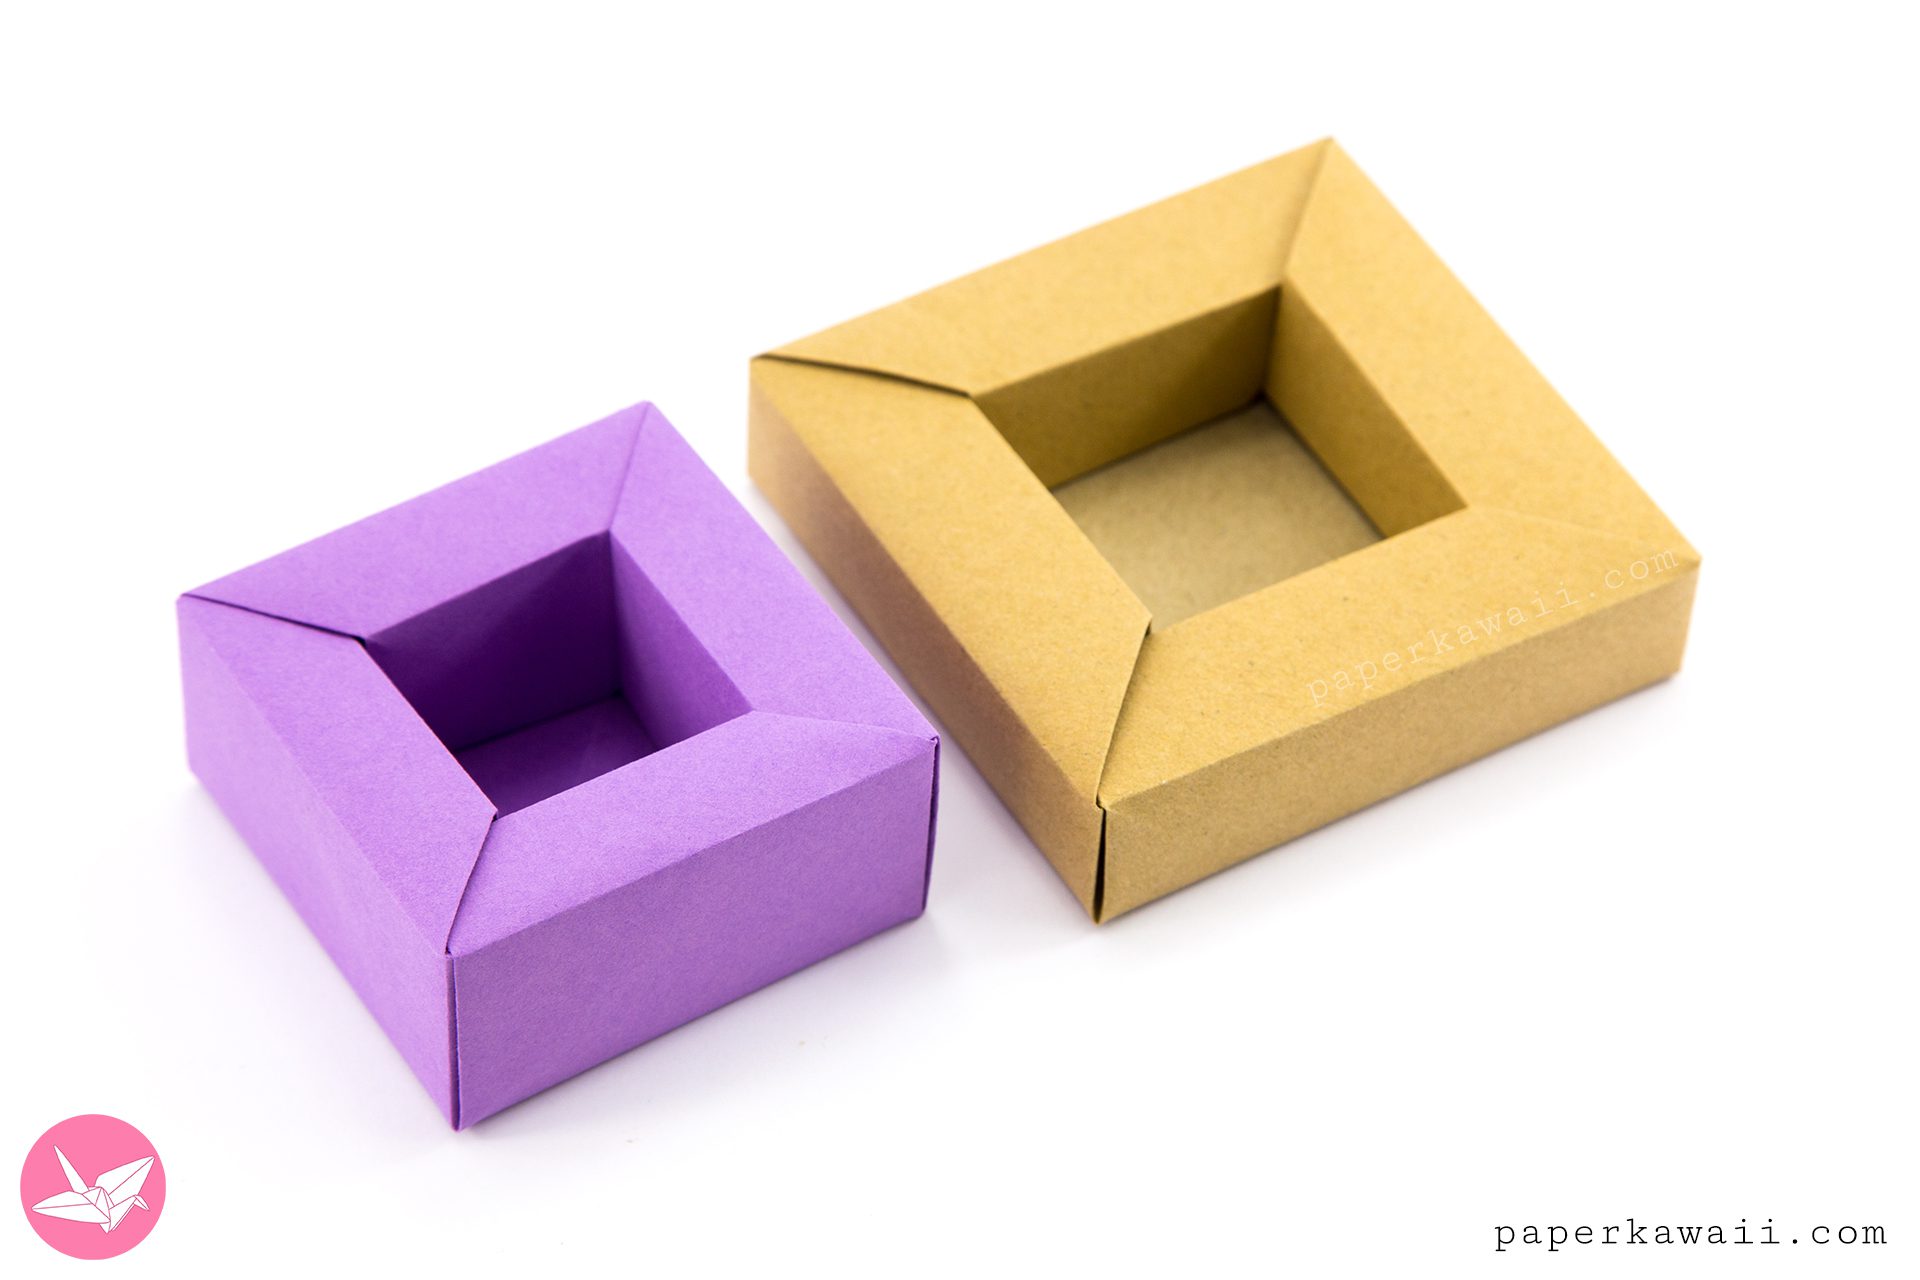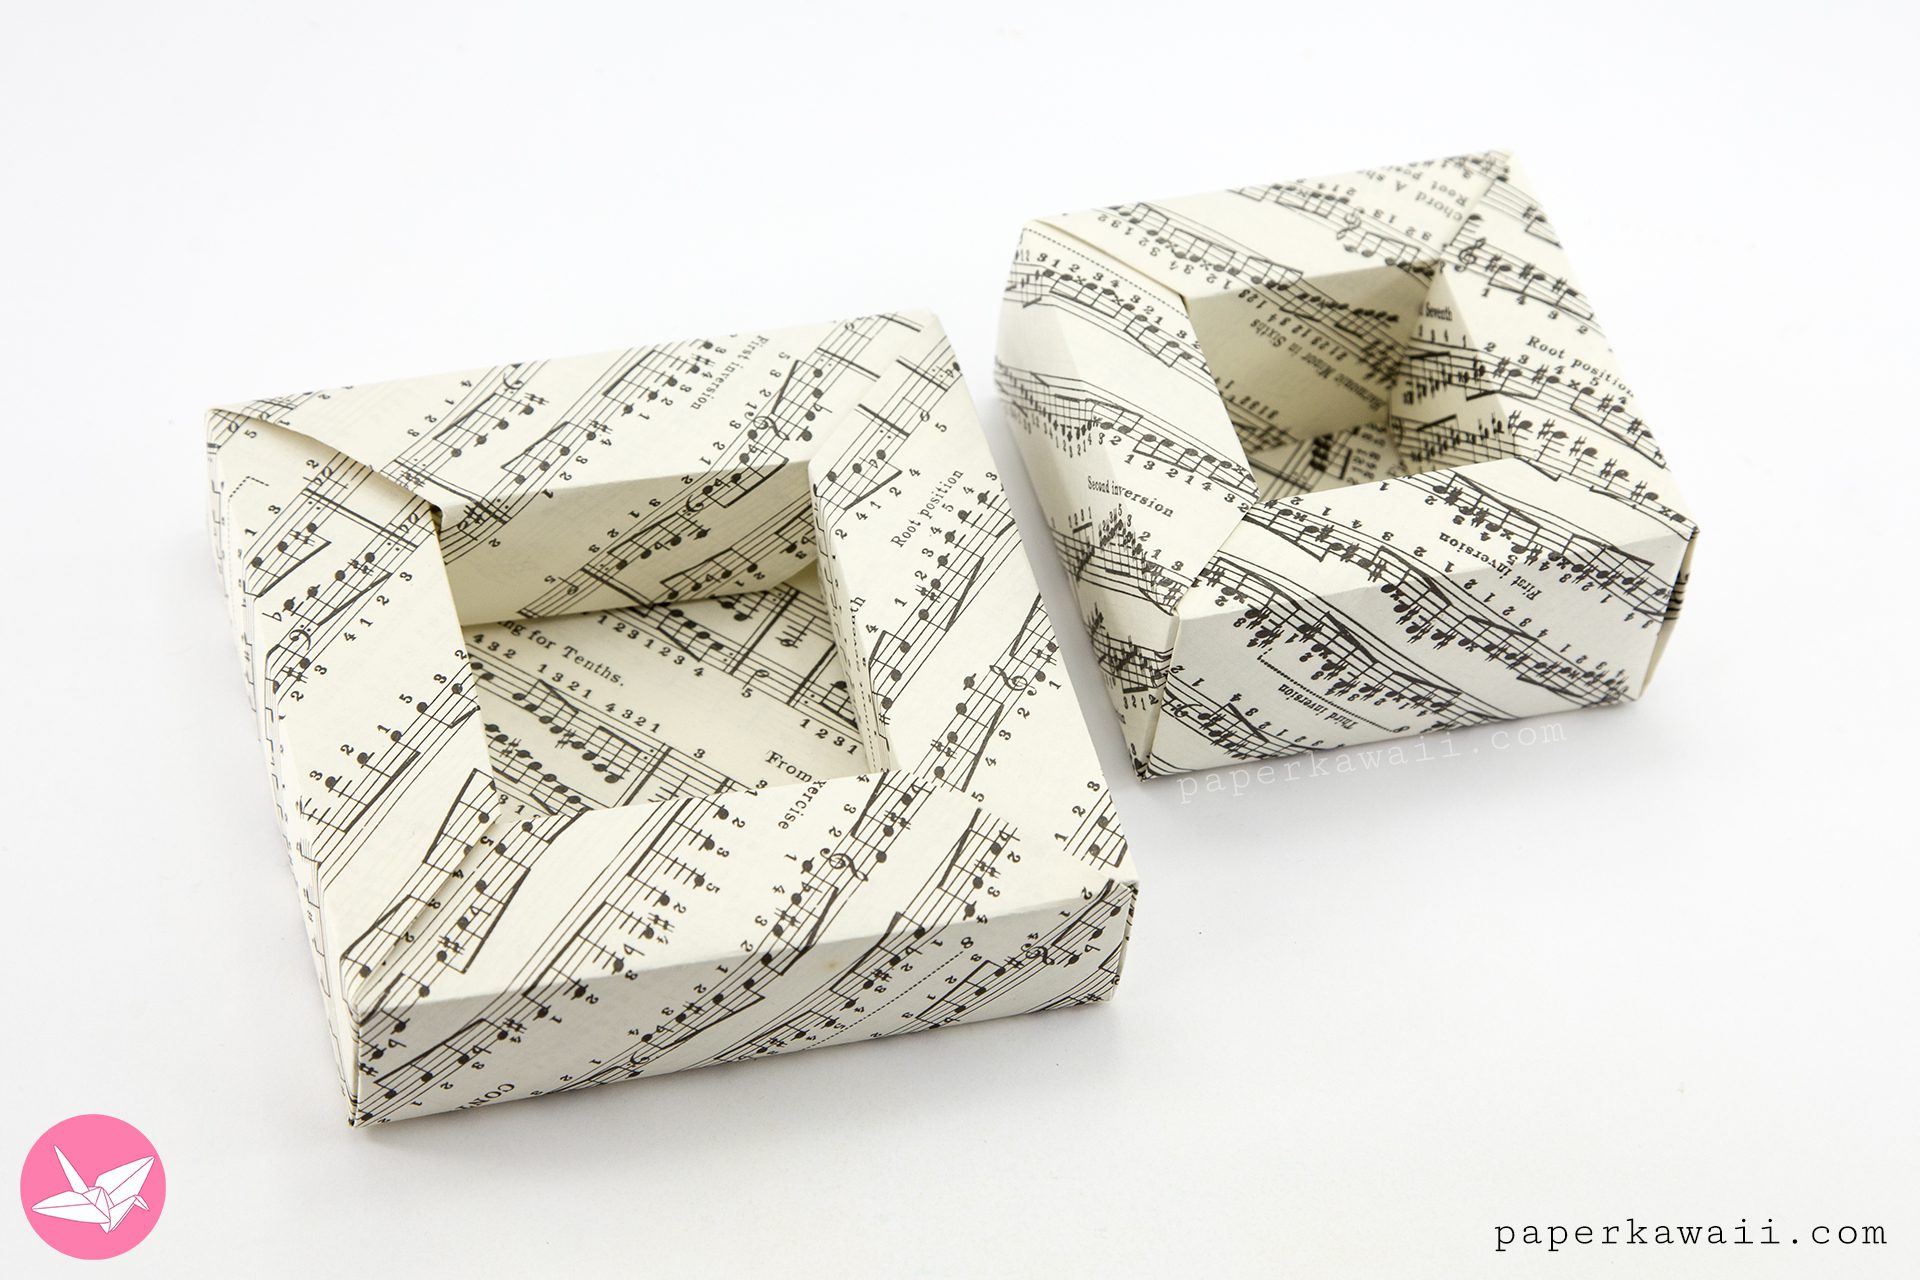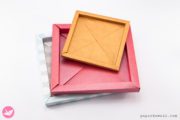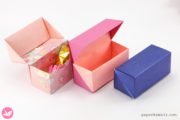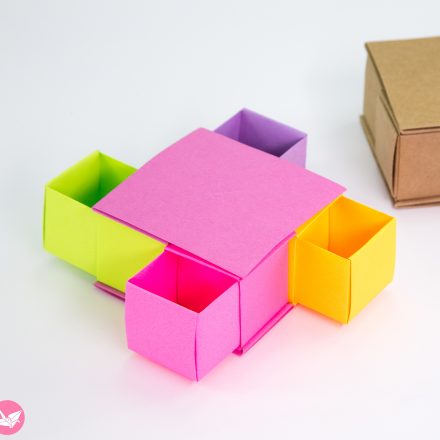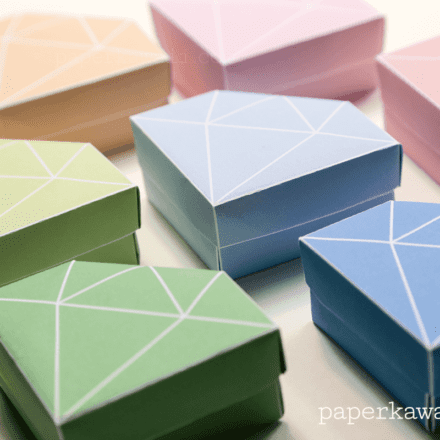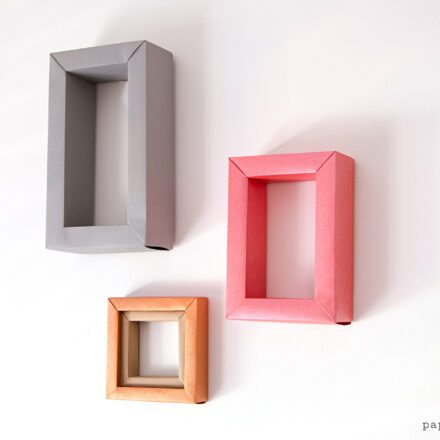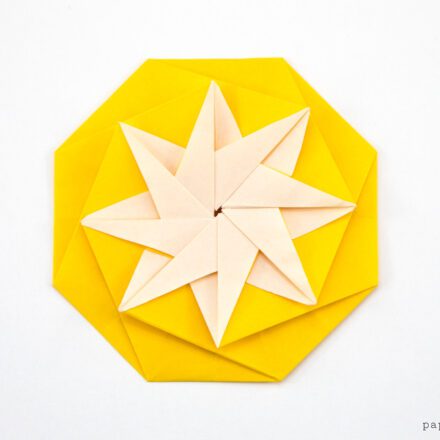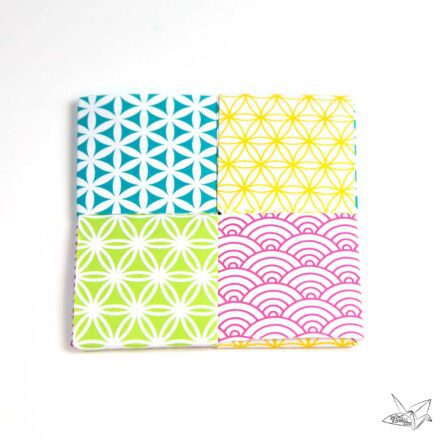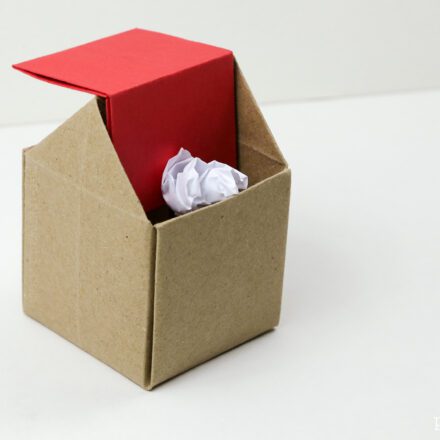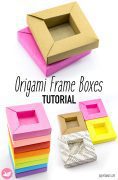
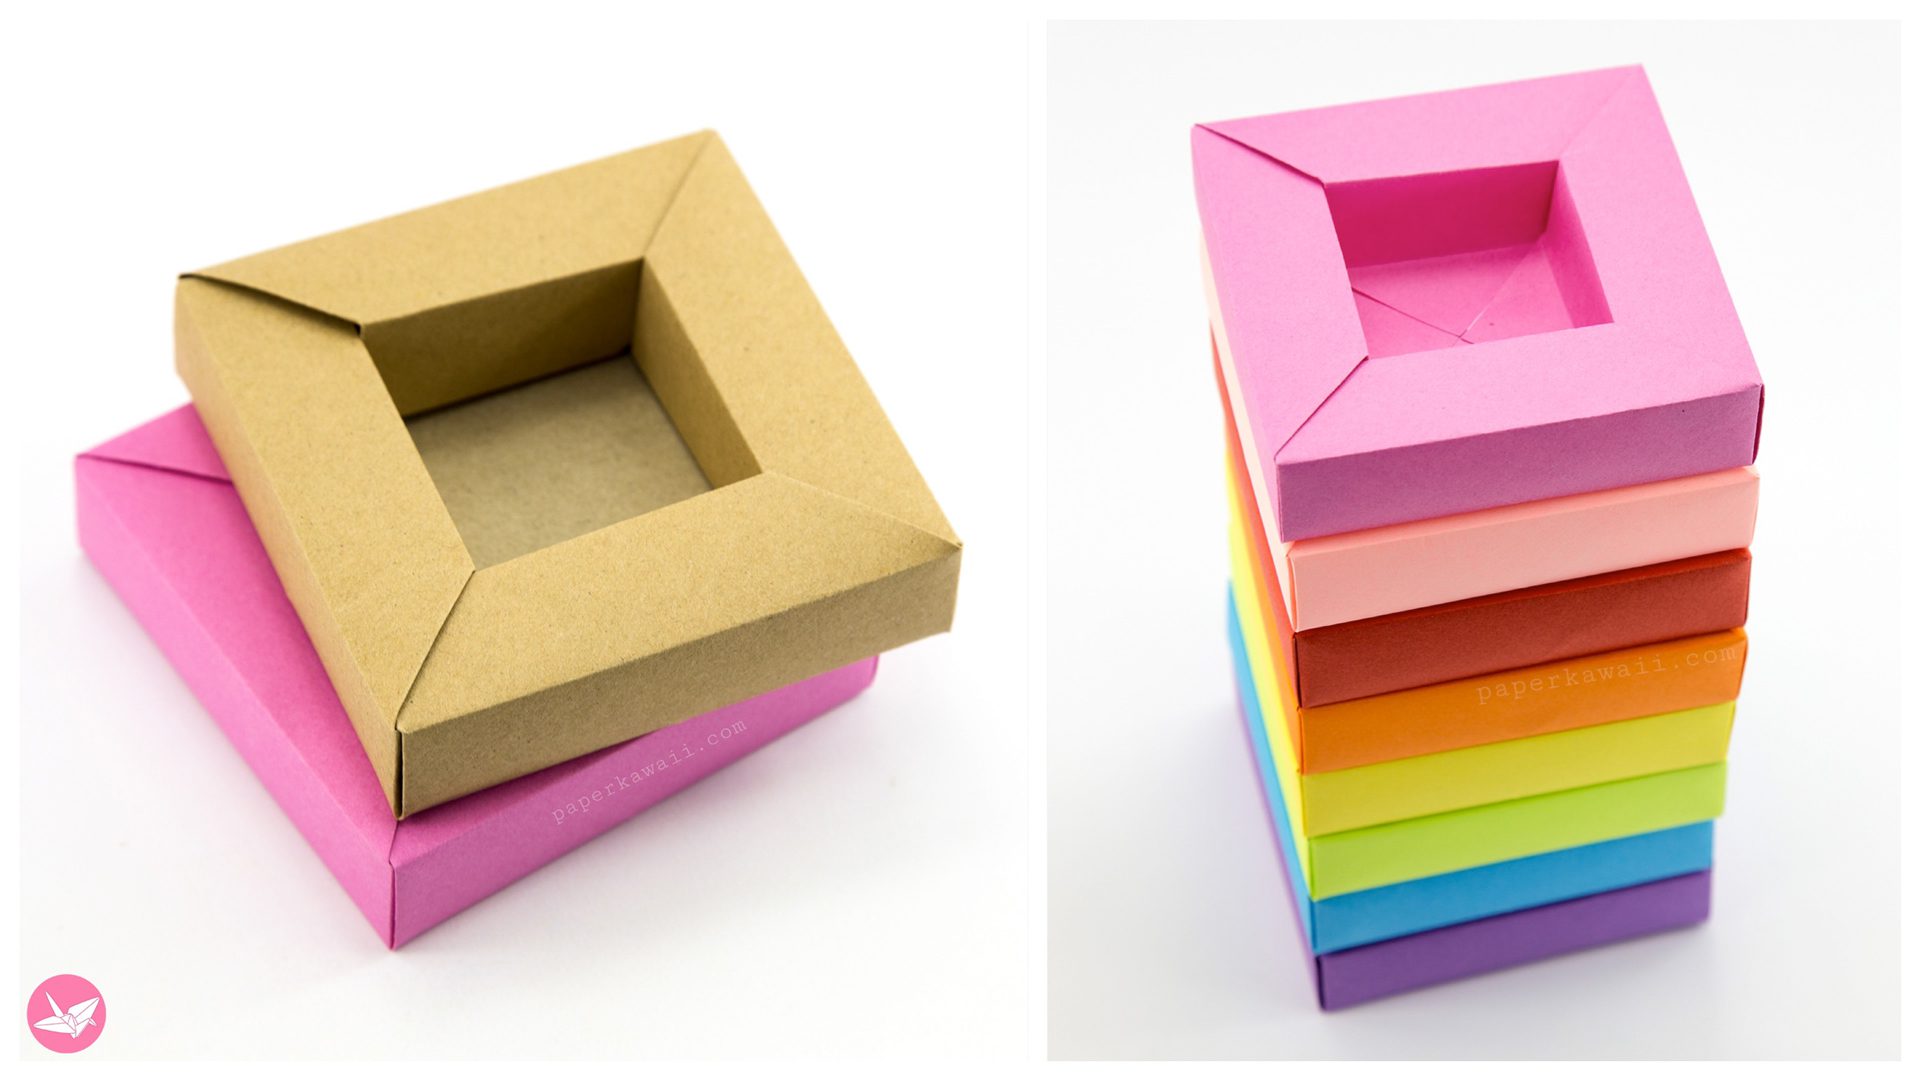
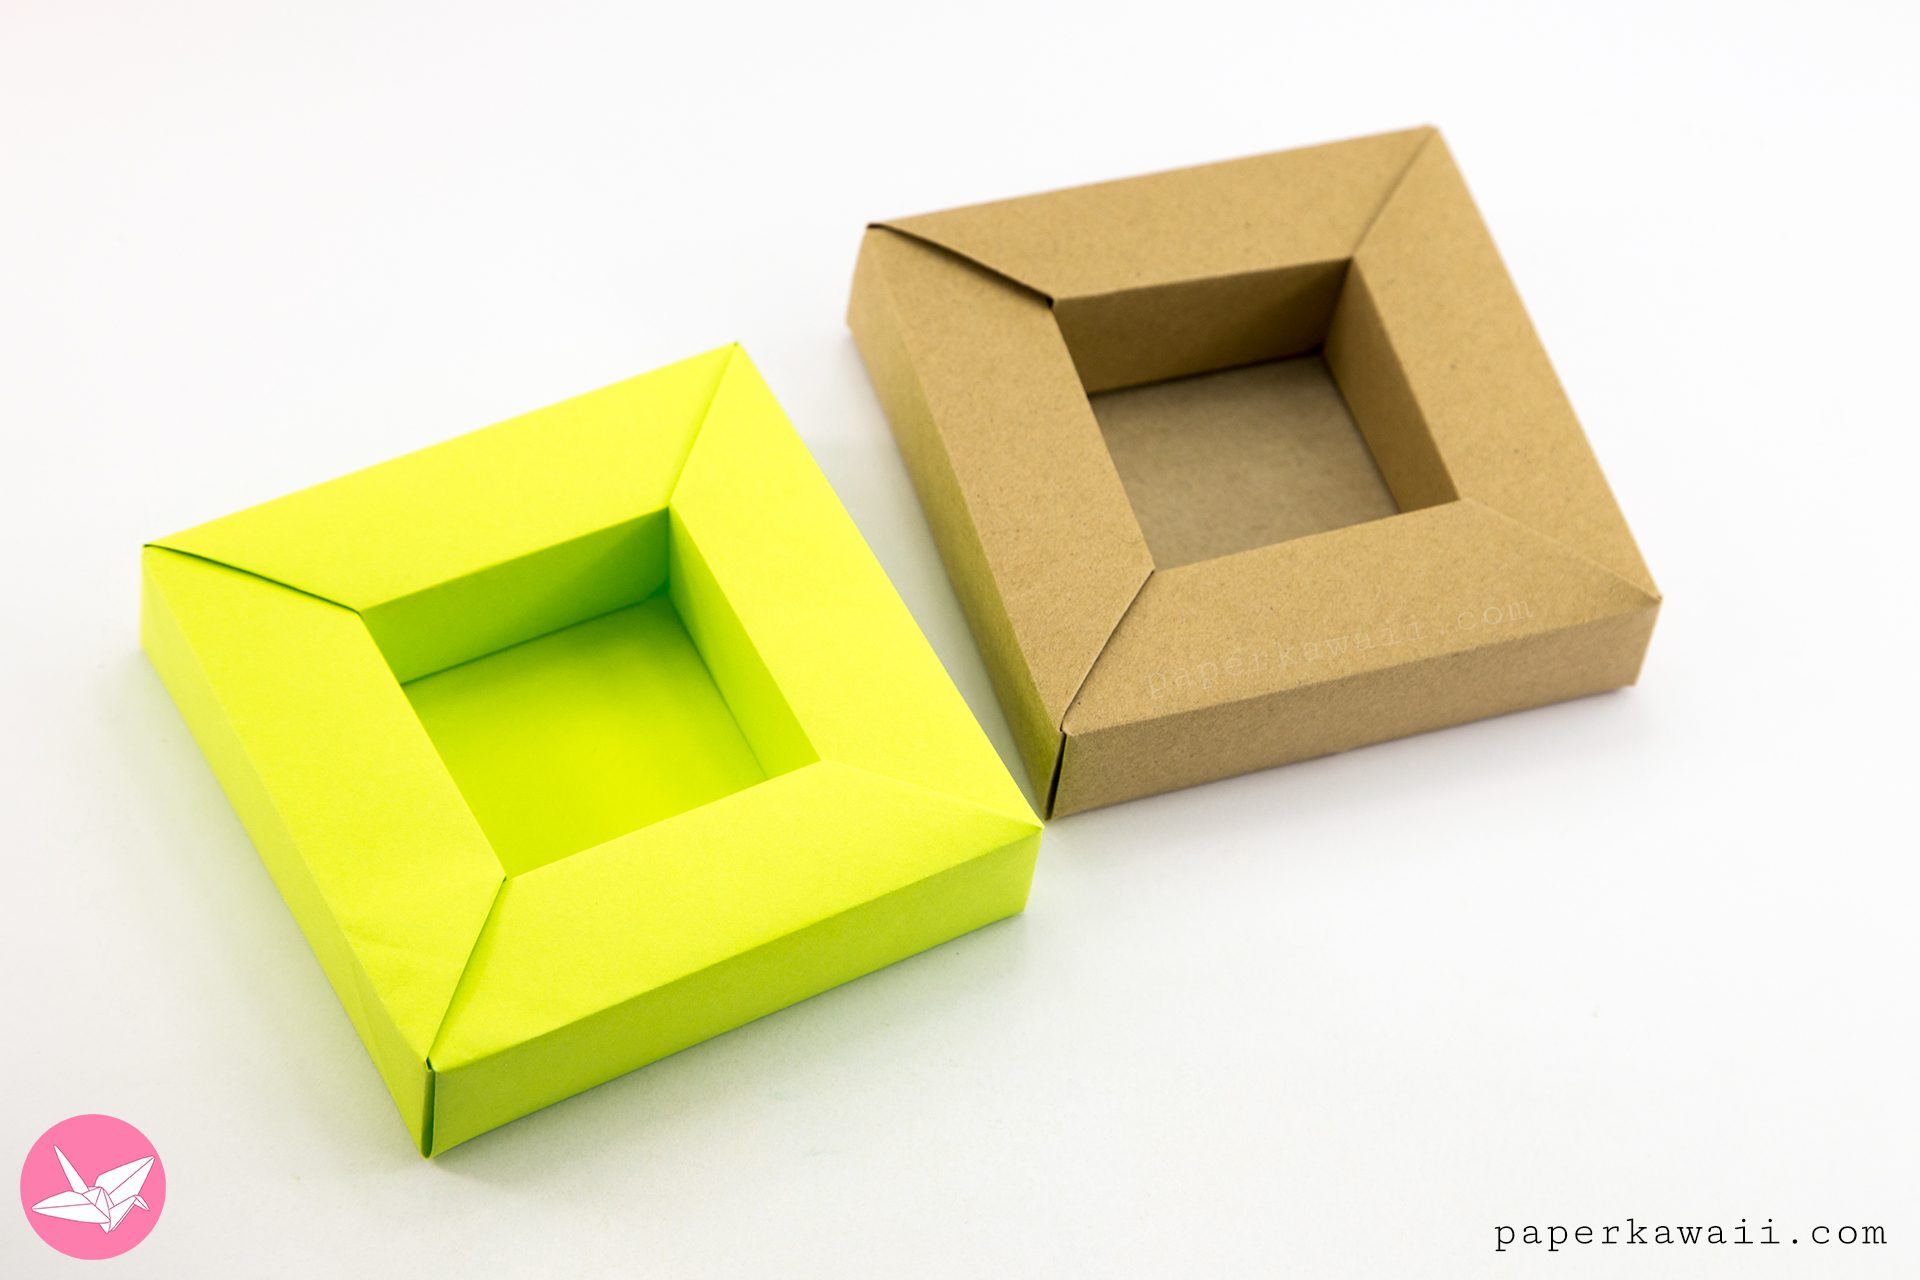
These are the instructions on how to make an origami frame box. You can stand these boxes up and use them as picture frames for your photos or art, or use them as pretty display boxes. They are great to use as shadow boxes too. Made from 1 sheet of square paper, no glue required.
This wider rimmed box is the continuation of the Origami Planter Box previously posted. But, this one came first. If you have any trouble folding this one, please try that one first, it’s a little easier and you’d be able to understand the method. But, as always, anyone can fold this, pause the video, use large paper, it should be fine.
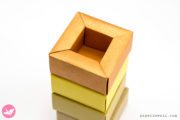
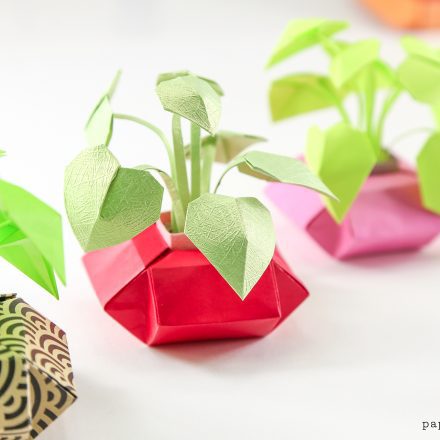
You can also make a little masu box to go in the middle. See below for sizes.
Origami Frame Box Tutorial
Design: © Paper Kawaii Copyright Information
Level: ★★★★☆
You will need:
▸ 1 sheet of square paper. Paper size example: 21 x 21 cm
Final model size: 10 x 10 x 2.5 cm. Inner Box: 5 x 5 x 2.5 cm
Masu box (tutorial): Paper size: 14.5 x 14.5 cm (if used 21 x 21 cm for frame box)
For other sizes, times your inner box size by 2.9 (e.g: inner box size: 6 x 6 cm, so, 6 x 2.9 = 17.4.. so you’d need 17.4 x 17.4 cm).

You can check out my personal favourite origami papers, paper craft tools and more on my Amazon.com store.