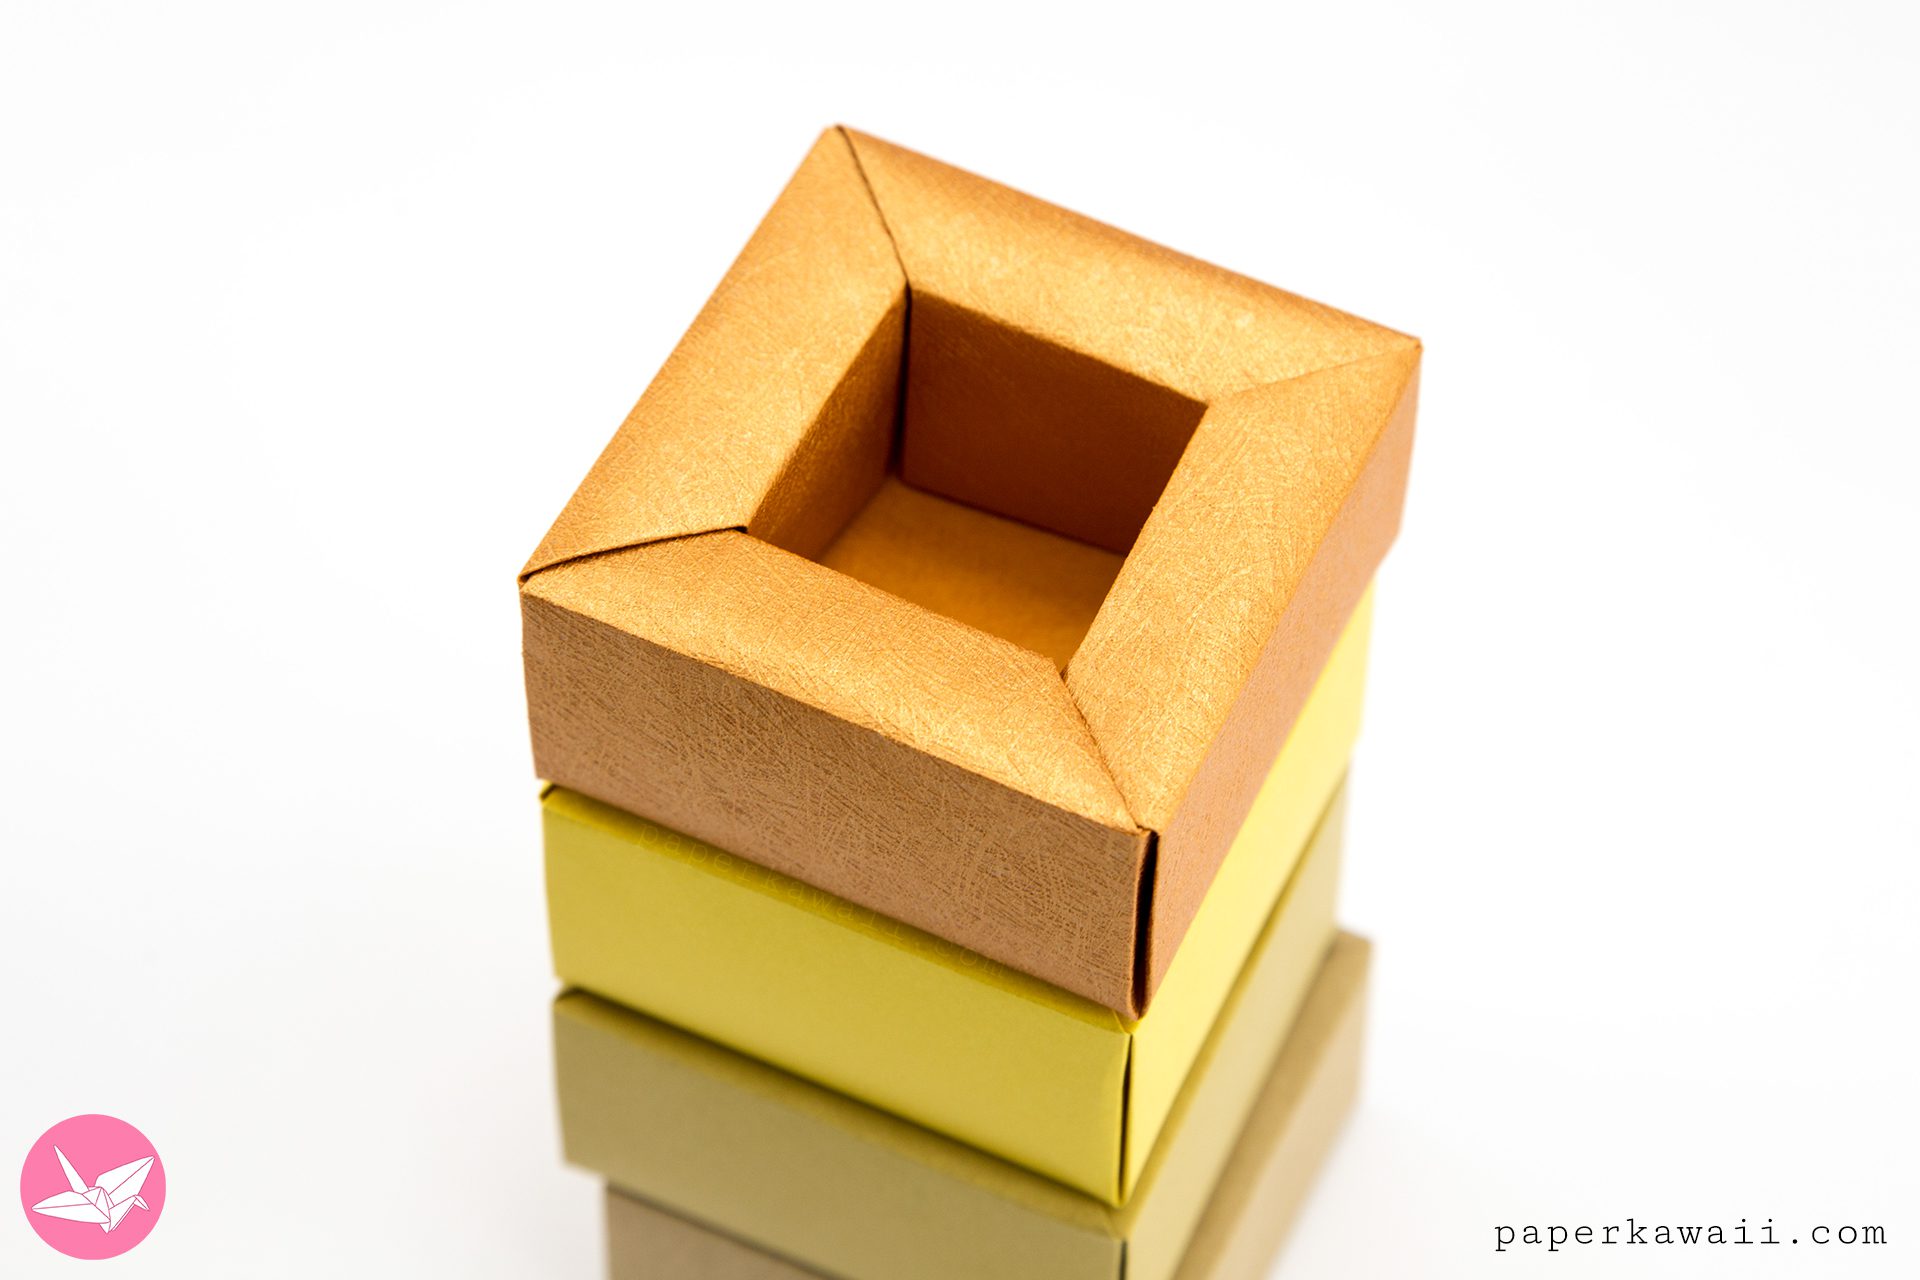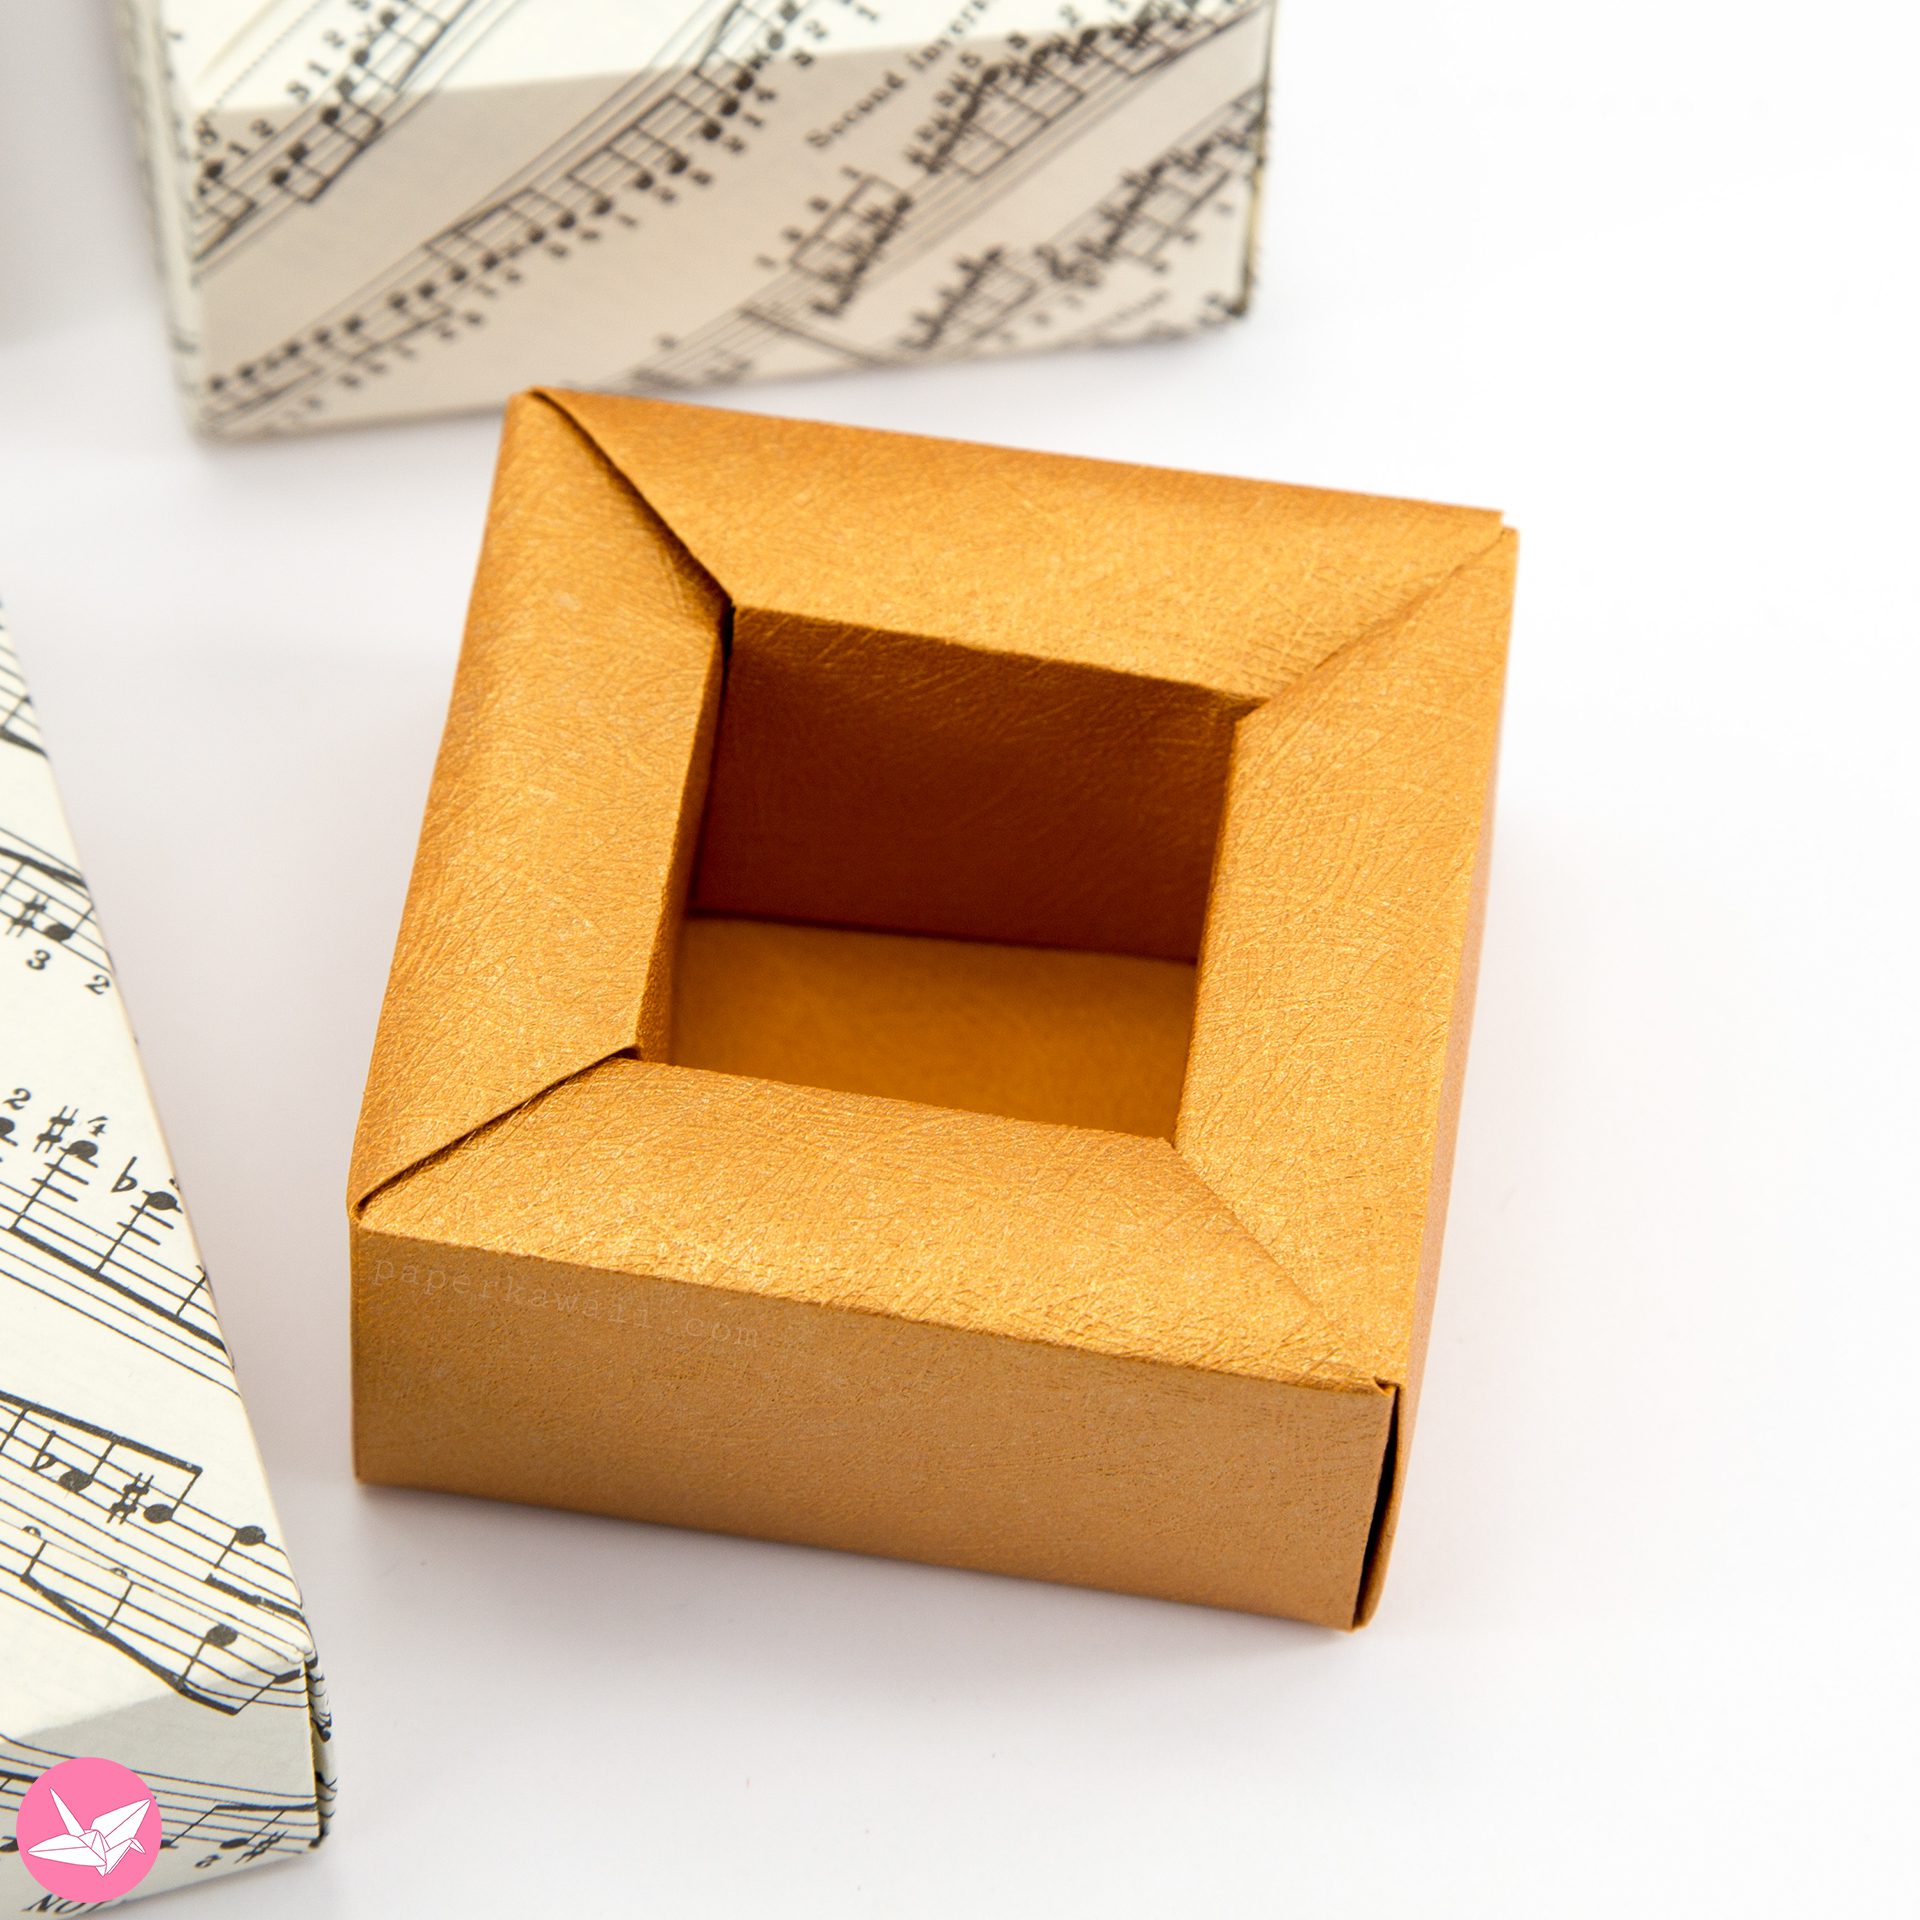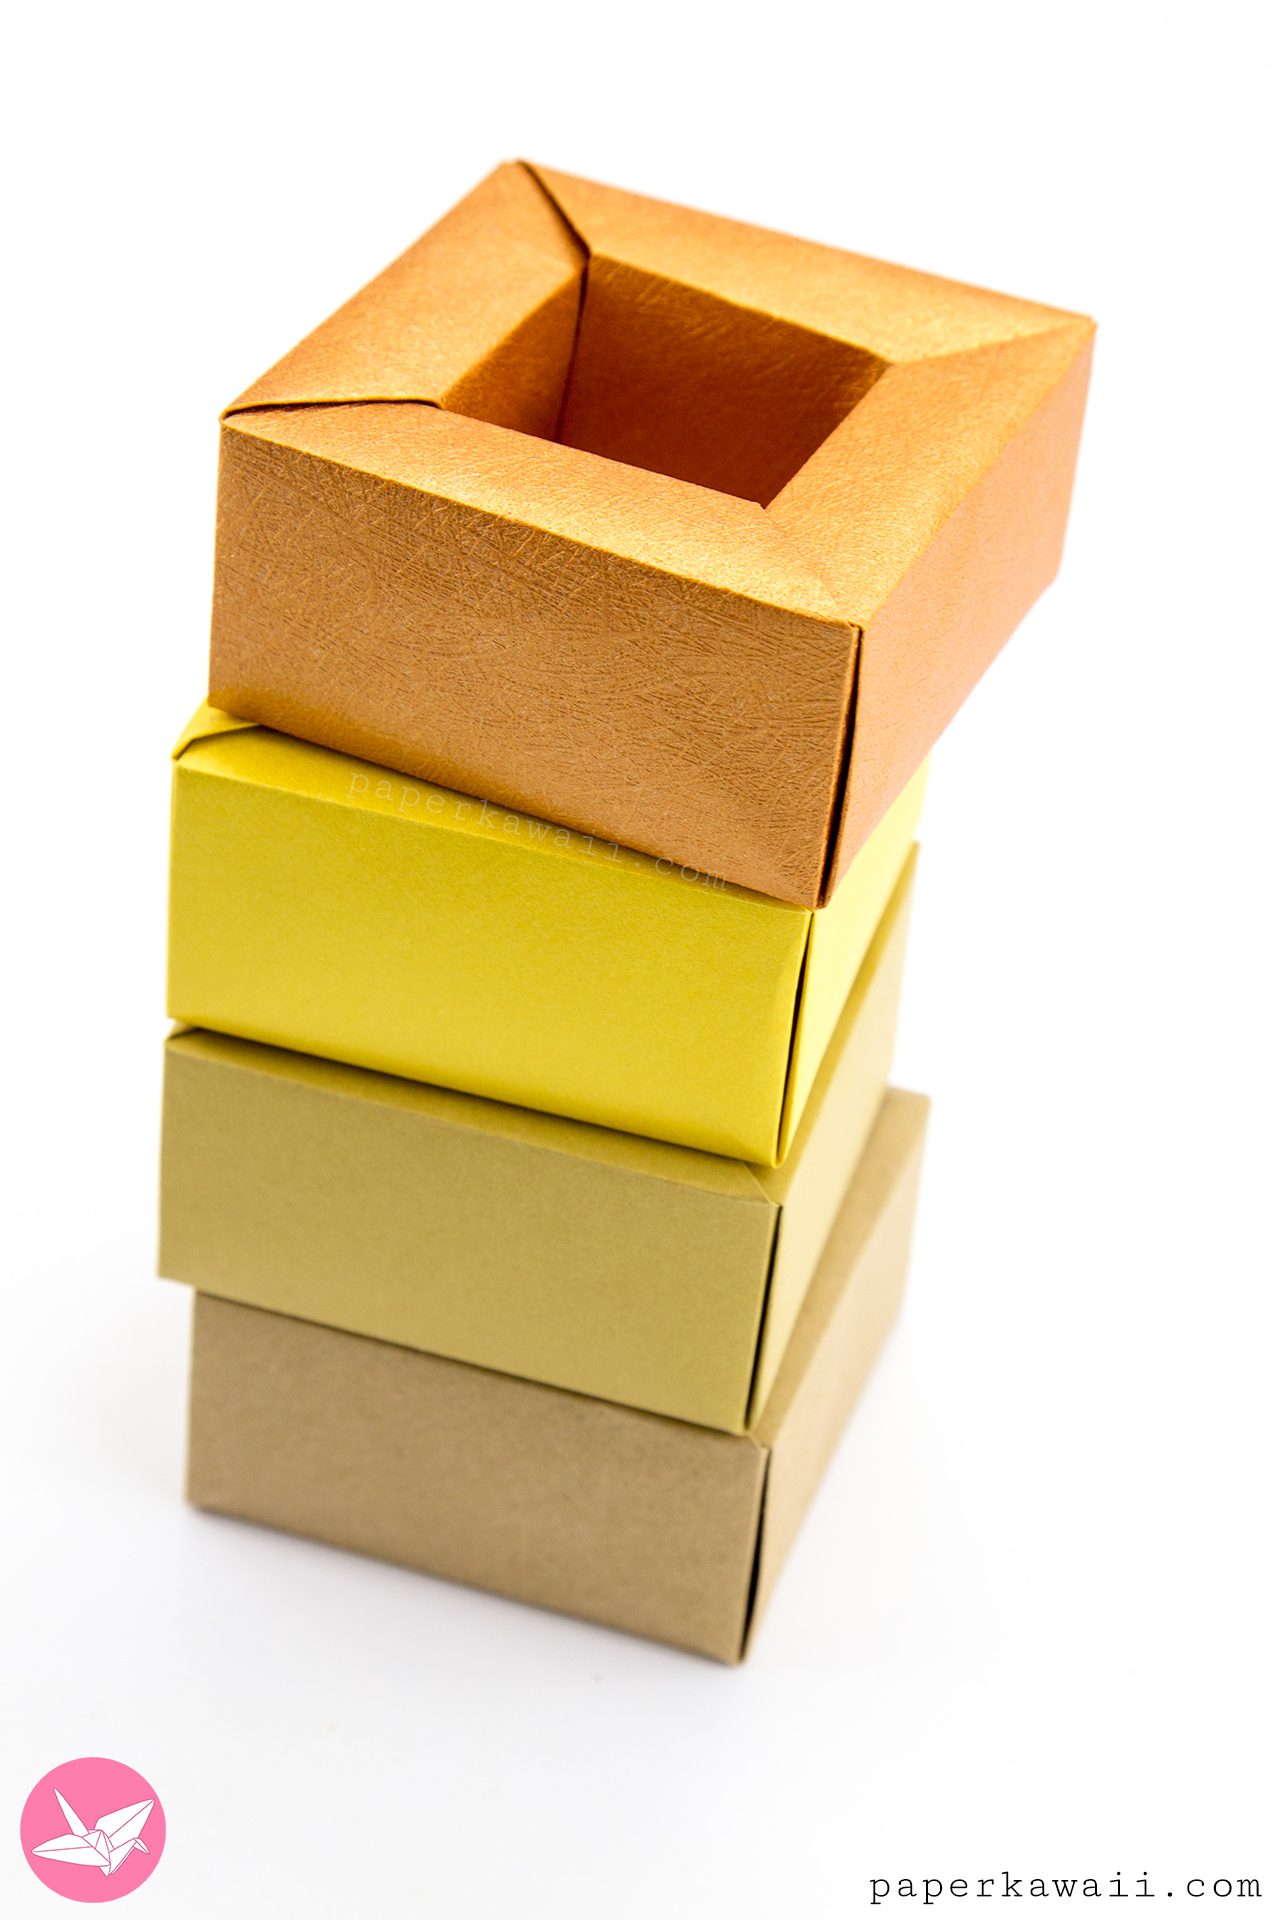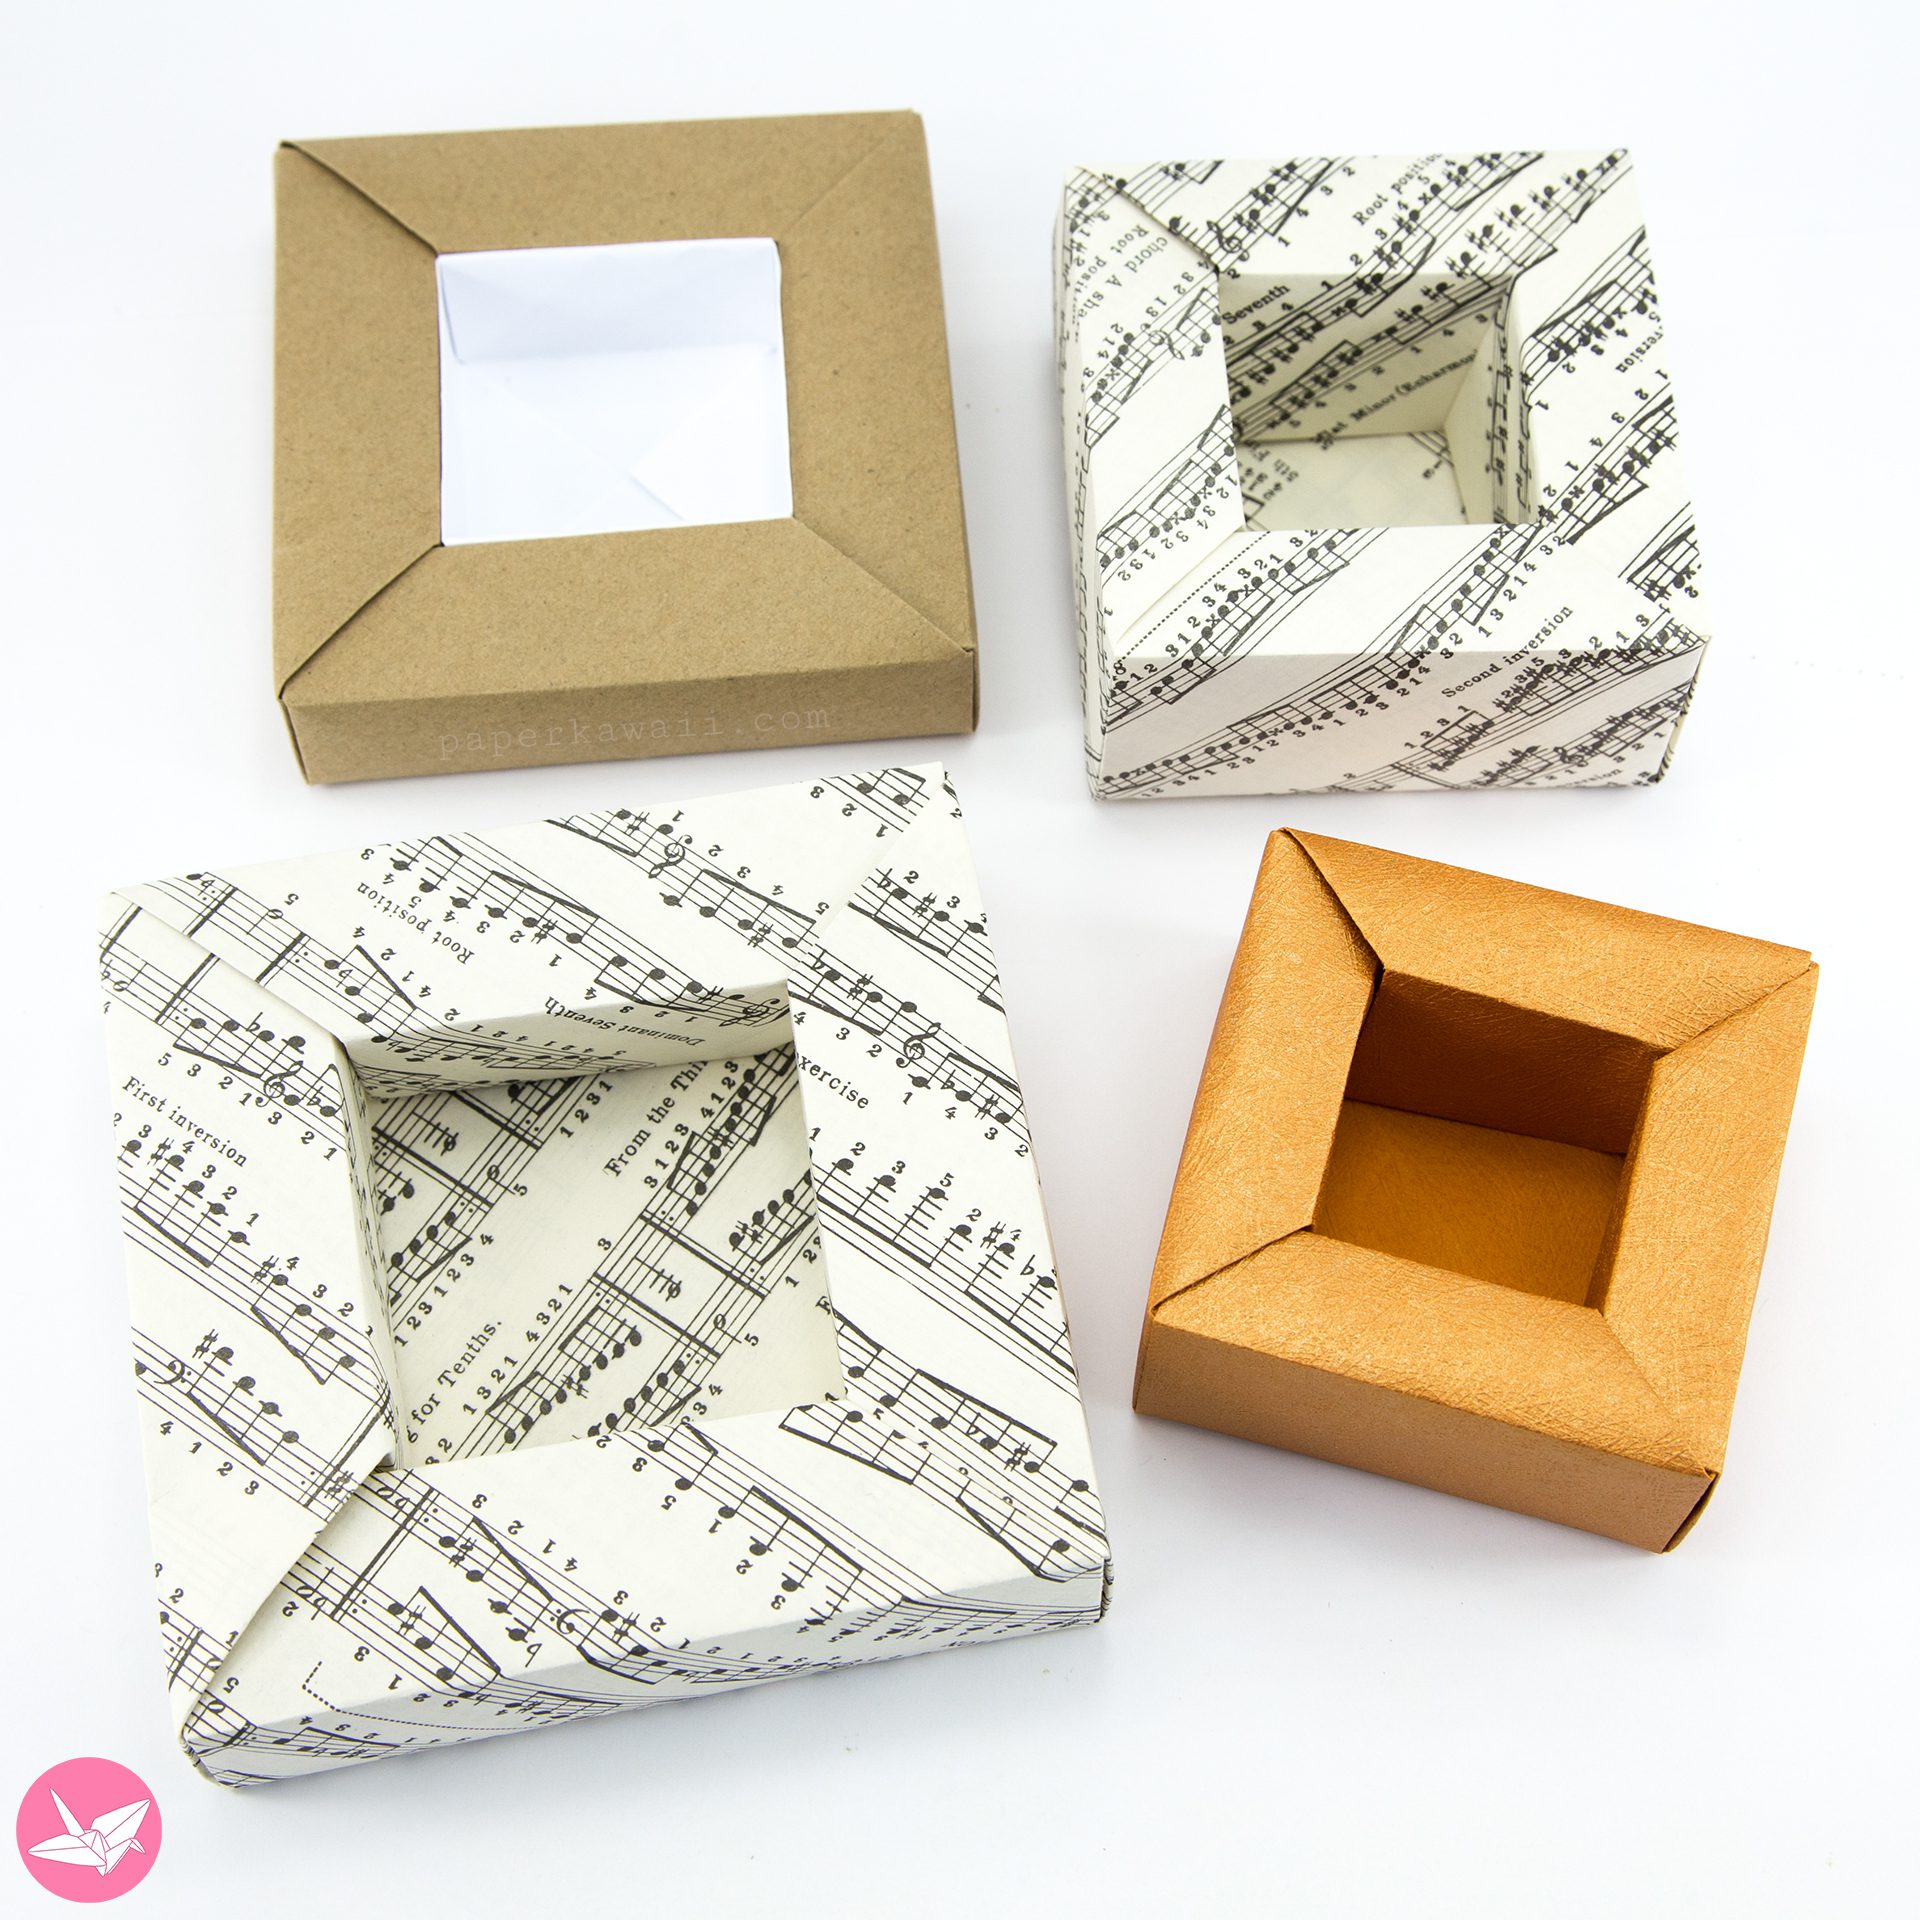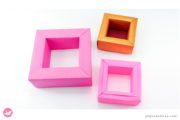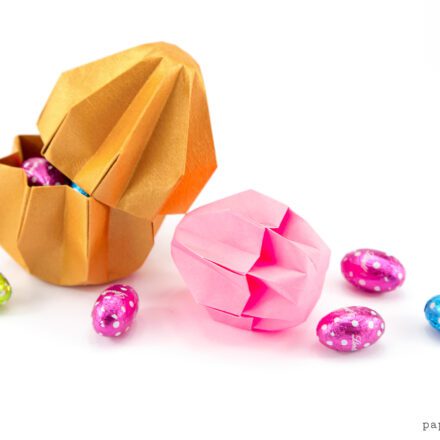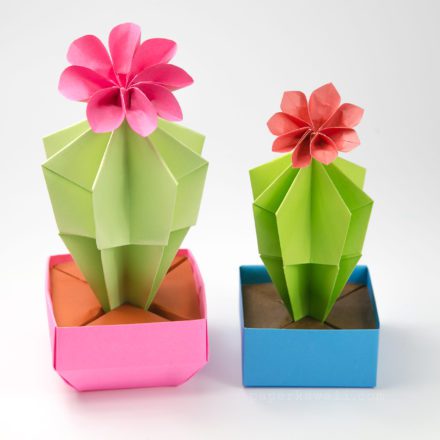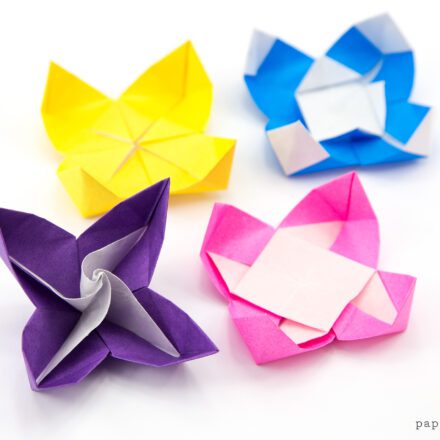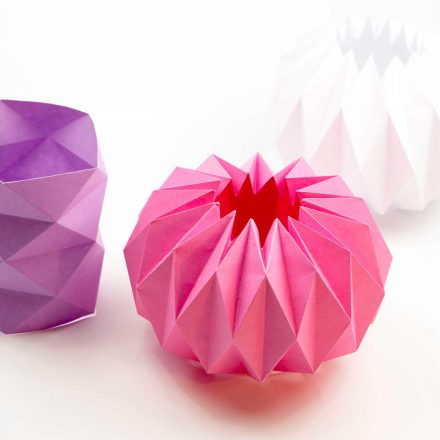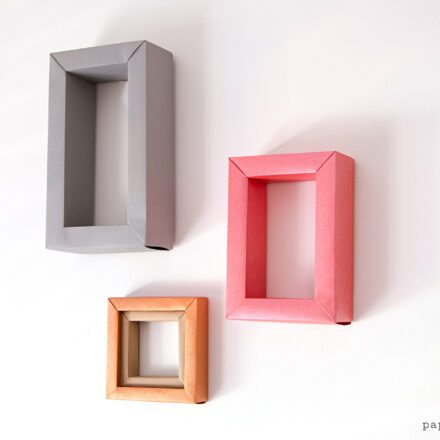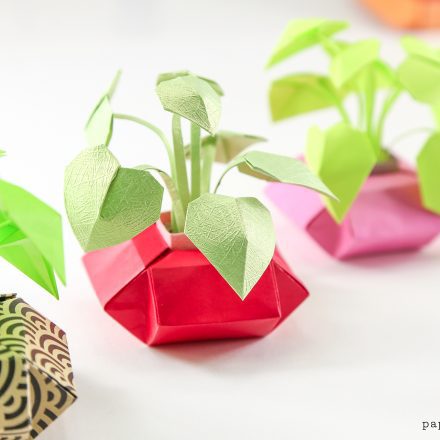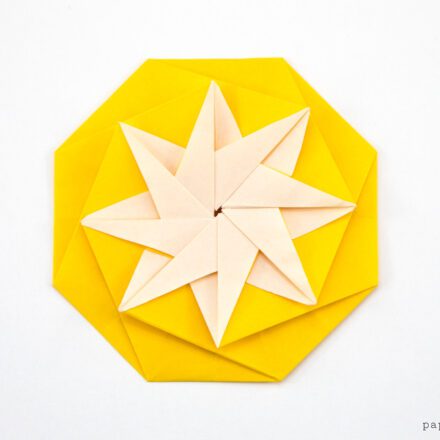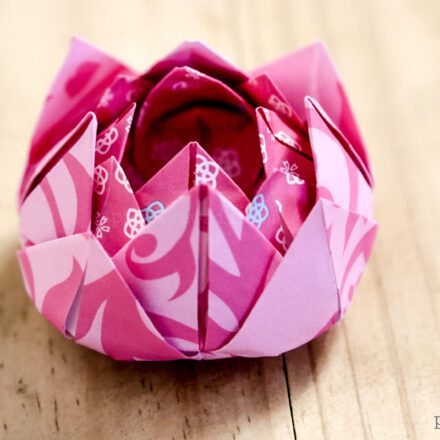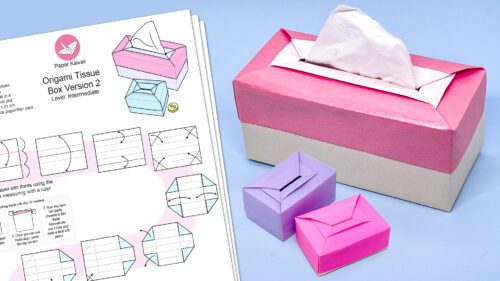
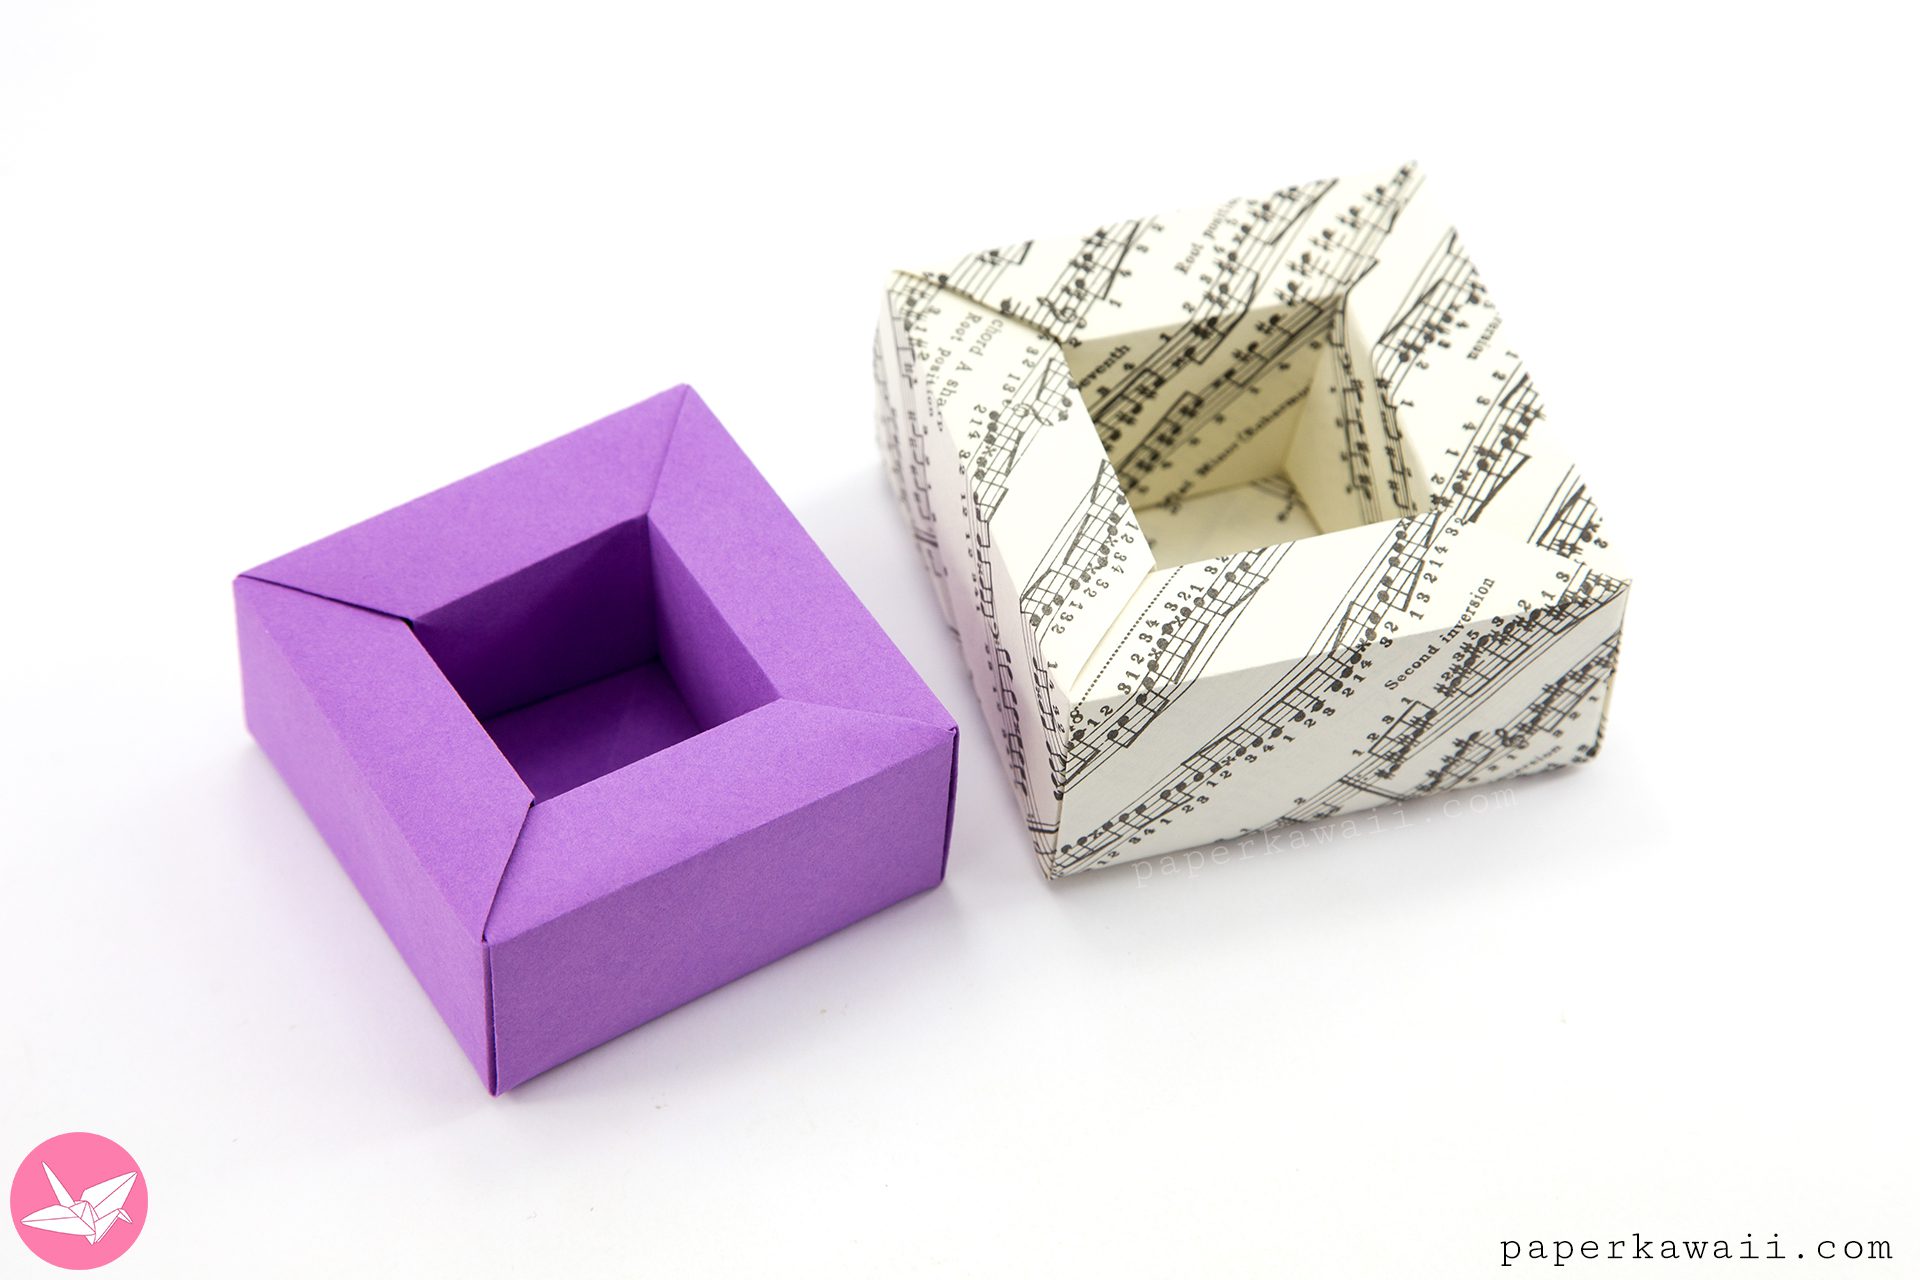
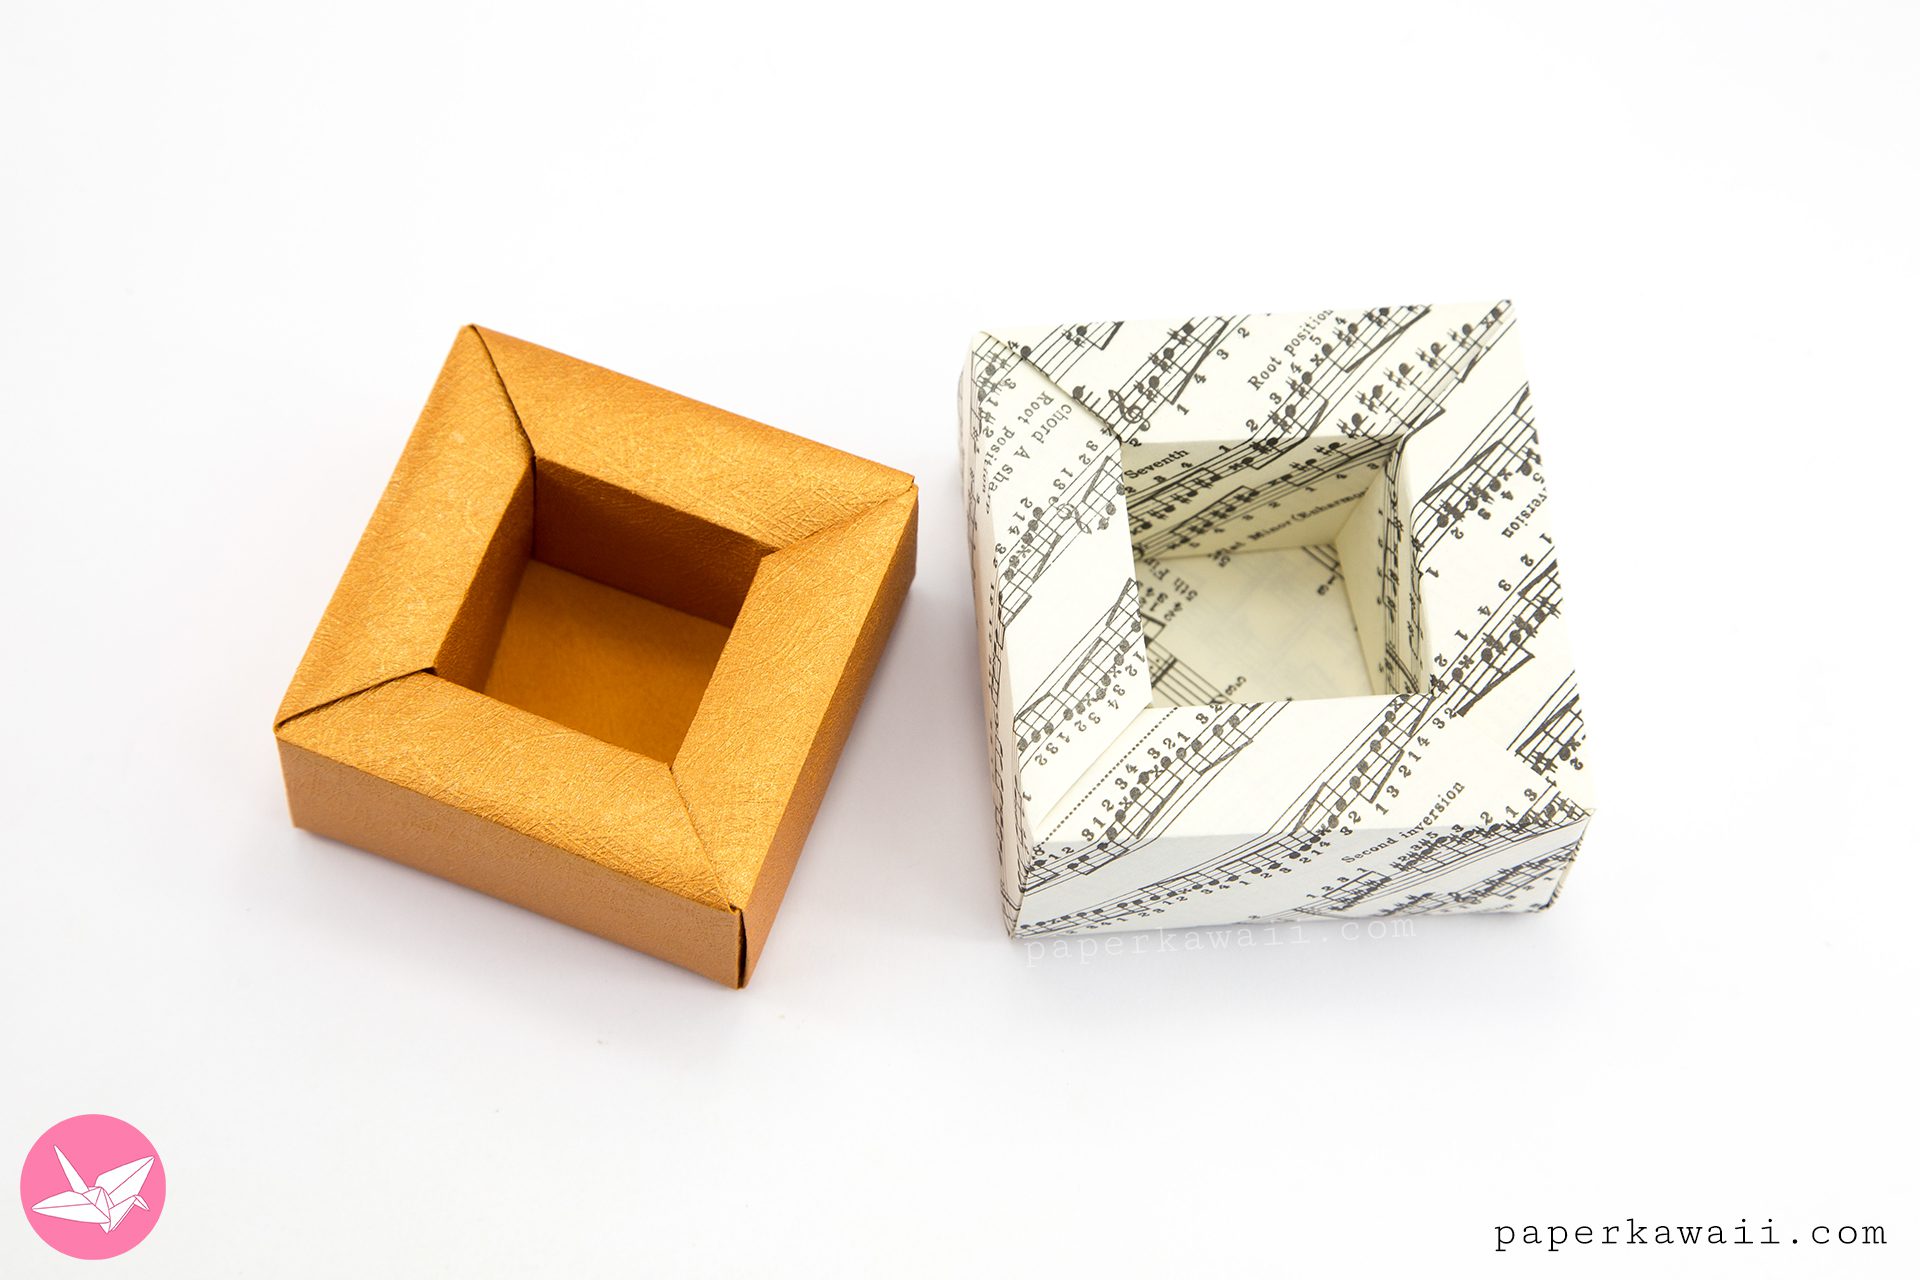
These are the instructions on how to make a wide rimmed origami planter pot box. Made with 1 sheet of square paper, no glue required. It’s perfect to use as a little plant pot for paper flowers or the origami cactus. It’s also a lovely display box.
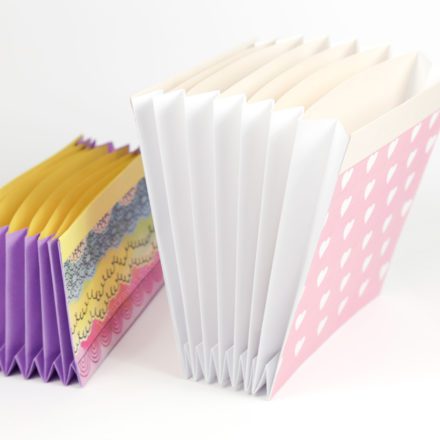
This origami box is a more complex masu box, with the same method of folding the creases and then collapsing them all to the center.
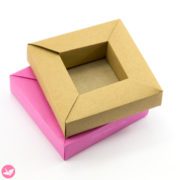
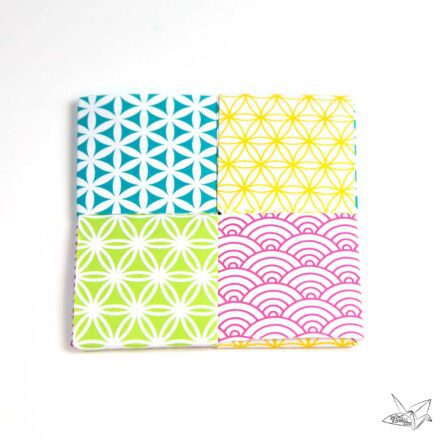
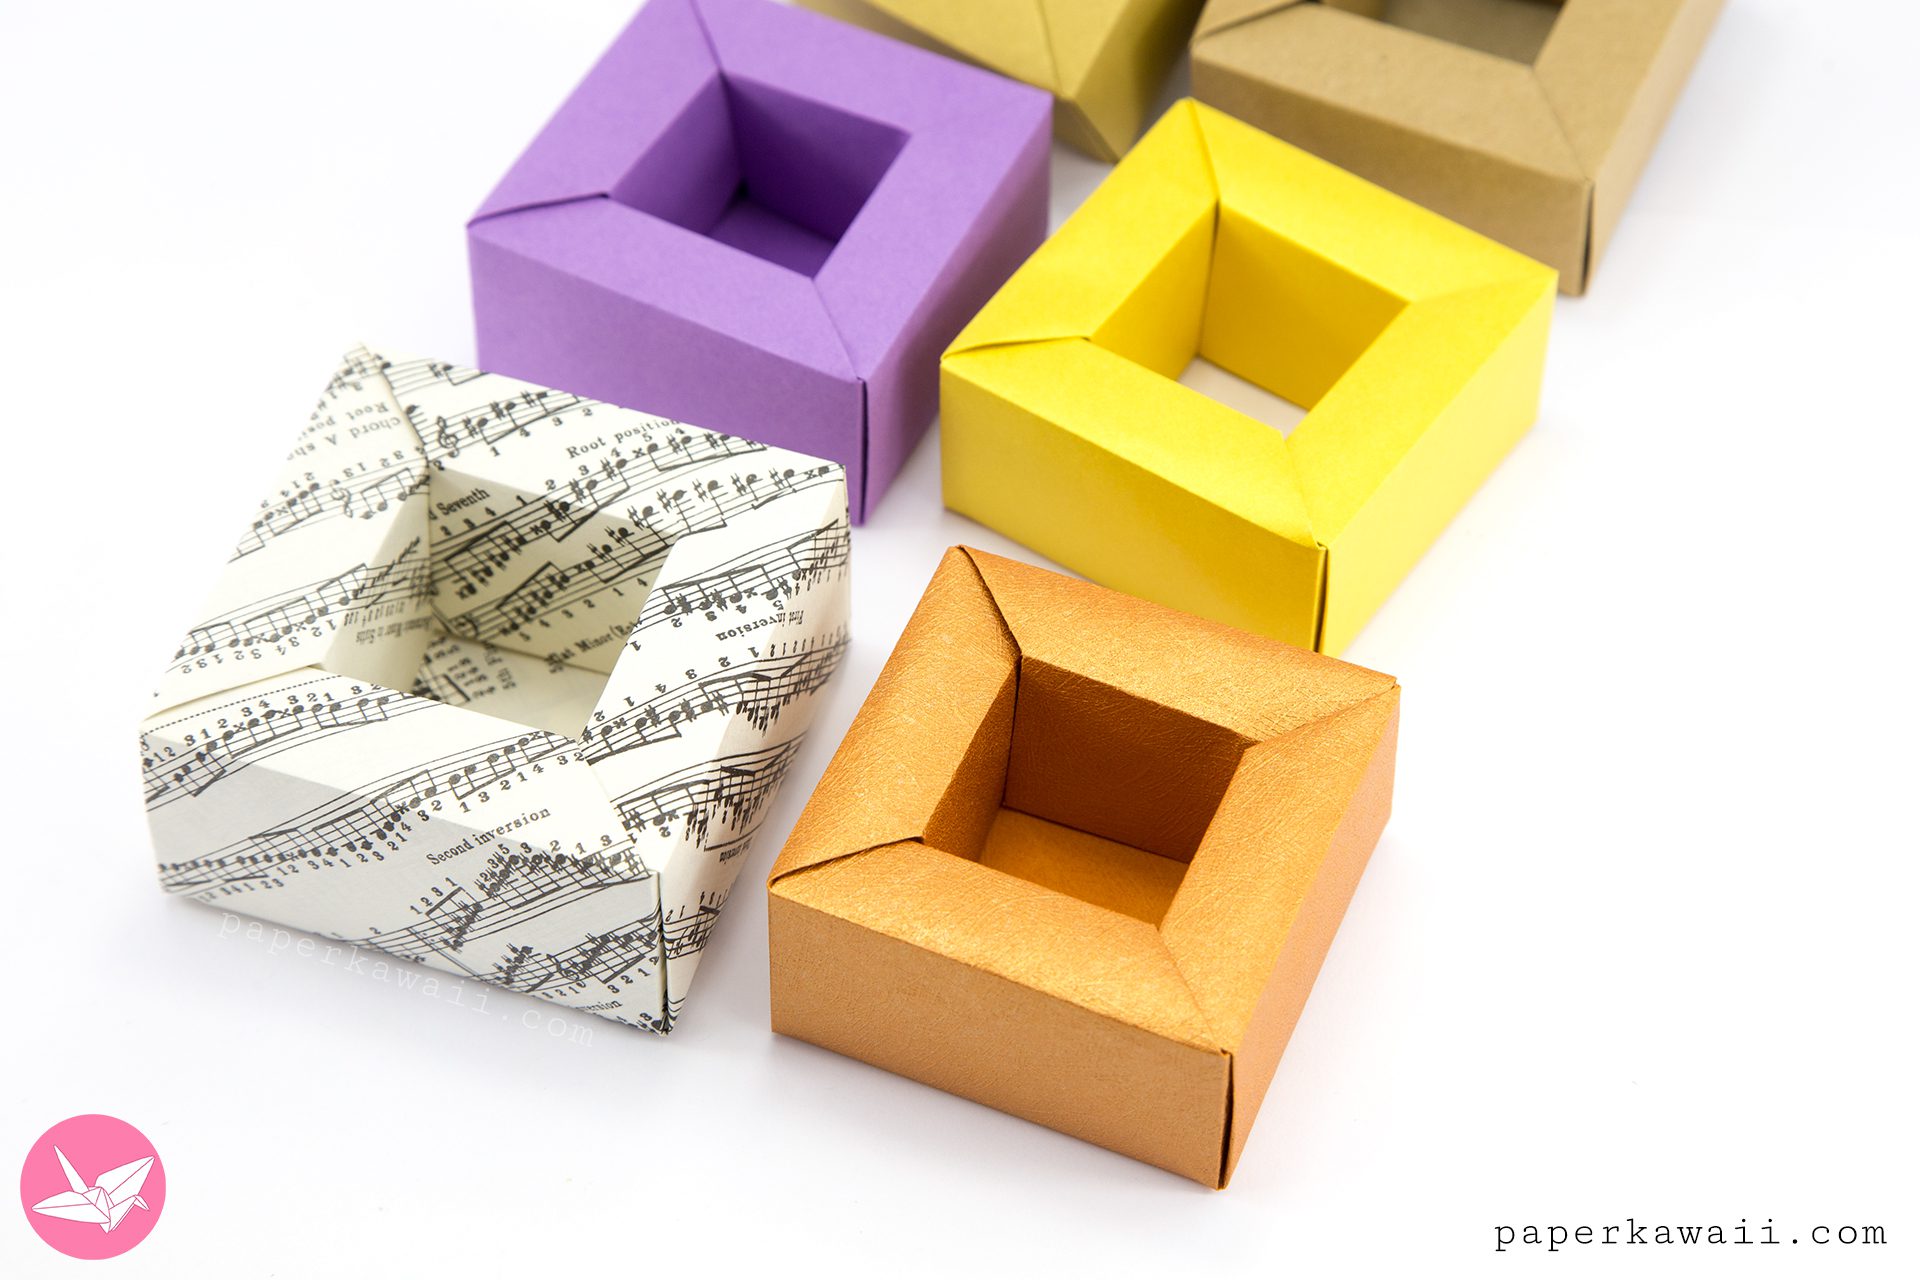
The best paper to use for this is textured paper in my opinion. But it works nicely with medium weight paper, about 80 GSM. Thinner origami paper works but the box will be flimsy. Use paper that is at least 17 x 17 cm or bigger (best to be about 30 x 30 cm).
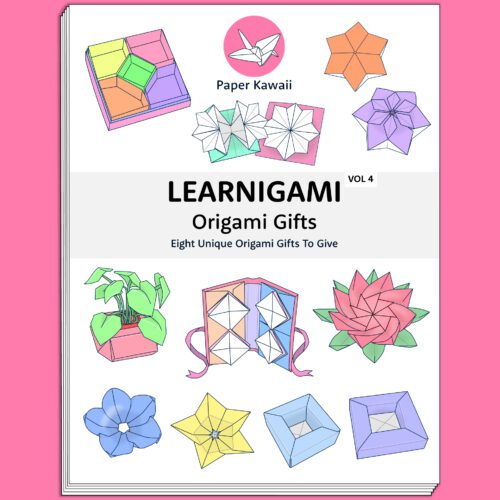
Origami Planter Pot
Design: © Paper Kawaii Copyright Information
Level: ★★★★☆
You will need:
▸ 1 sheet of square paper. Paper size example: 21 x 21 cm
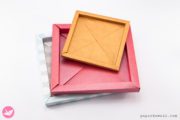
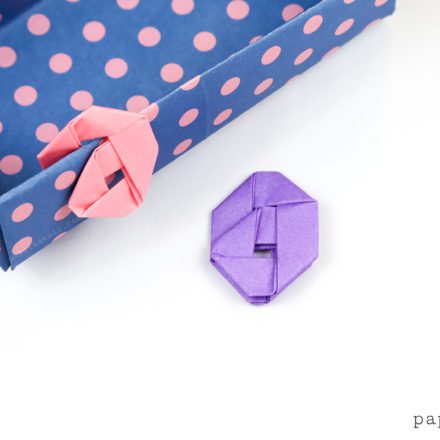
Final model size: 7.5 x 7.5 x 3.5 cm
Inner square space: 4 x 4 x 4 cm
Size needed to make the flower holder insert: 11 x 11 cm (if you used 21 x 21 cm)(Take your inner box’s measurement and times x by 2.8)
You can check out my personal favourite origami papers, paper craft tools and more on my Amazon.com store.
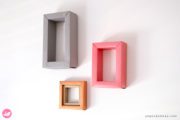
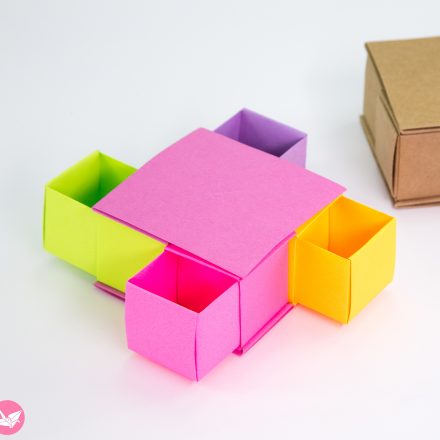
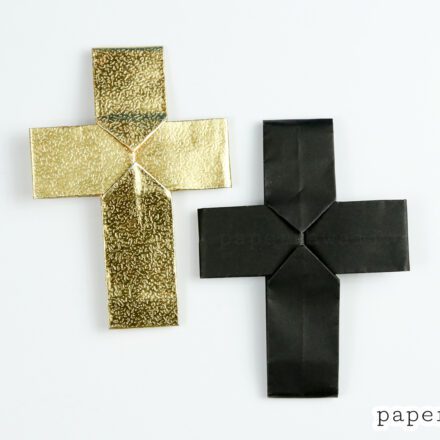
Box on the left is the origami frame box, tutorial here.