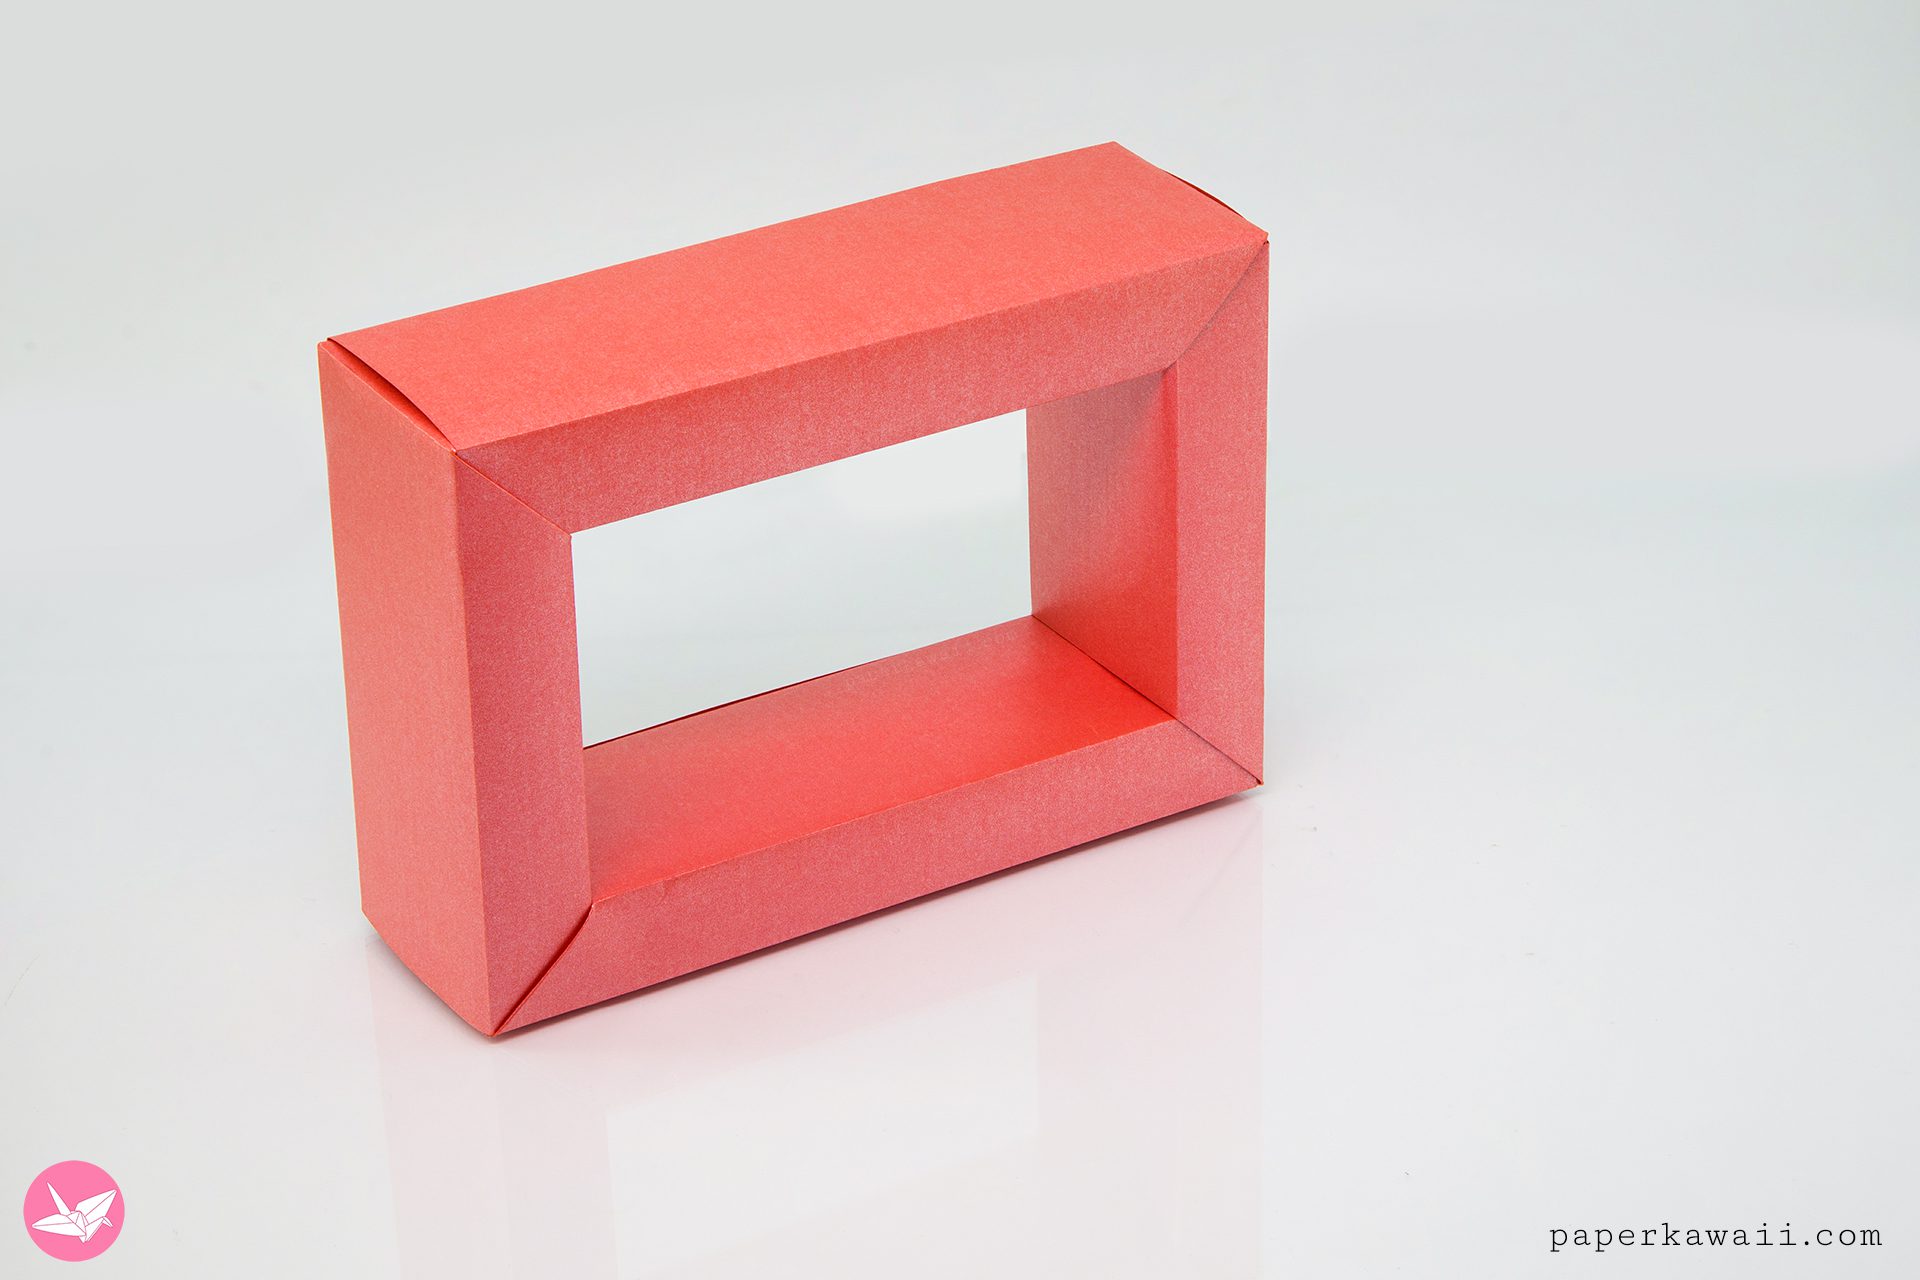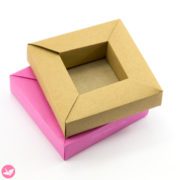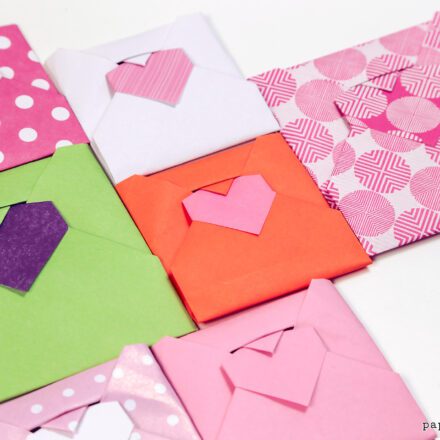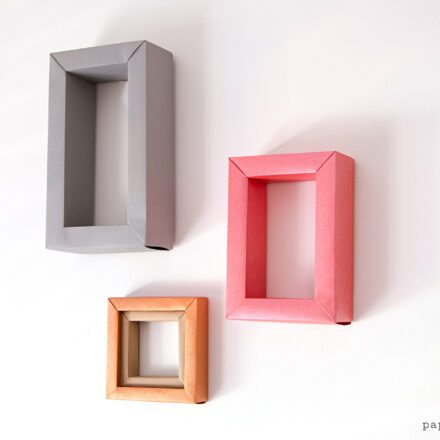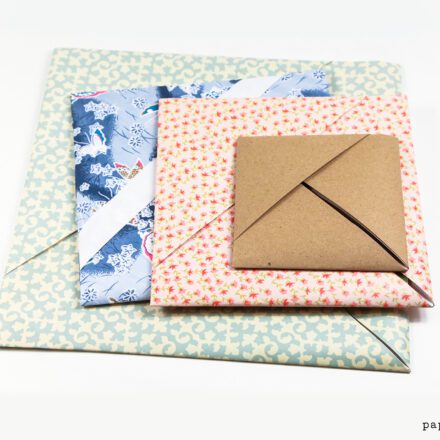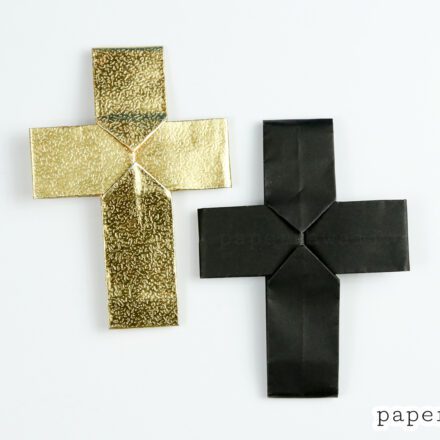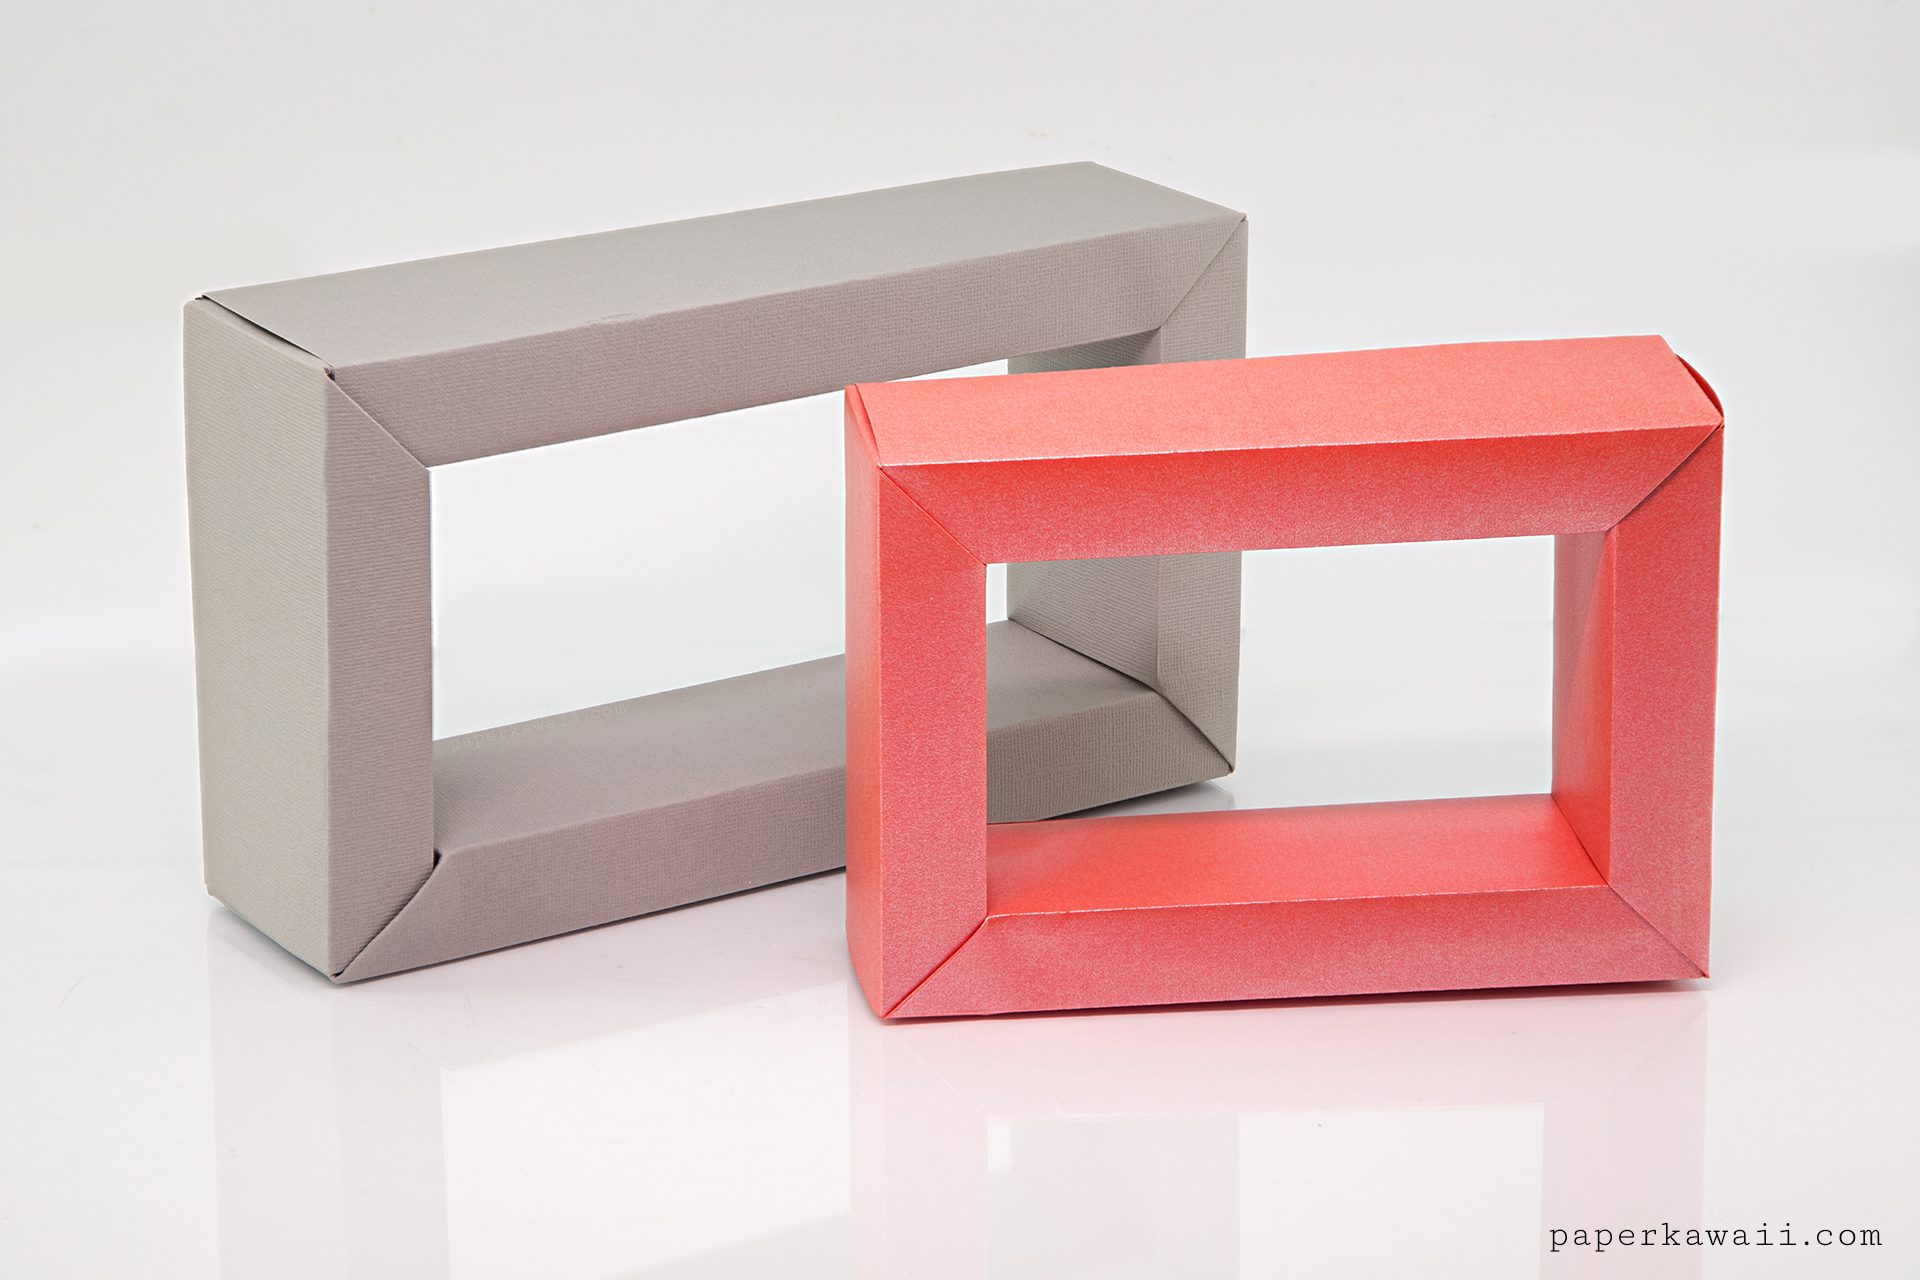
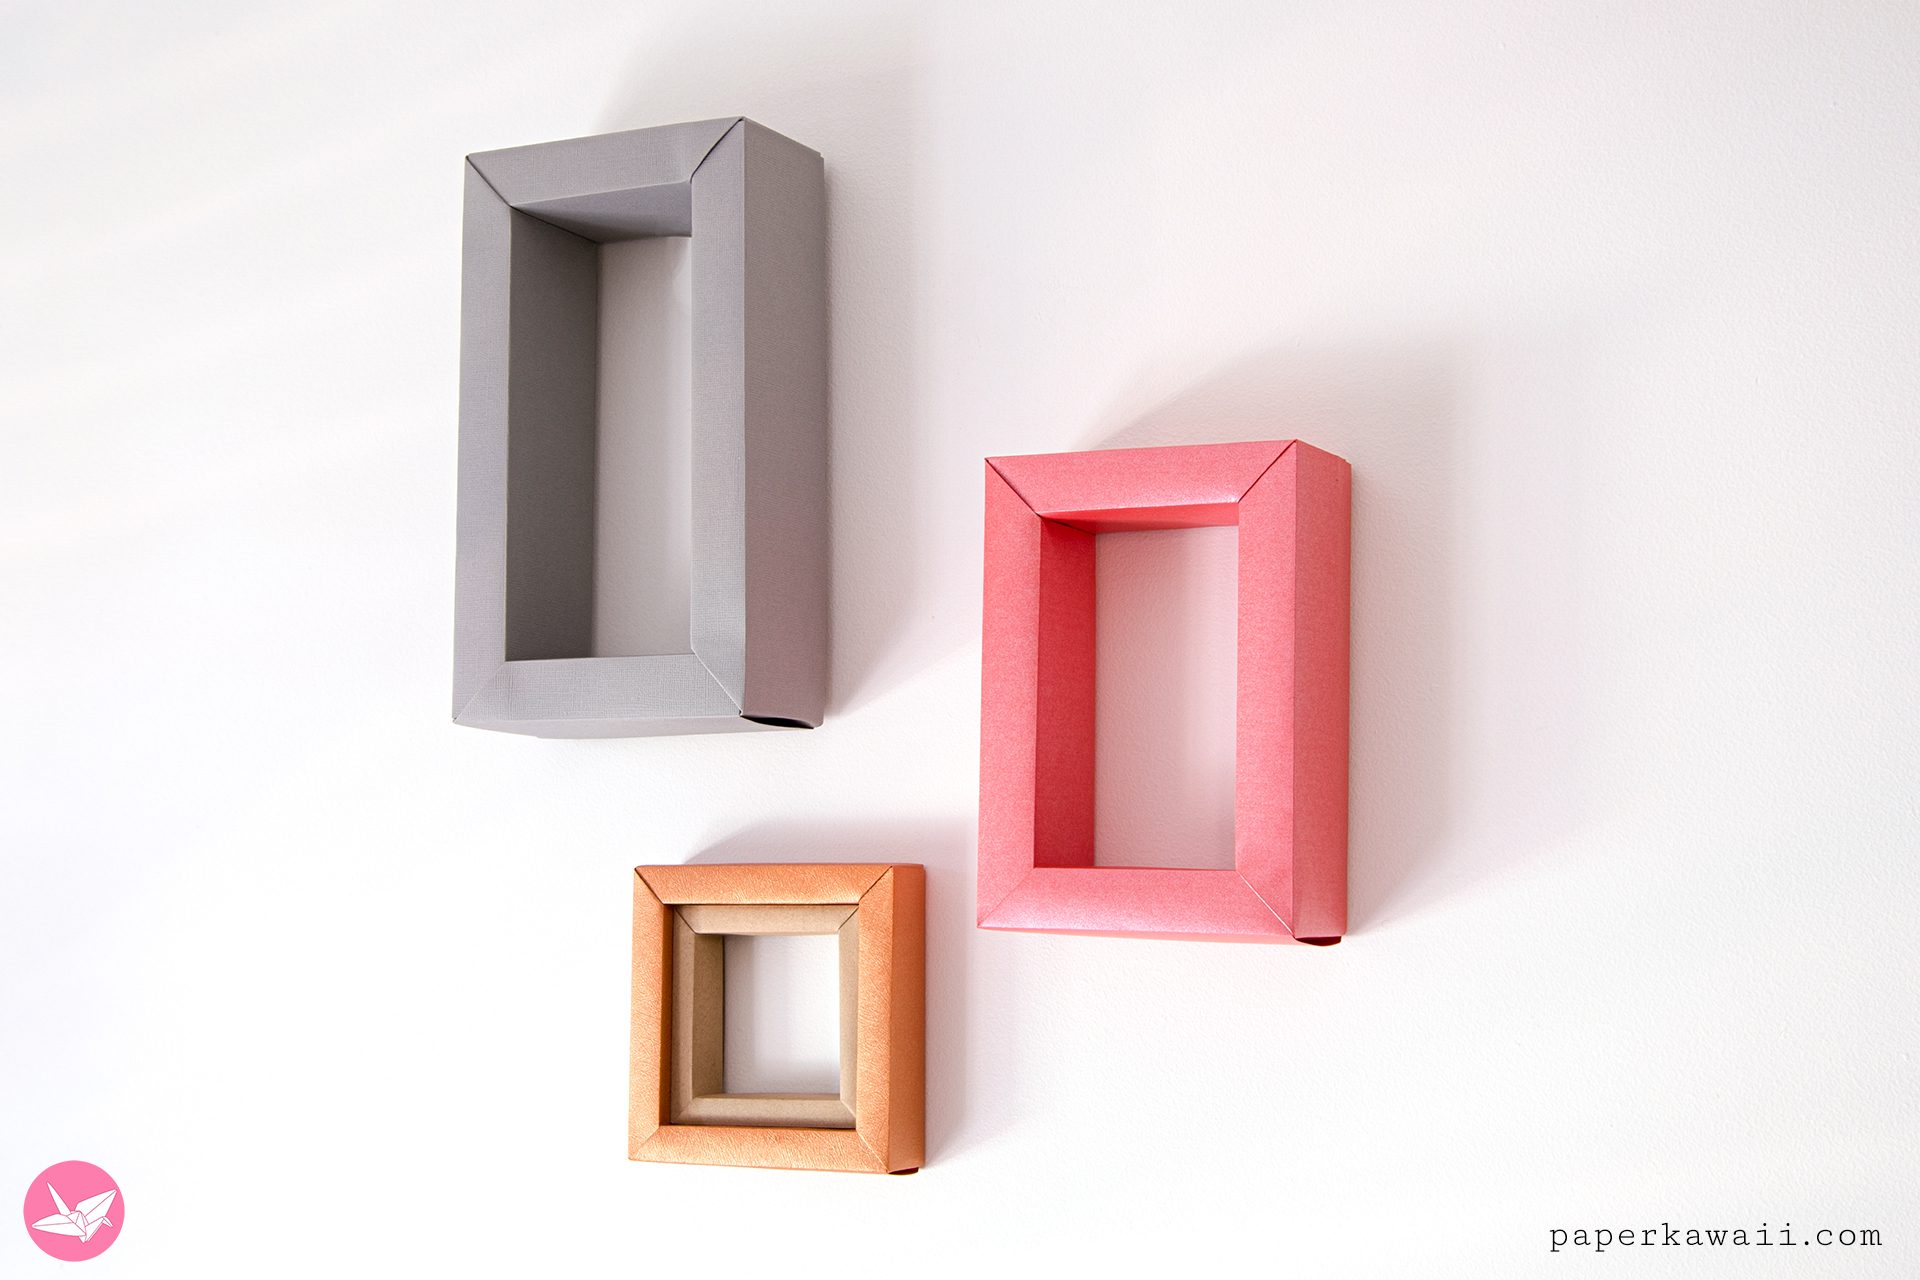
How to make a modular rectangular origami frame. It will fit a standard photo size or make one your own size. No glue or cutting is required. This version of my original origami frame, is rectangular instead of square. The method is exactly the same except we use some rectangular paper for the longer edges.
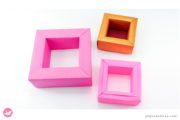
For more origami frames including non modular versions, check out my origami frames category here.
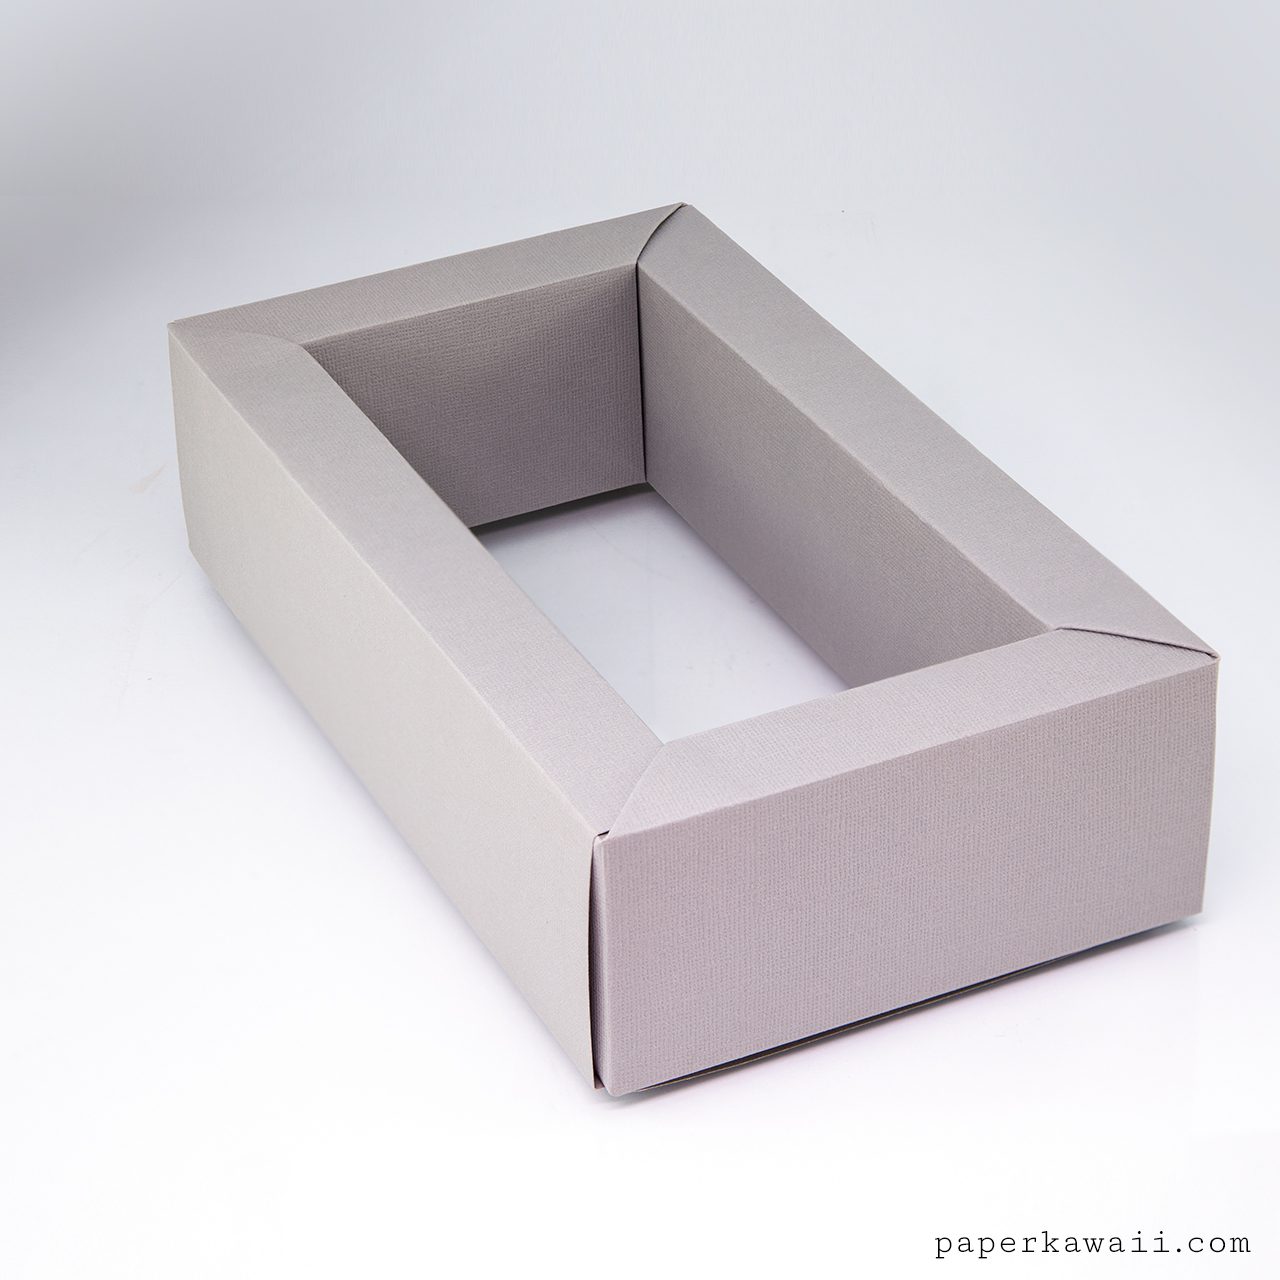
These frames work the best when using thick paper or card, even thick card-stock. If using thin paper, take note of the alternative method at 9:47 – basically, tuck the lower flap over the top instead of under. For some reason it works better. And you may have guessed but you can use 4 sheets of square paper to get a square frame.
Modular Rectangular Origami Frame
Design: © Paper Kawaii Copyright Information
Level: ★★★☆☆
You will need:
‣ 4 sheets of paper cut to specific size:
2 sheets of 23.5 x 18.1 cm & 2 sheets of 18.1 x 18.1 cm
If you’re just wanting a rectangular frame, and not a specific size, use two sheets of square paper and two sheets of rectangular paper. Make sure two edges of the rectangular paper are the same size as the square sheet.

You can check out my personal favourite origami papers, paper craft tools and more on my Amazon.com store.