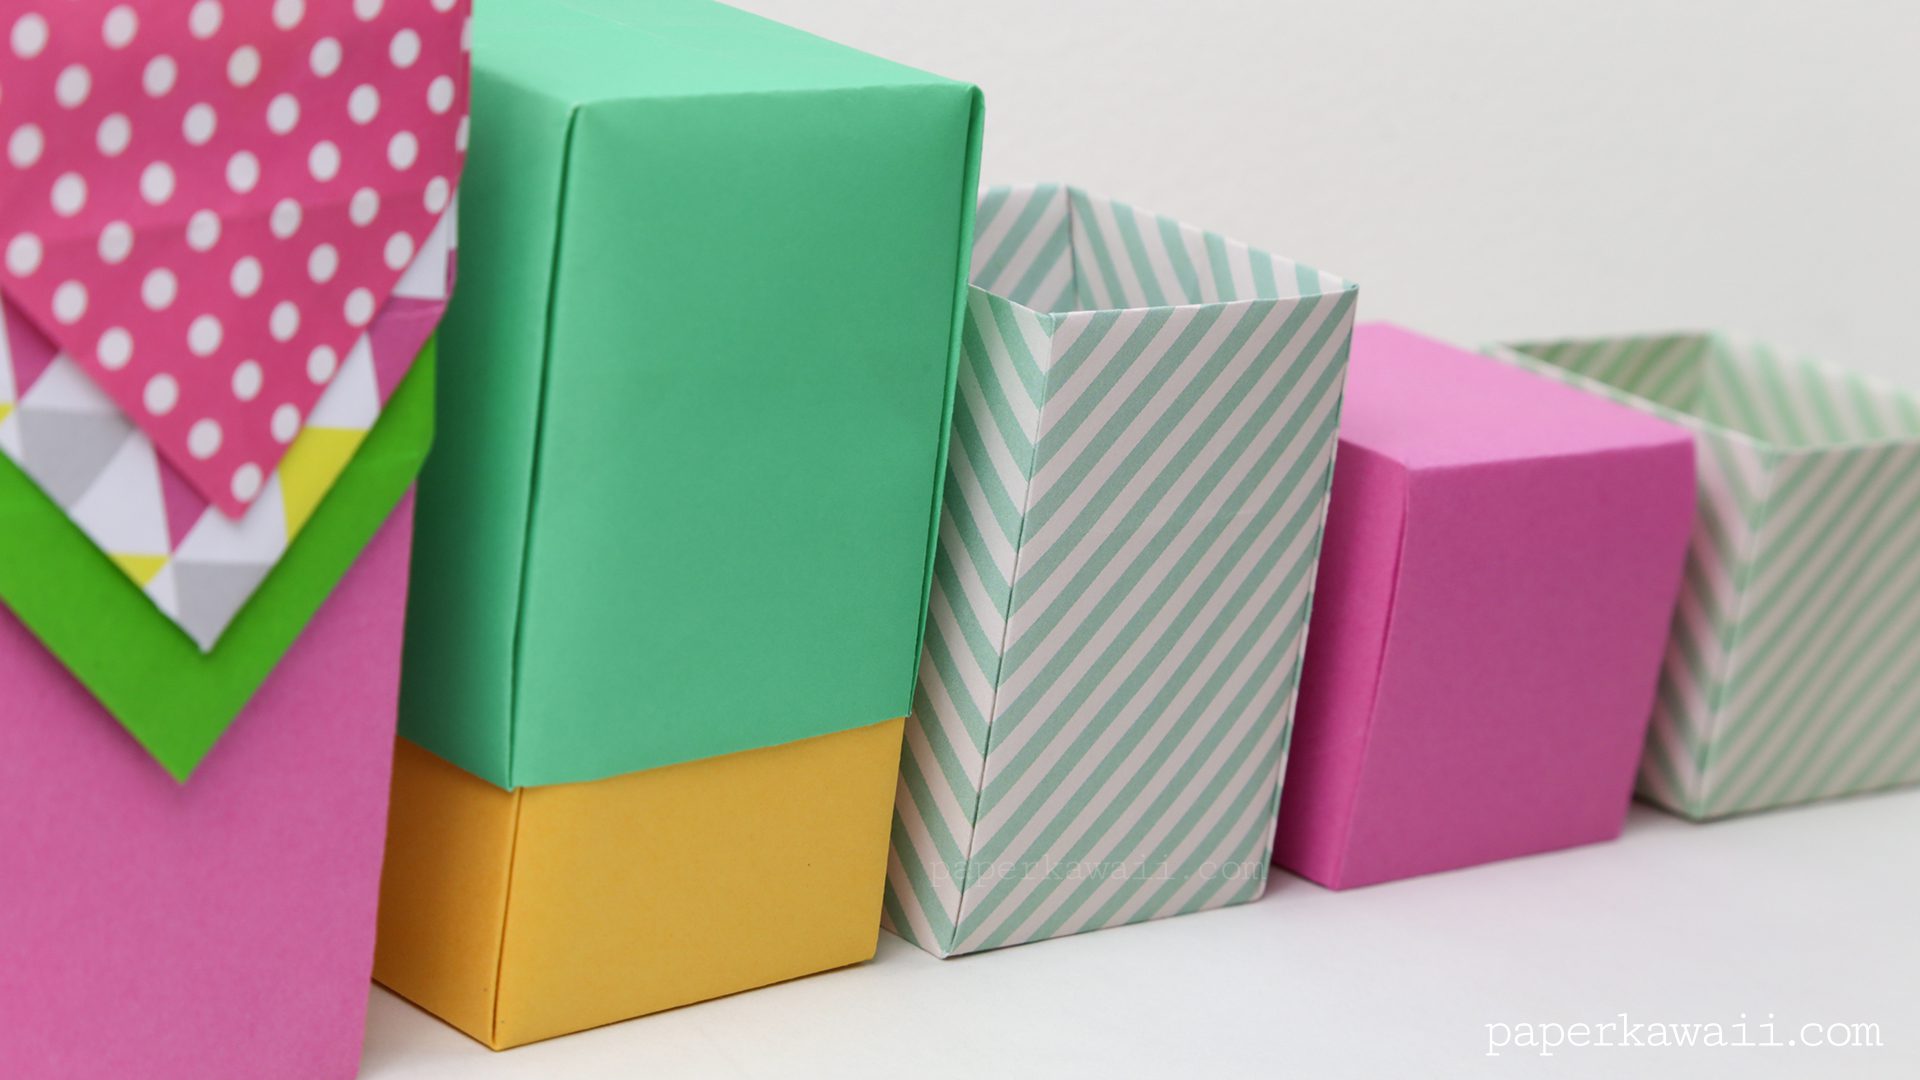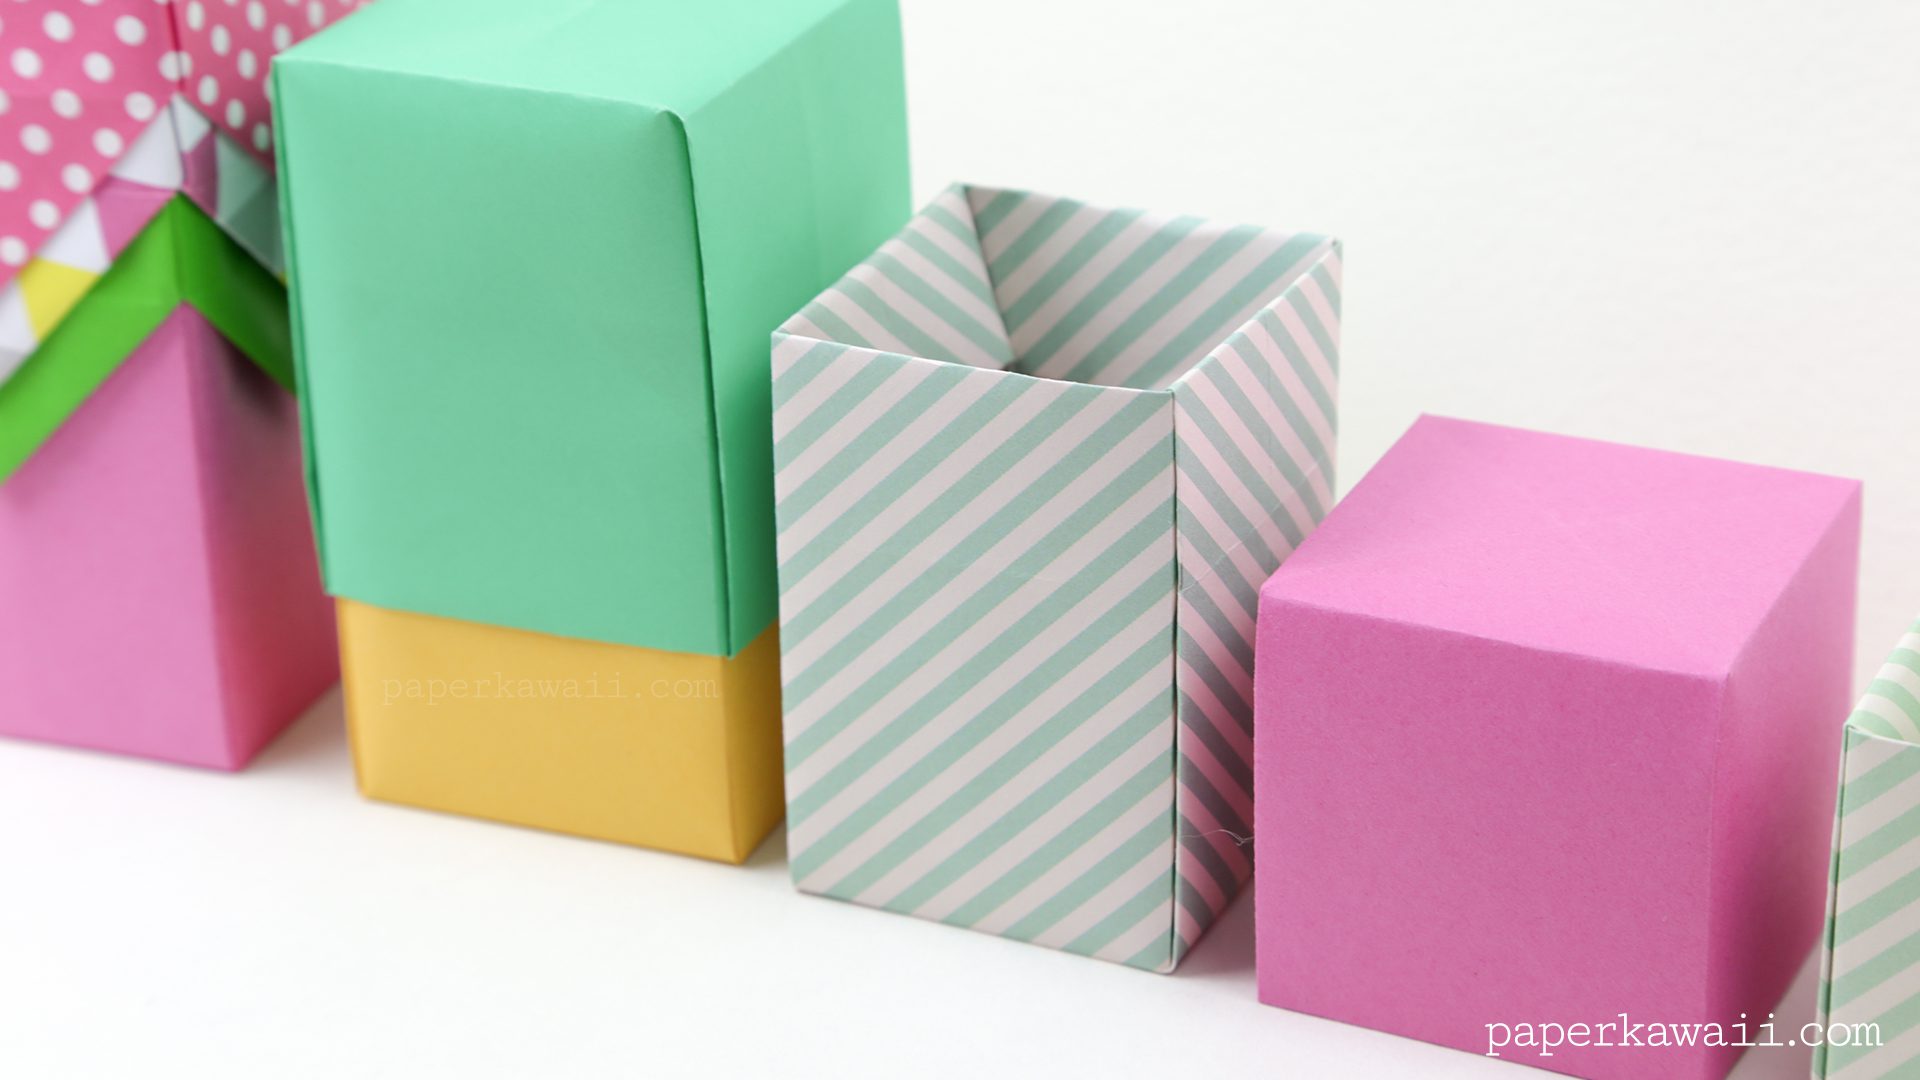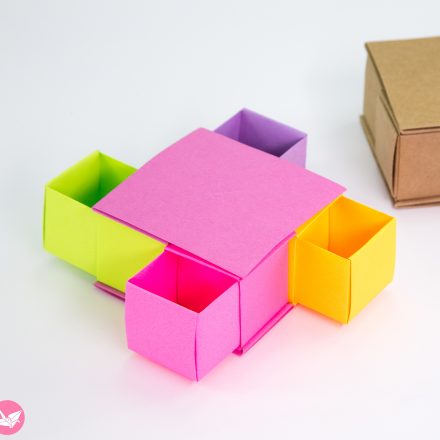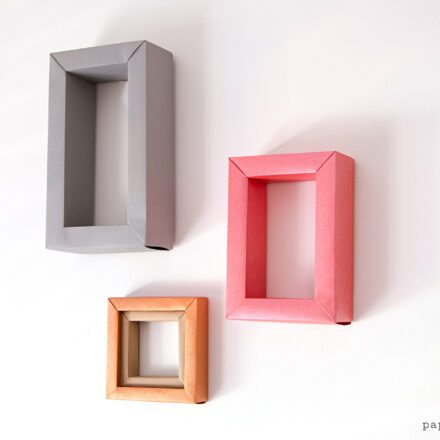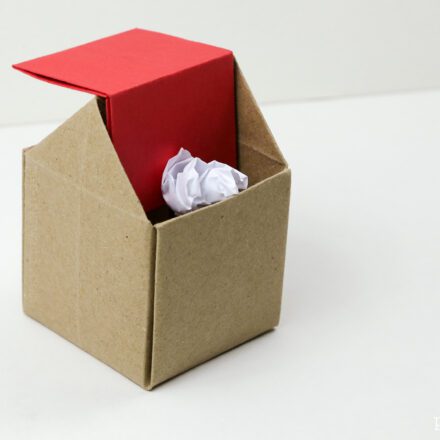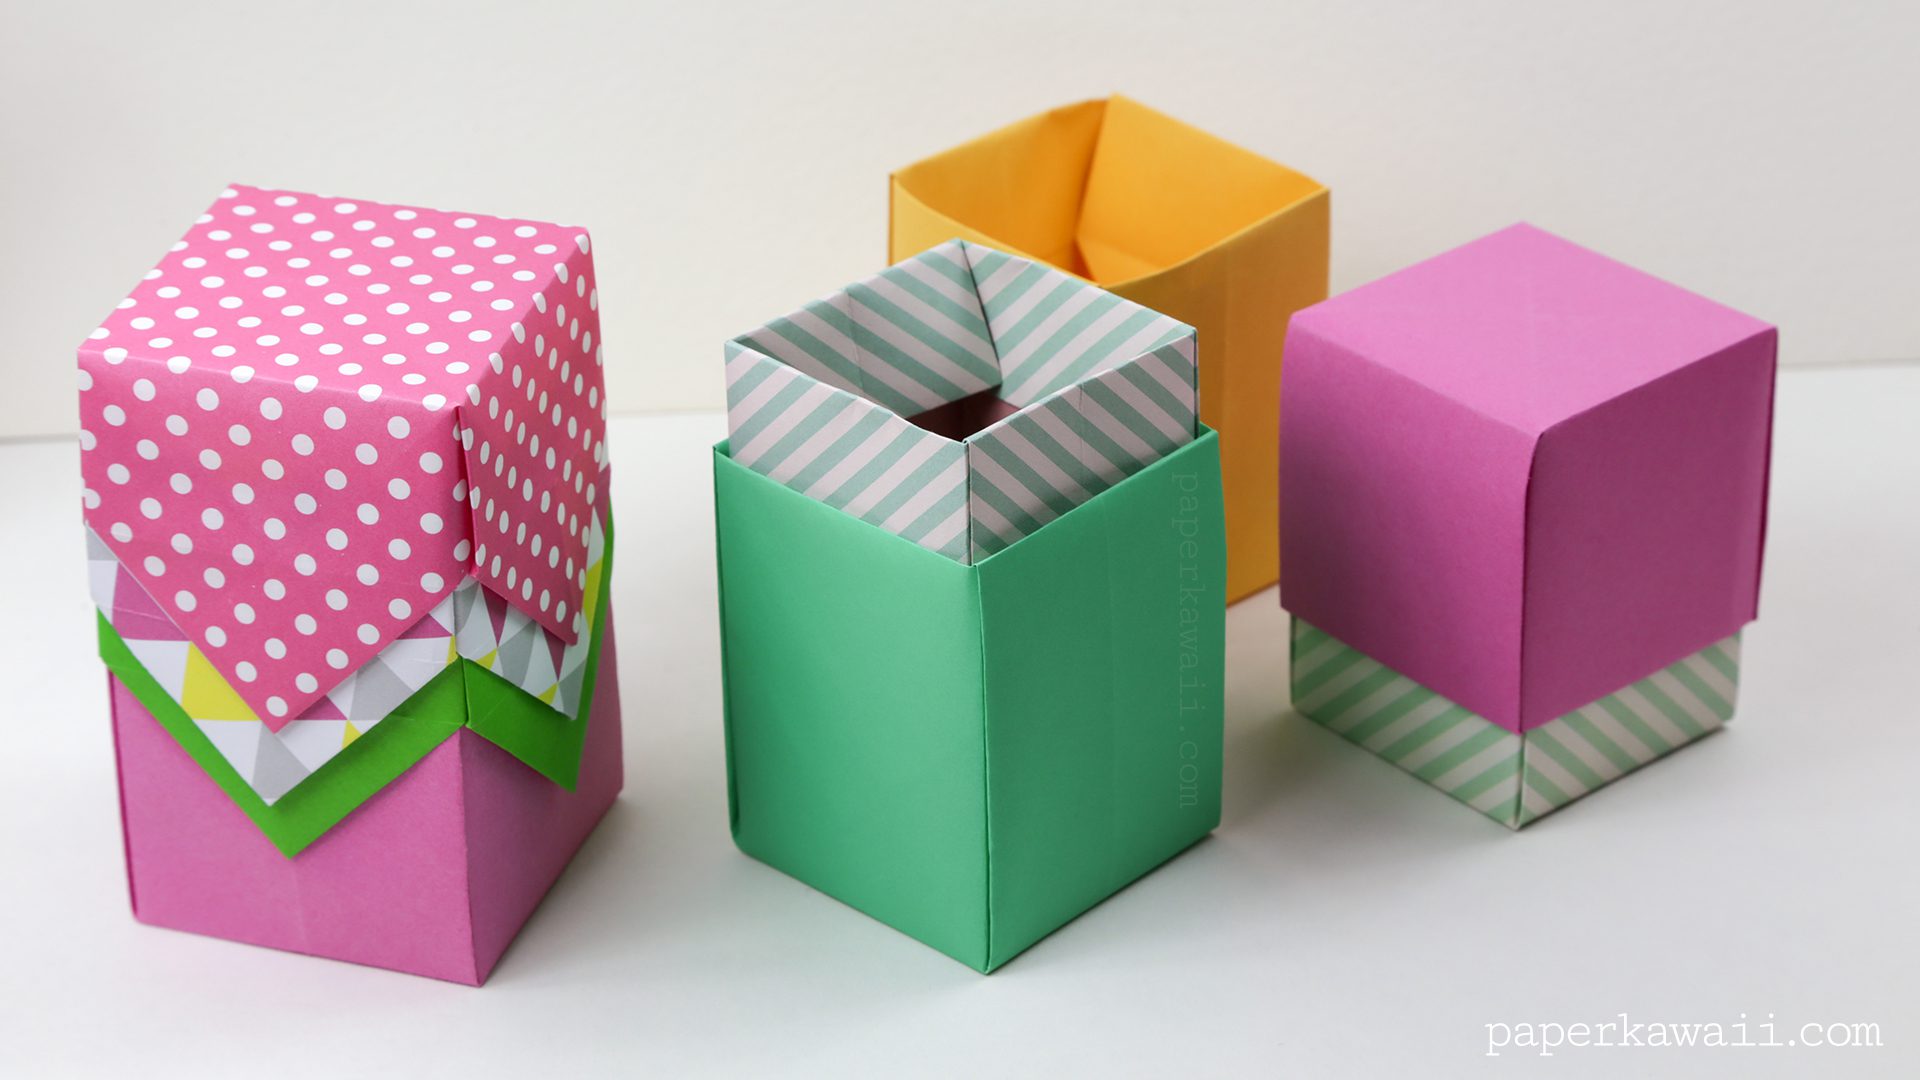
With these instructions you can learn how to make a useful tall origami box, which can be used as a lid as well.
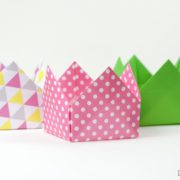
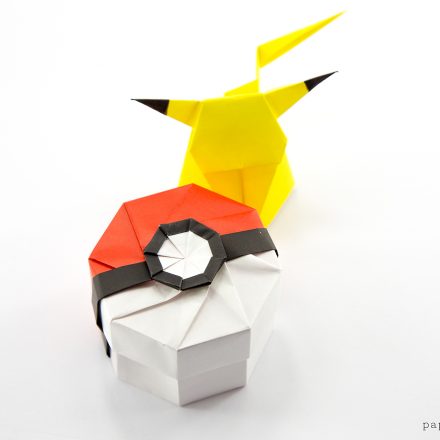
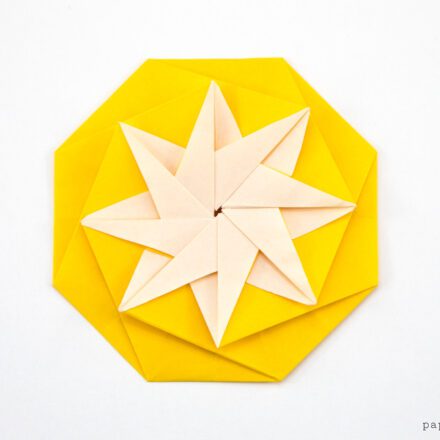
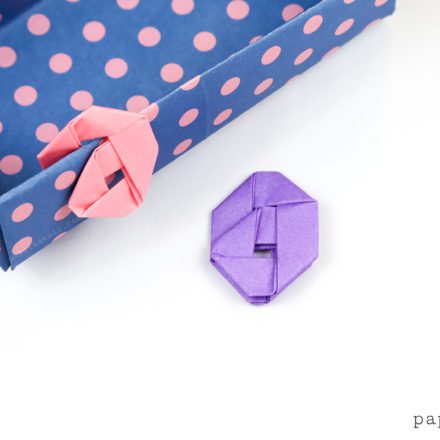
I made this box to fit the Origami Crown Box (used as a lid) which is what is shown in the photo above.
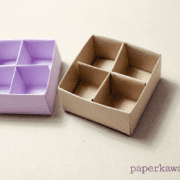
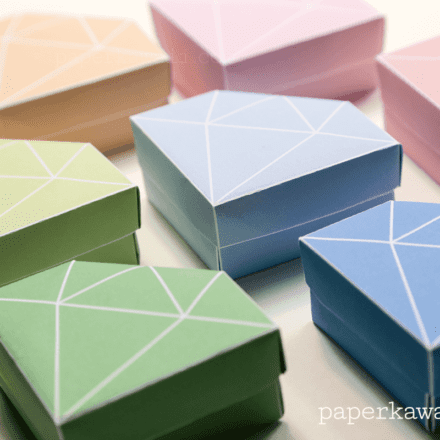
If you were looking for other sized origami boxes, such as long or flat, check out the boxes category.
This box is based on the traditional origami masu box, the assembly is different as well as the way in which you get the first few folds.
It would be very easy to make a box with a specific width by using the item as a guide. In the video I am using the crown box lid as the guide, or you could use a ruler to get a specific measurement.
You could also change the last few folds to make the box a bit taller or shorter.
To get the maximum height, leave out the last few folds at 4:21 in the video, then use a bit of glue to keep the box together.
Designer: Paper Kawaii (and possibly others)
Level: ★★★☆☆
You will need:
1 sheet of square paper – I used 20 x 20 cm
Final size: will depend. Mine ended up being 5 x 5 x 6.5 cm.