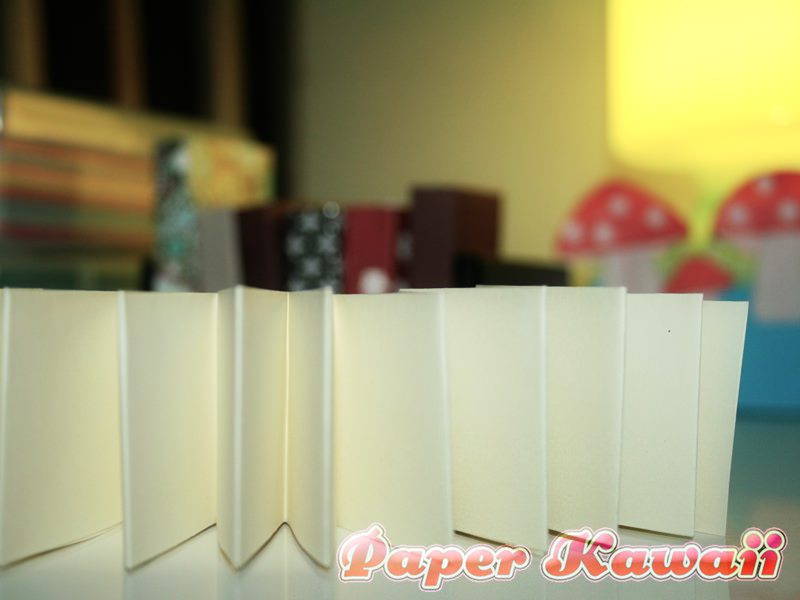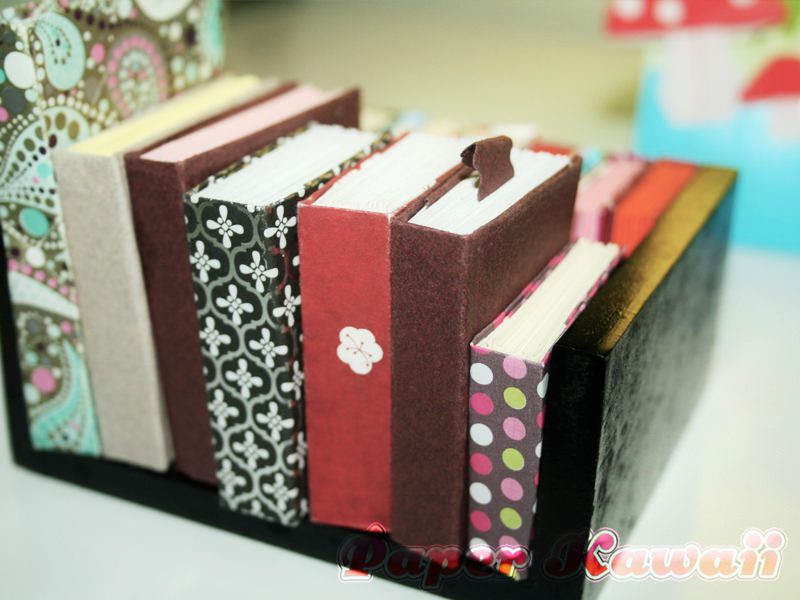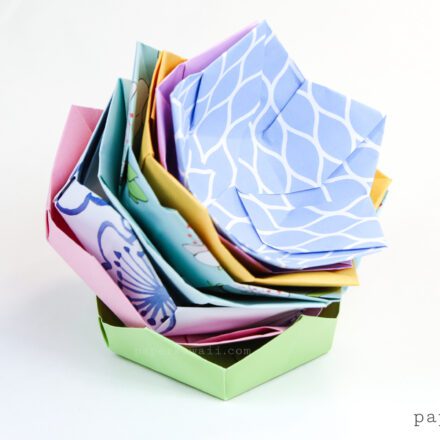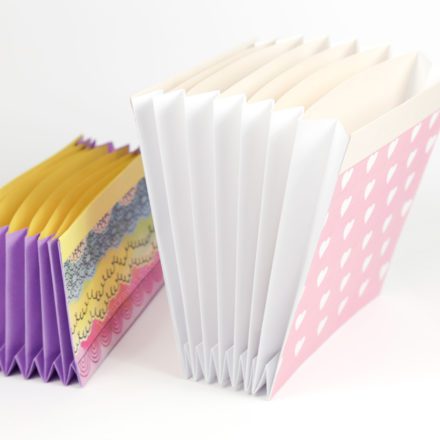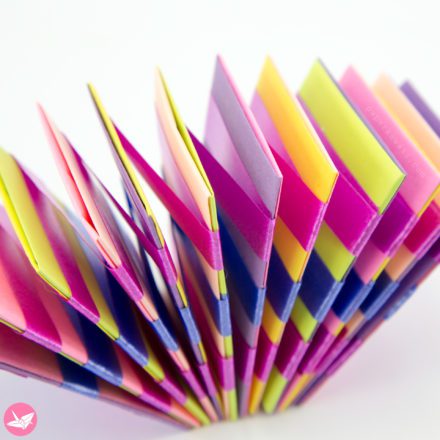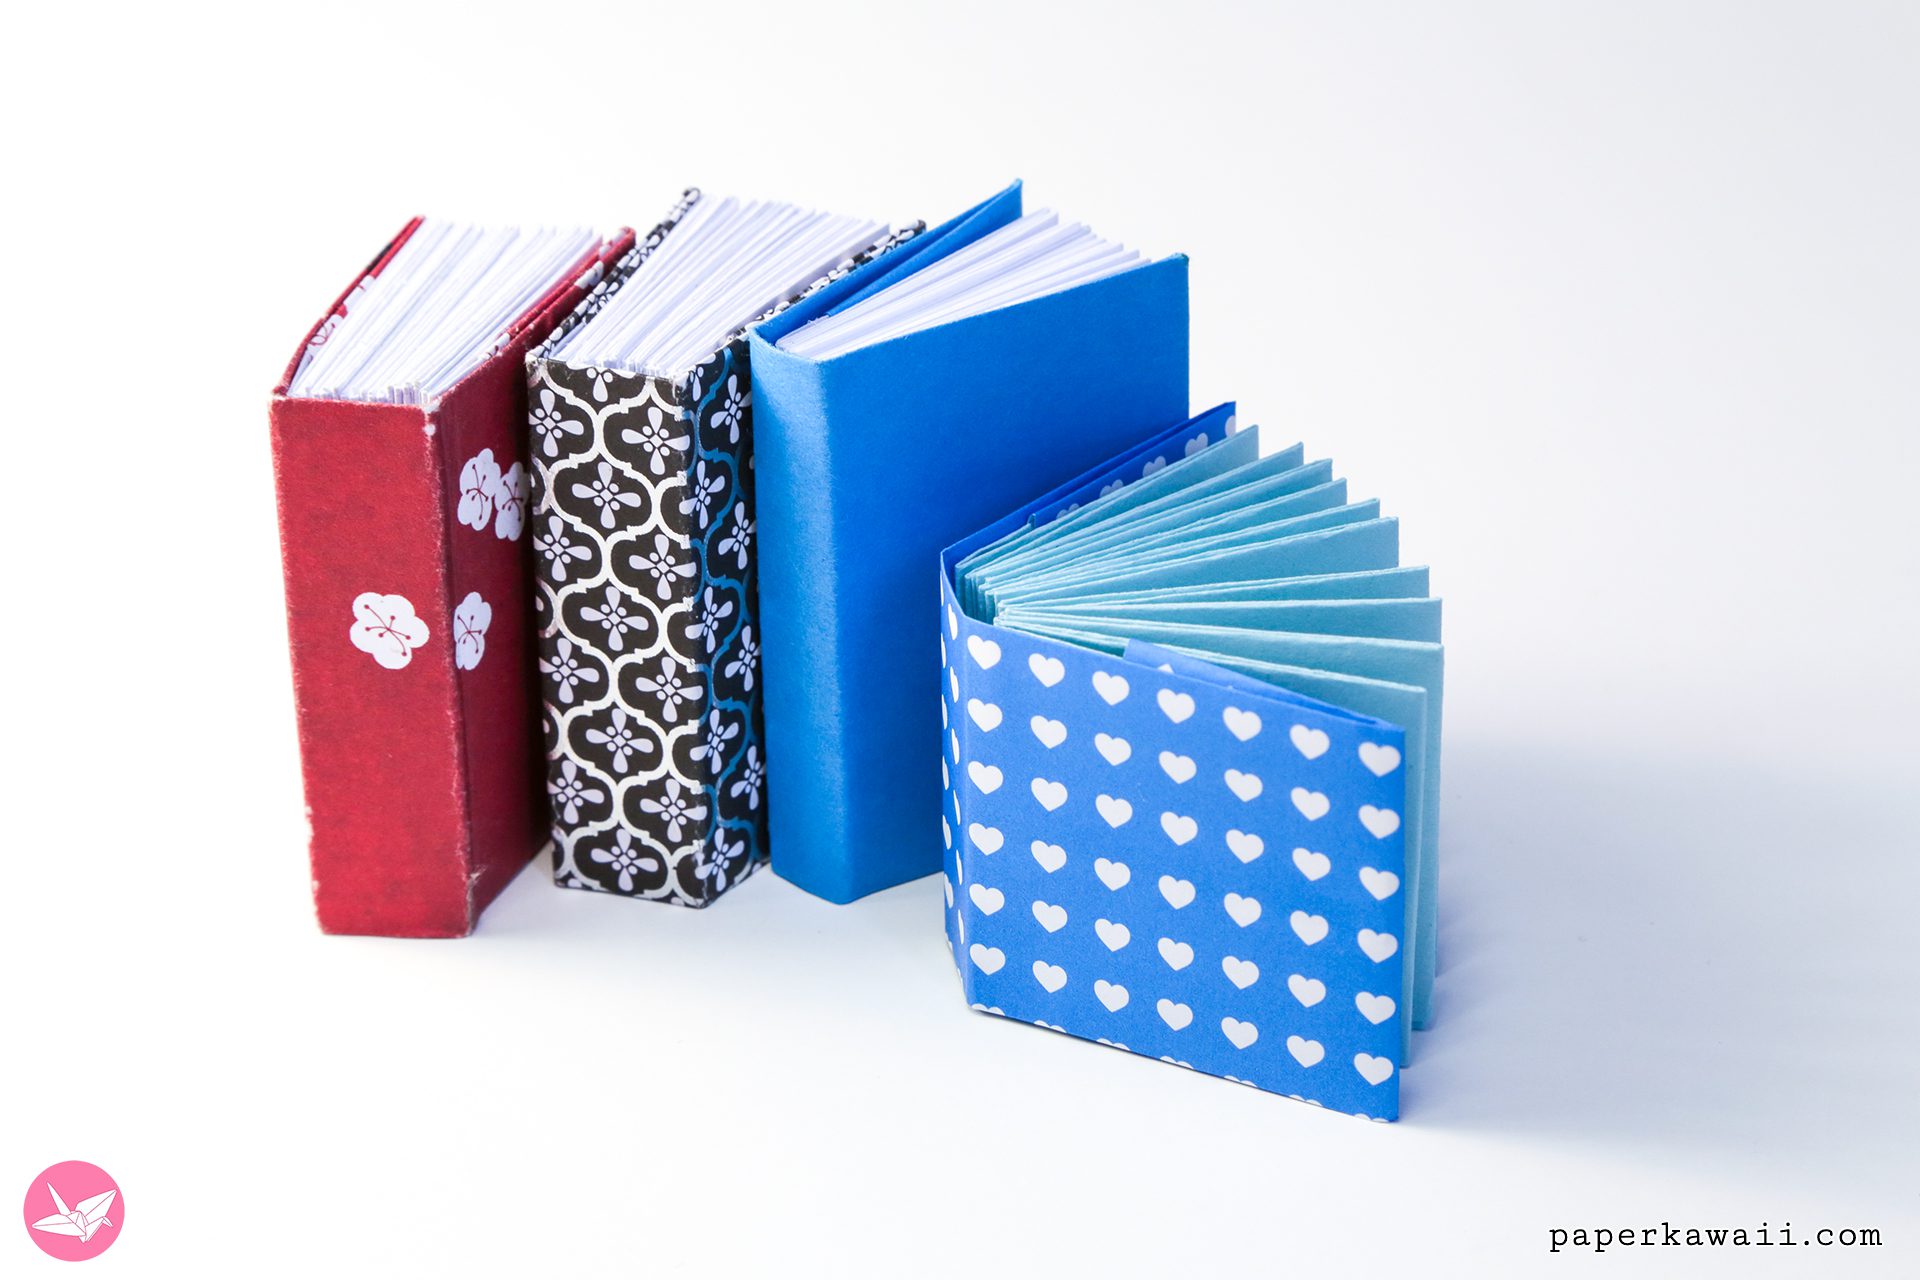
A few people have requested a tutorial on the mini origami book that I posted about a few months ago.
Here is my new video tutorial for the books, it is a little simpler, but if you prefer a photo tutorial, keep scrolling 🙂


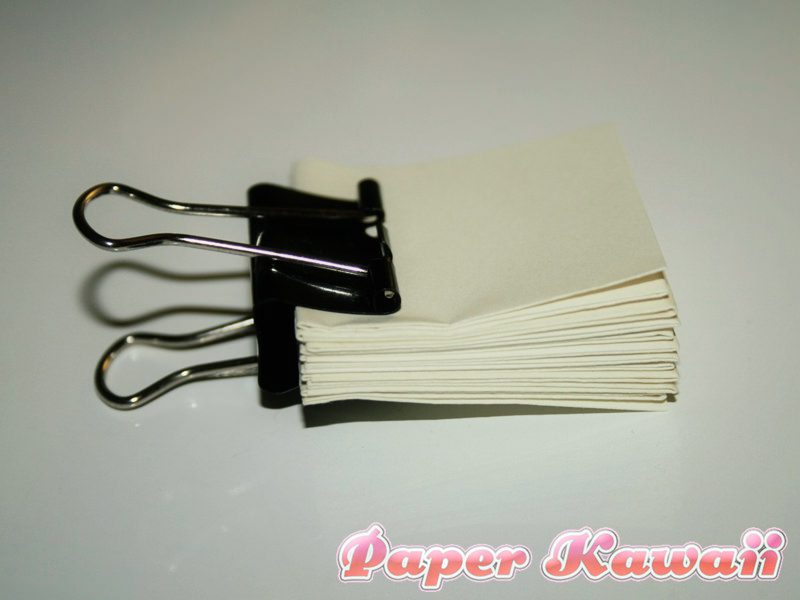
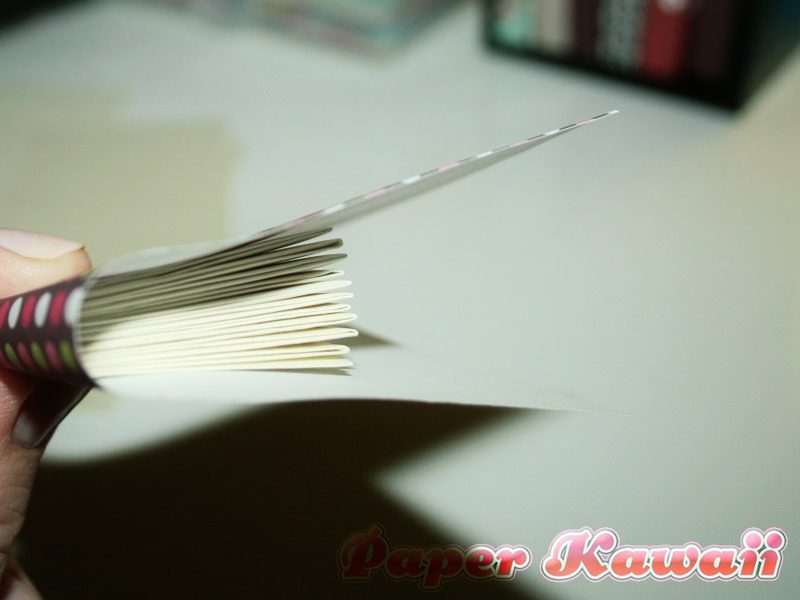
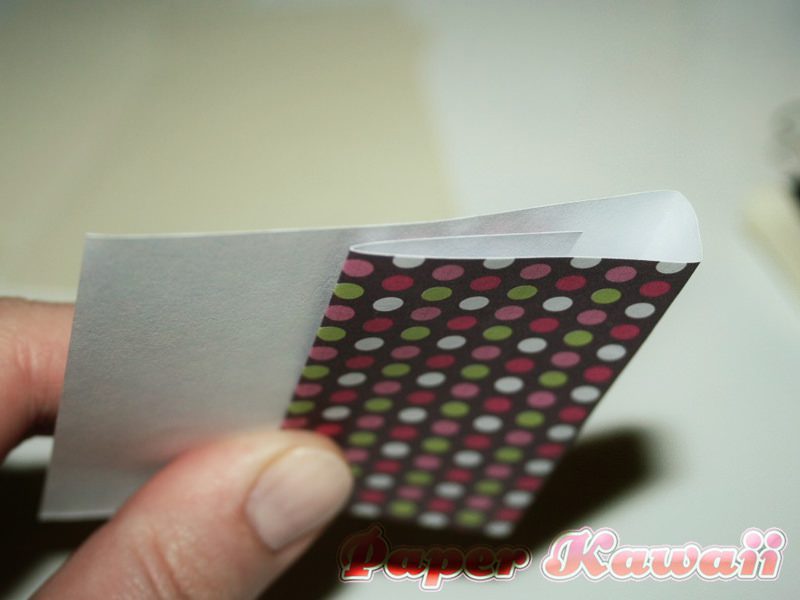
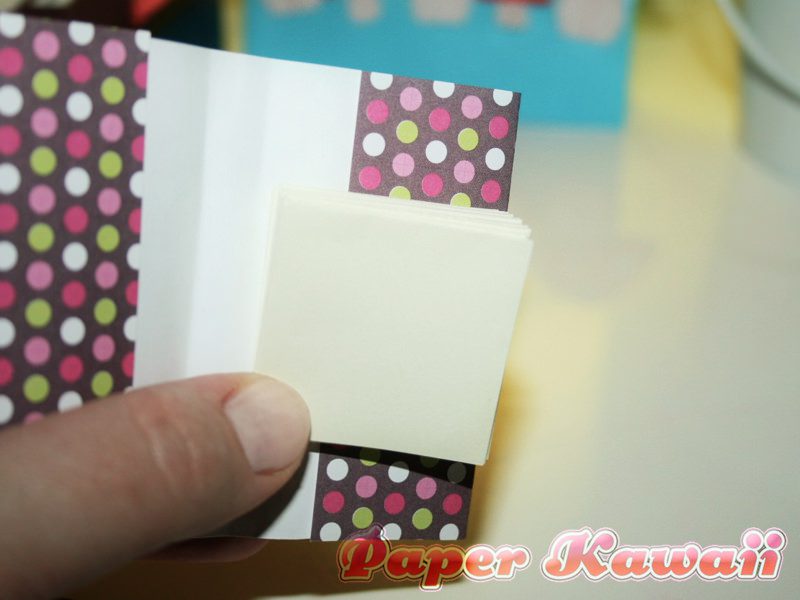
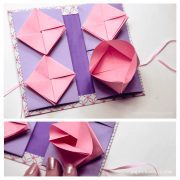
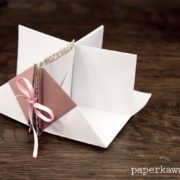
To view the tutorial, click on the first image, it should enlarge. You can use the arrows on the left and right to navigate.
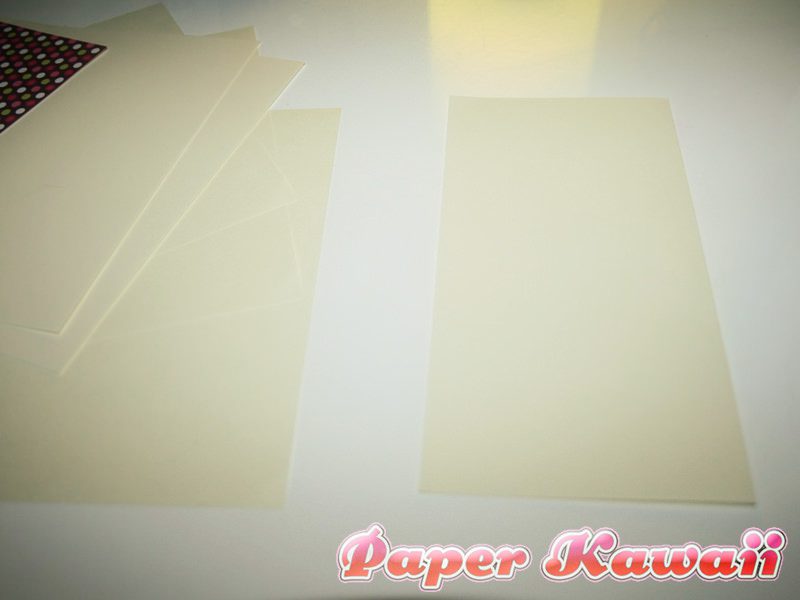
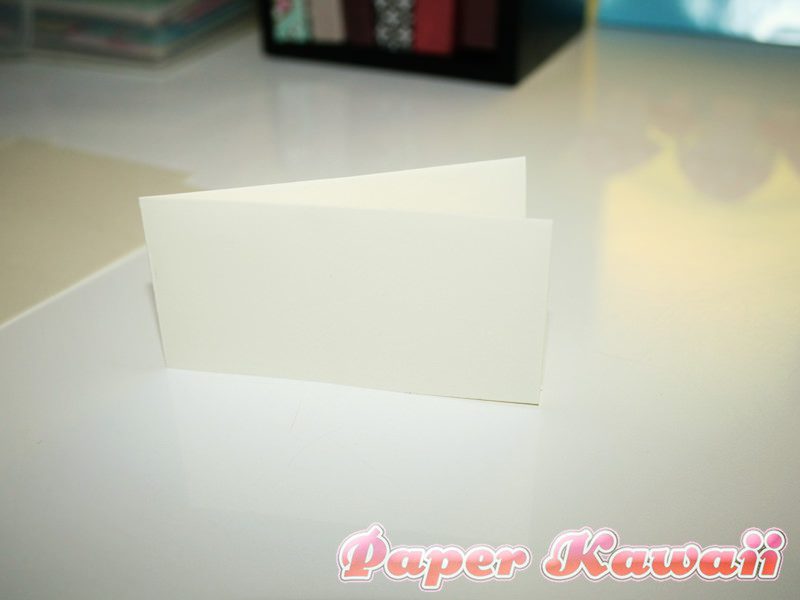
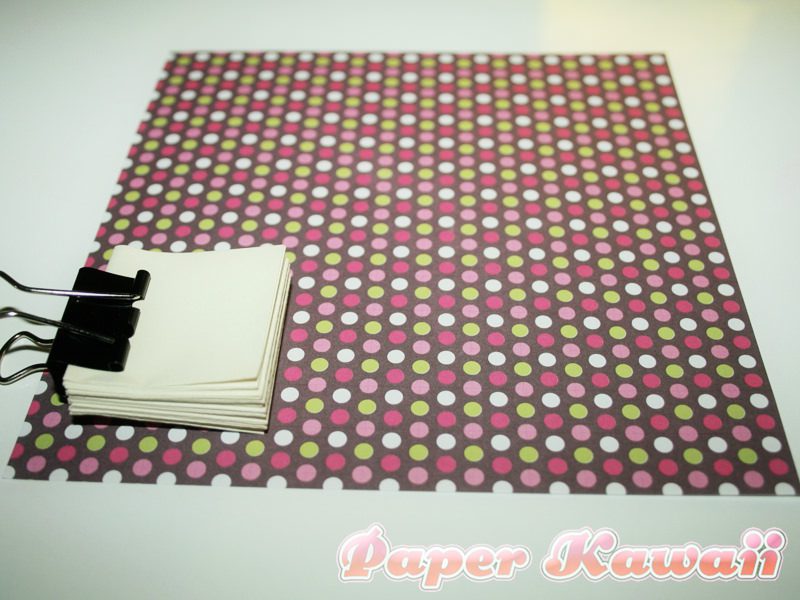
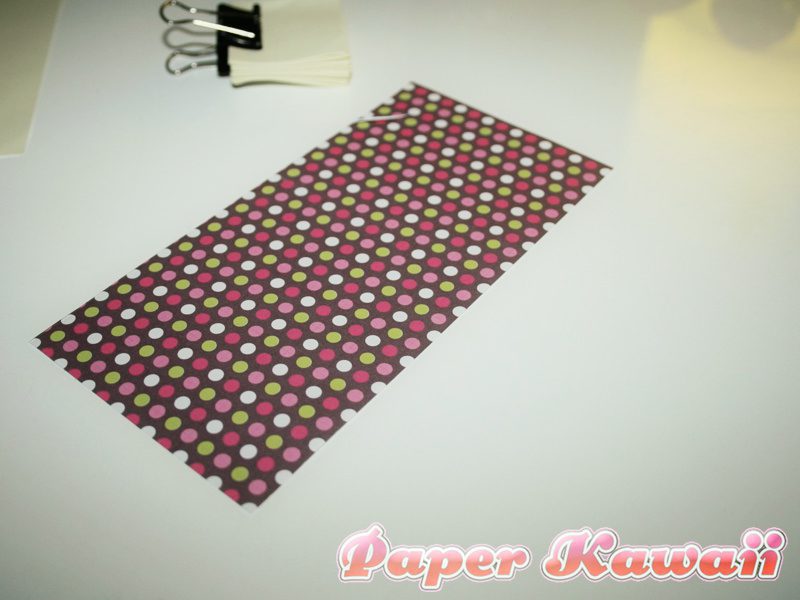
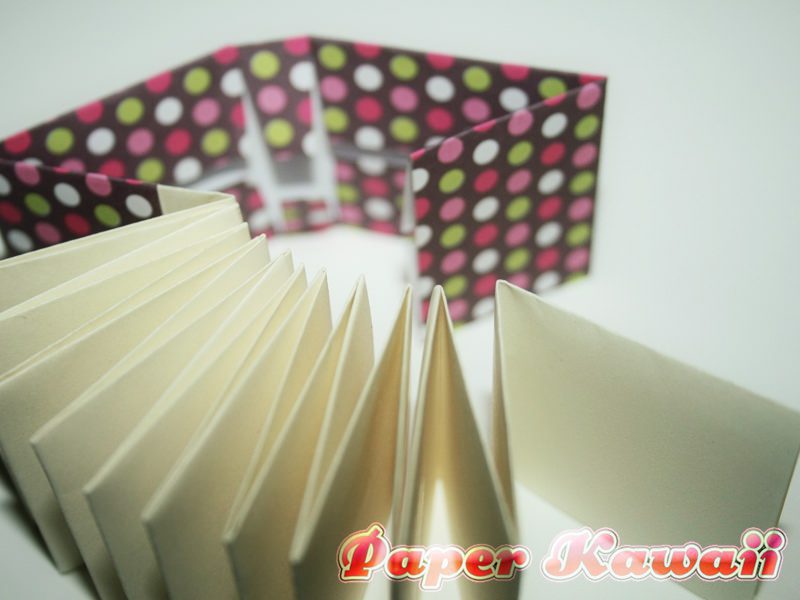
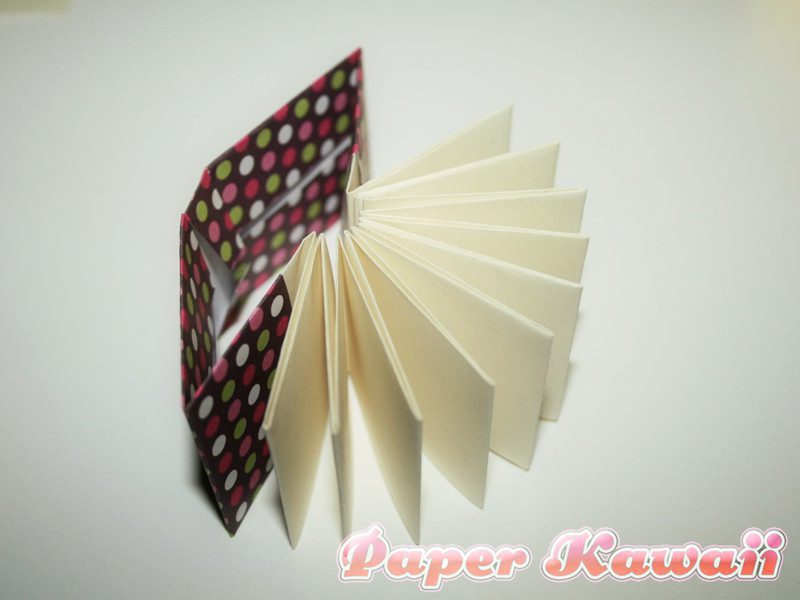
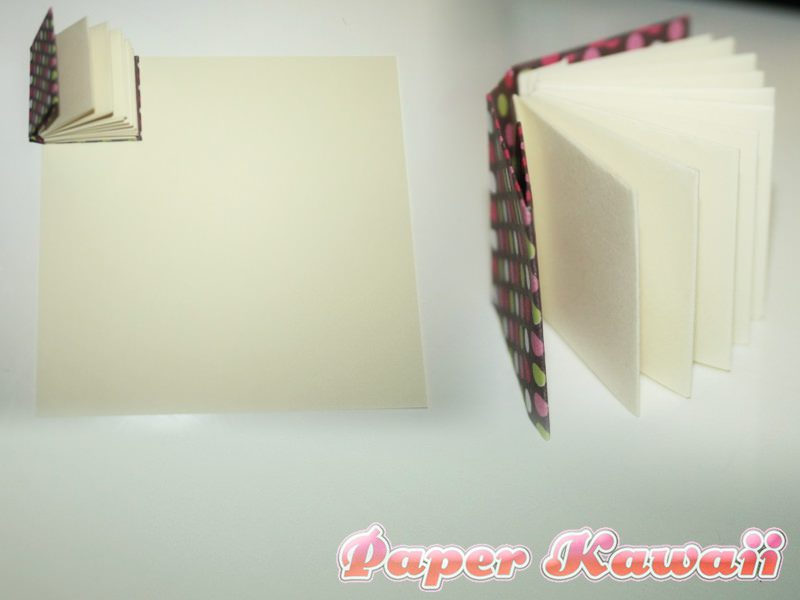
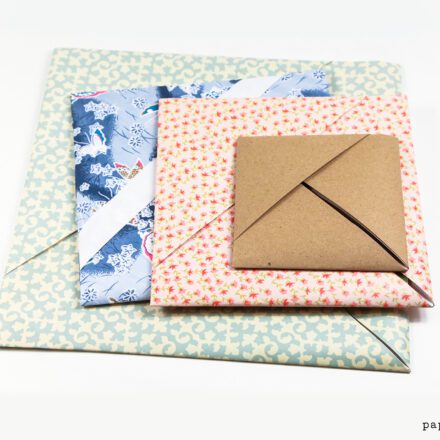
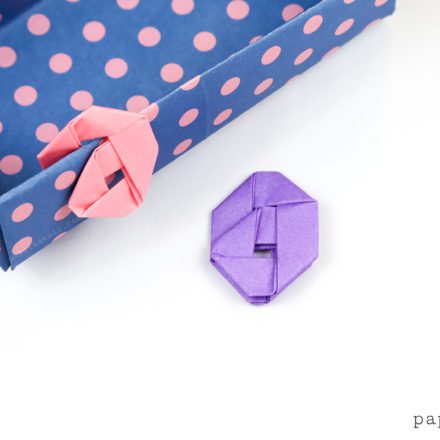
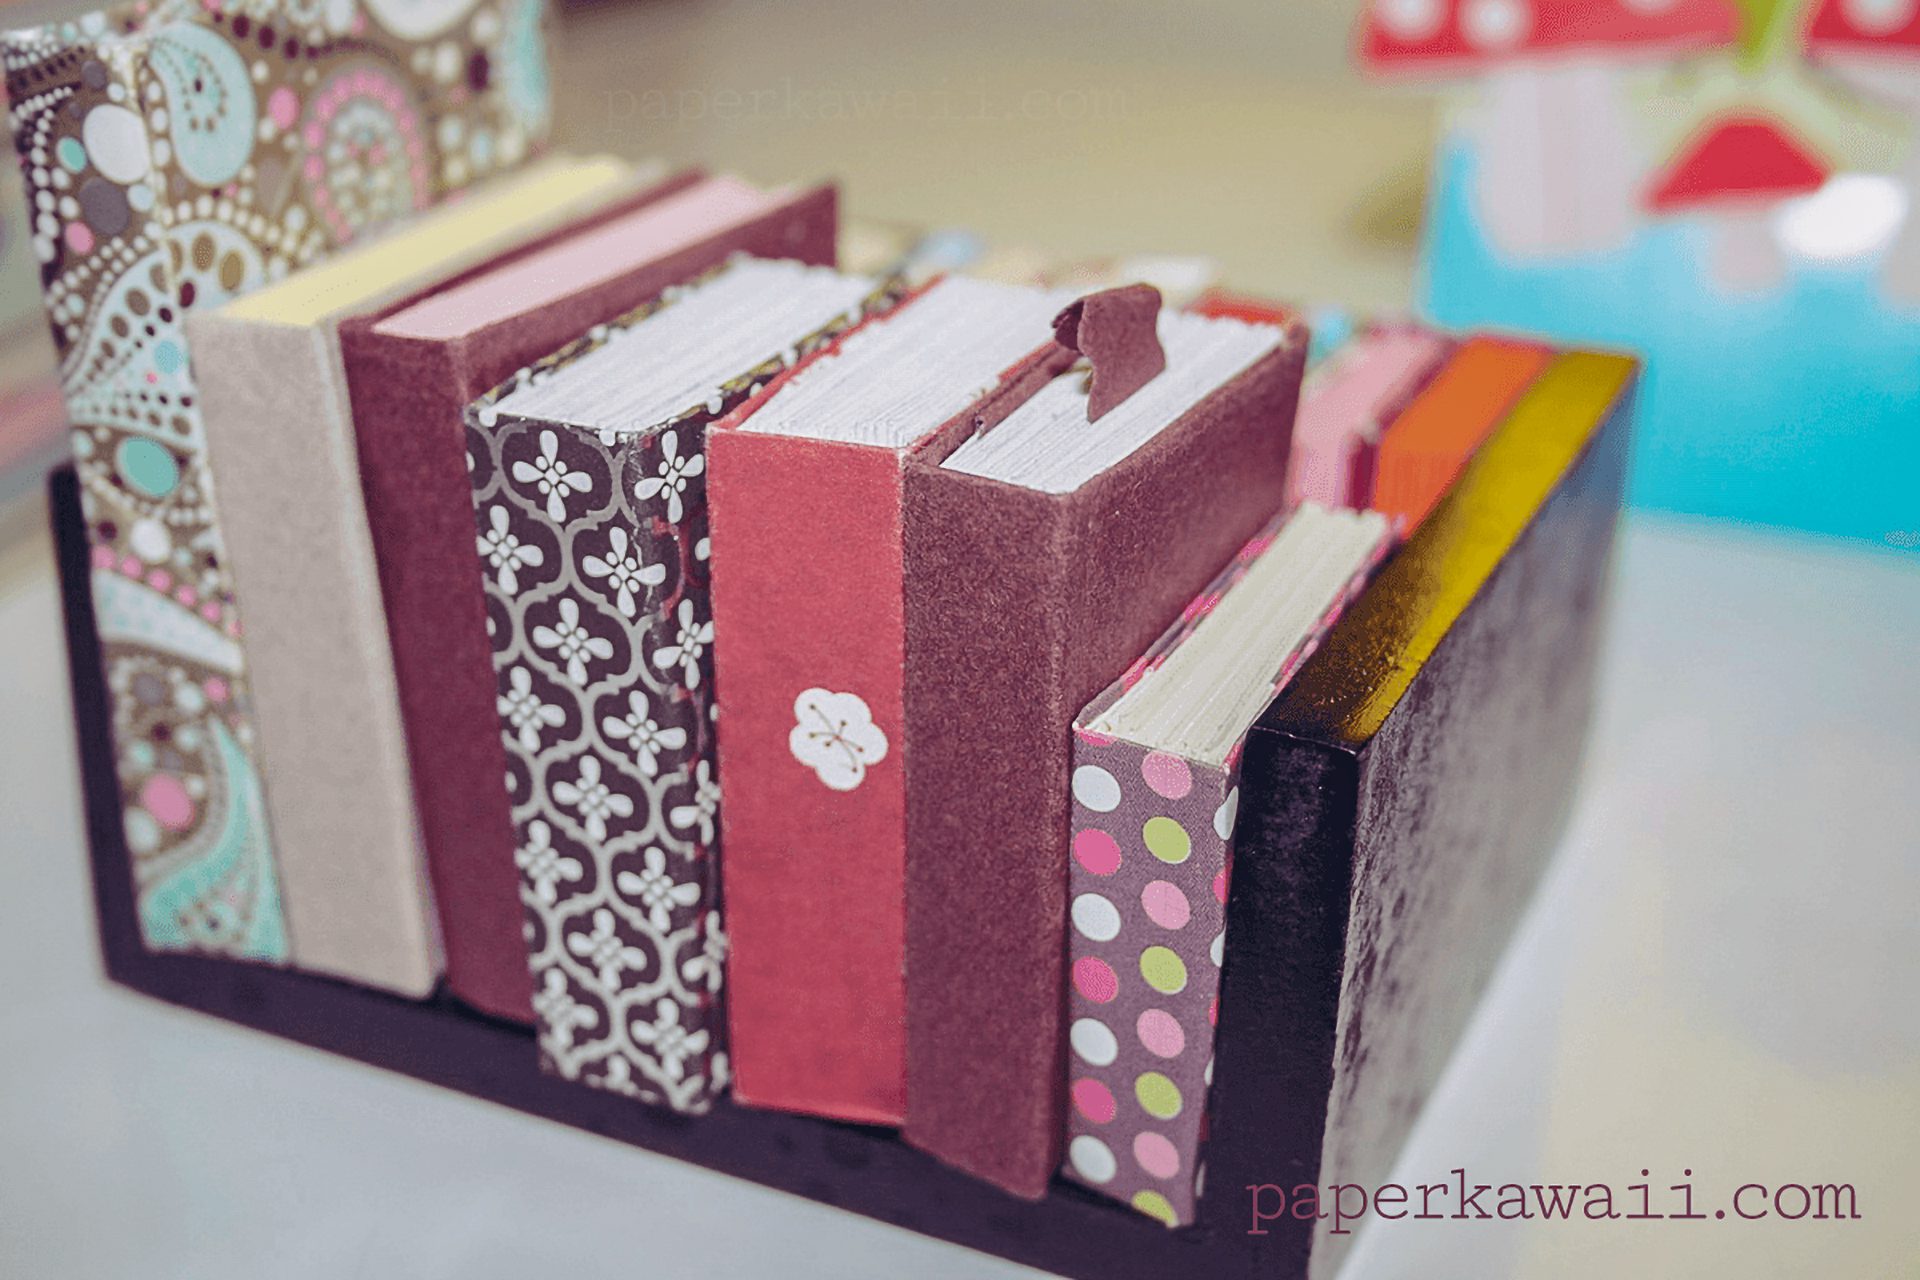
I used 6×6 inch (15 x 15 cm) paper.