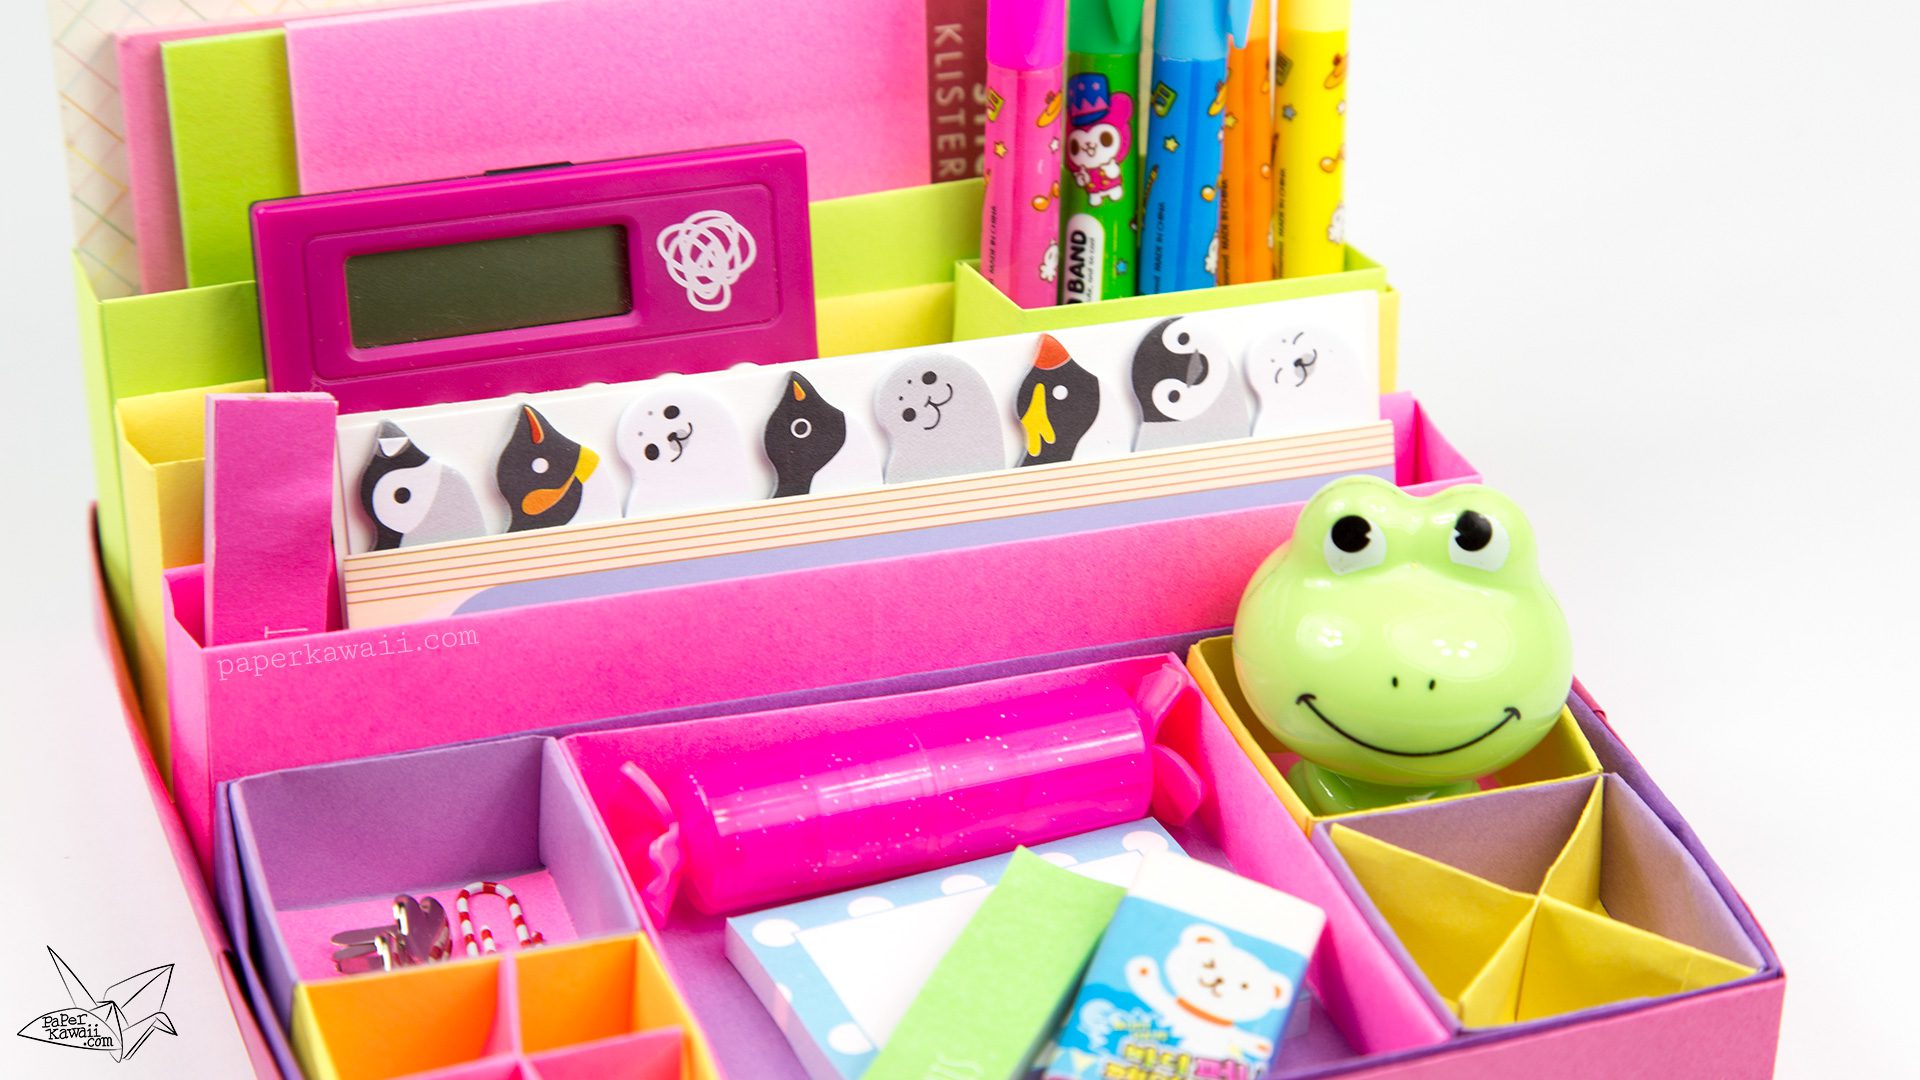
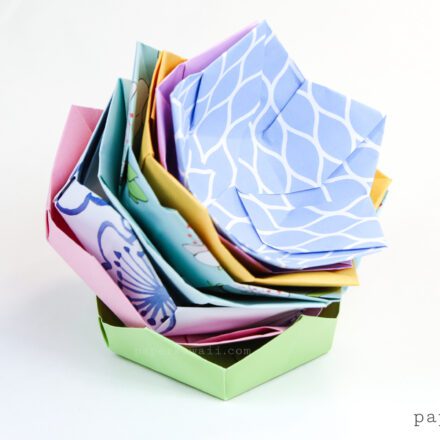
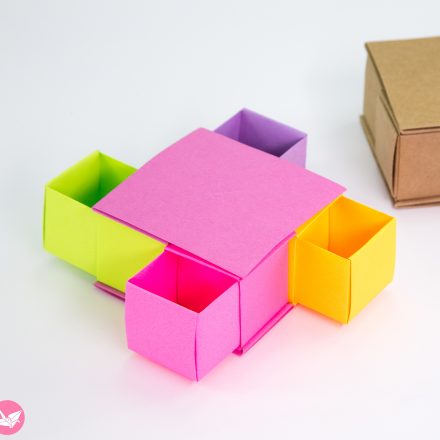
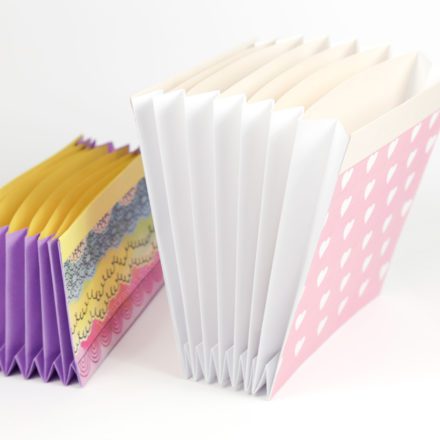
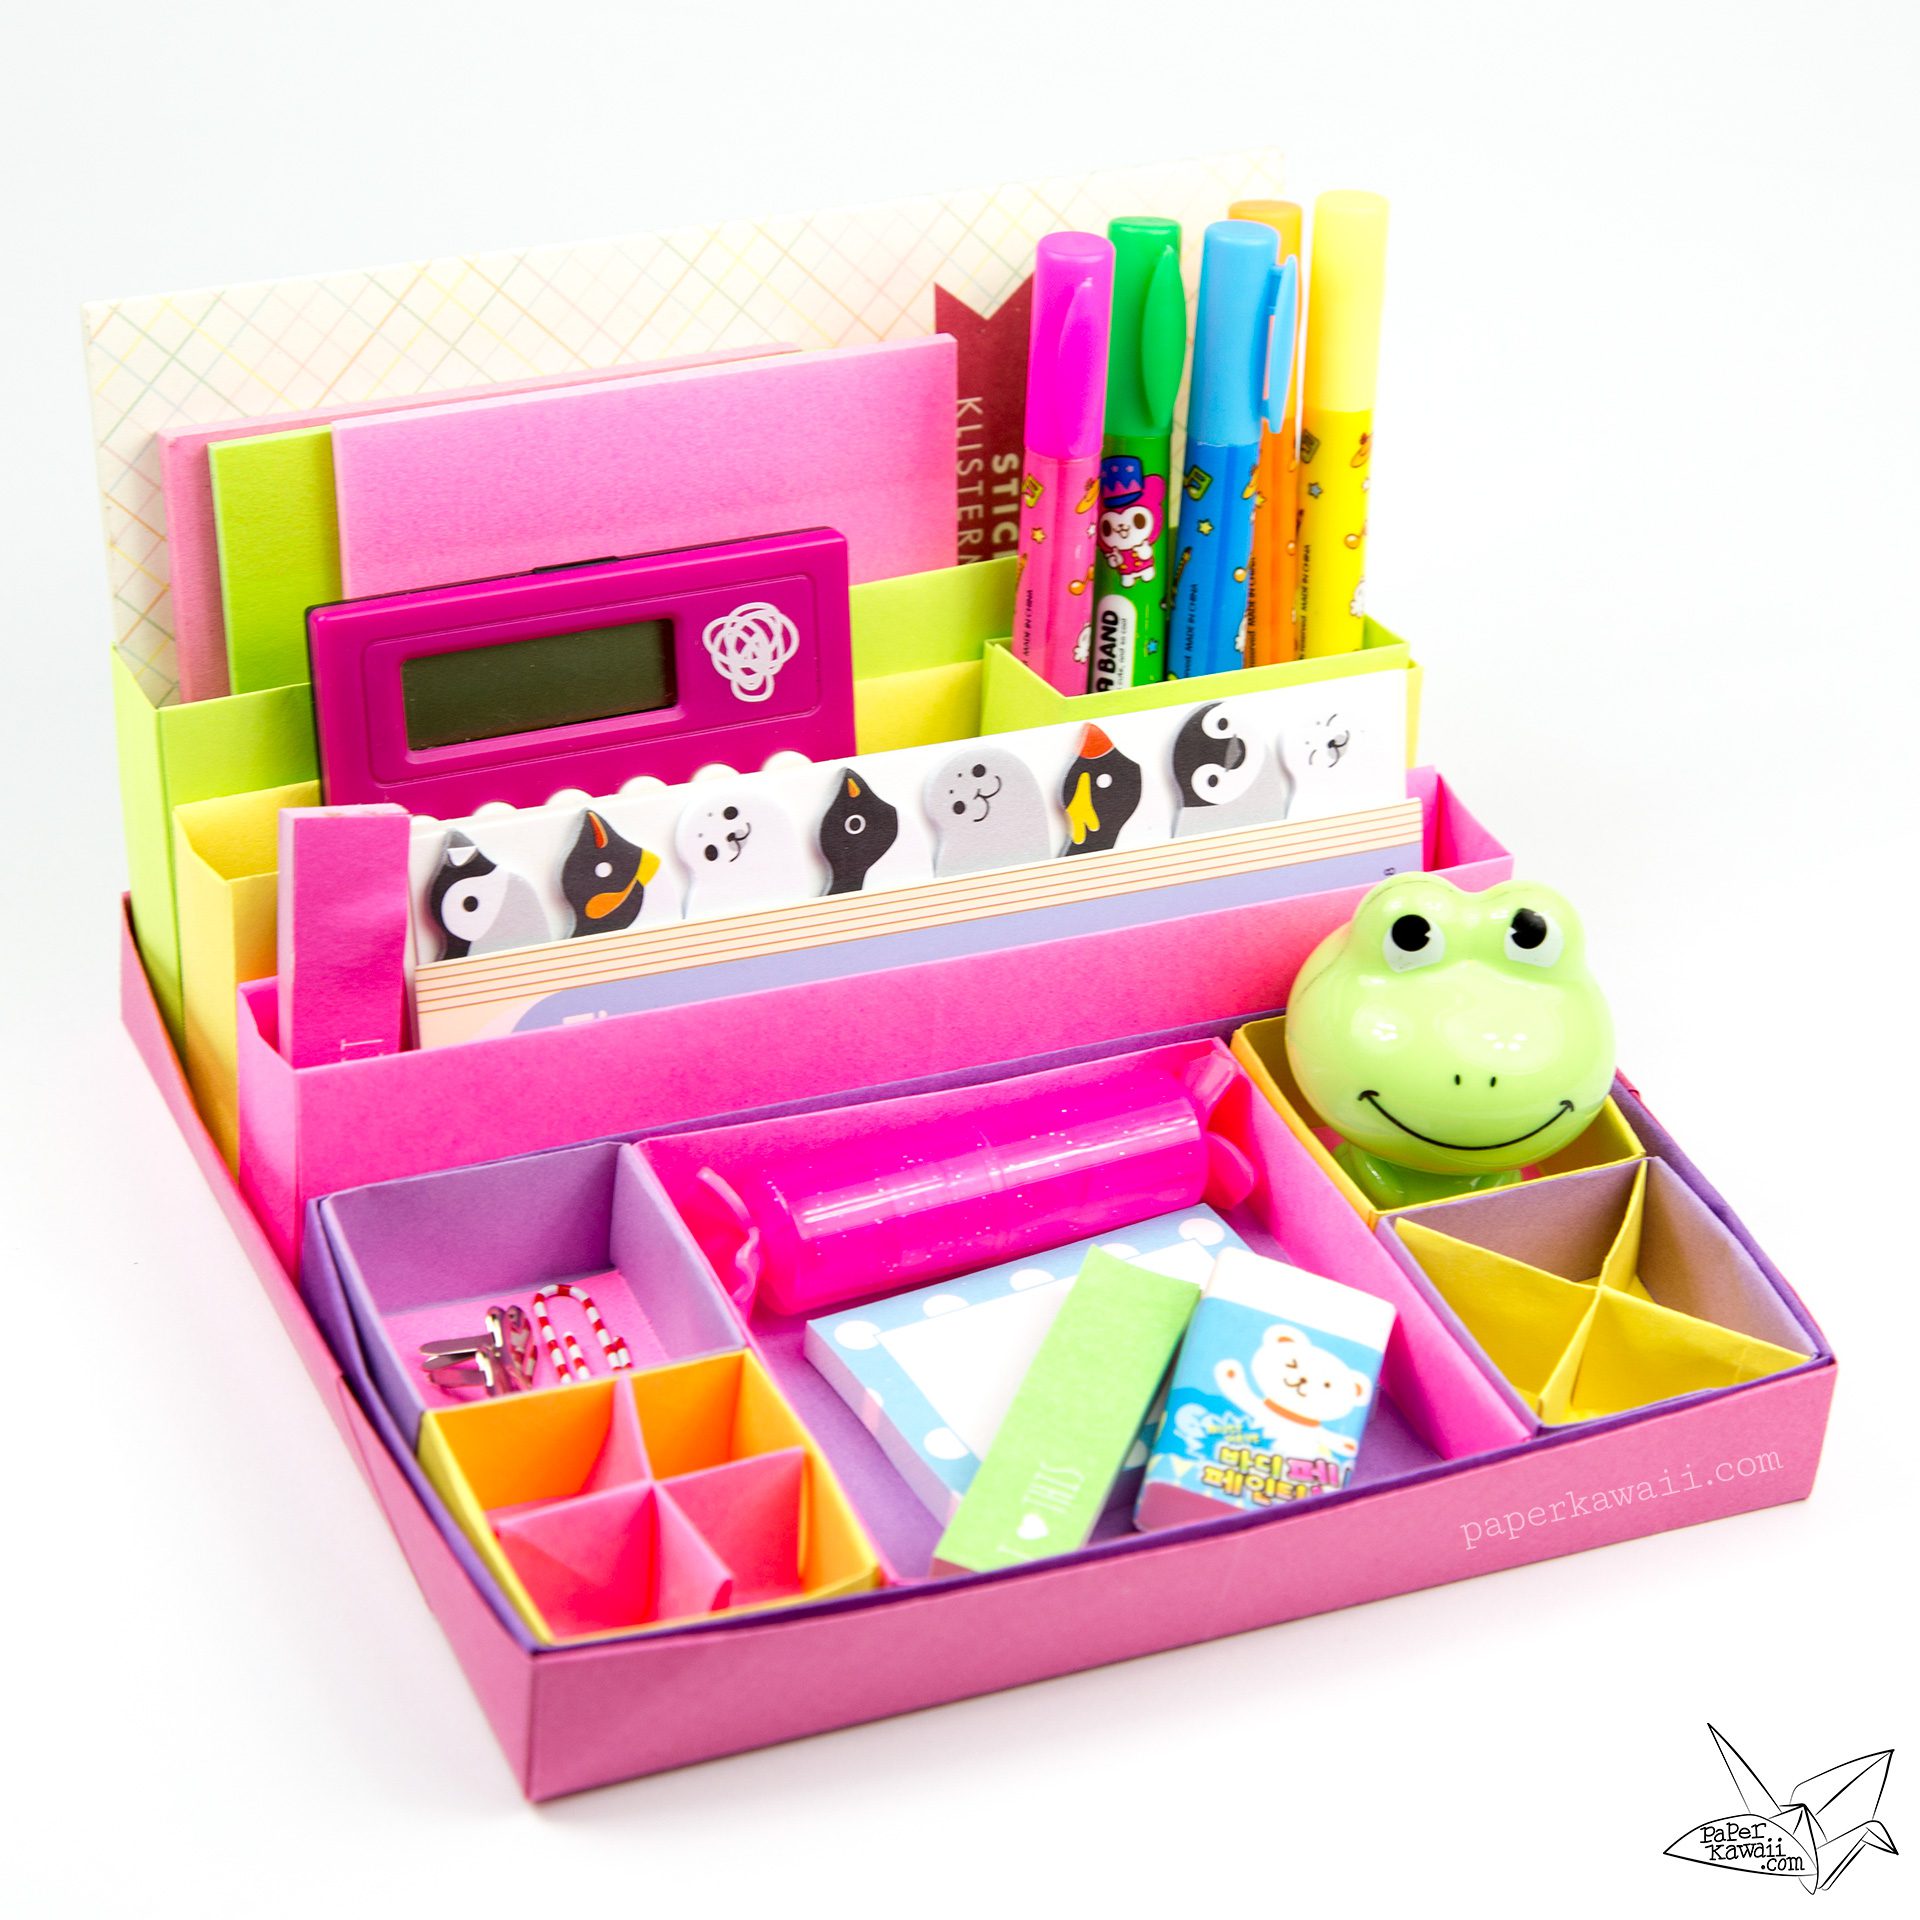
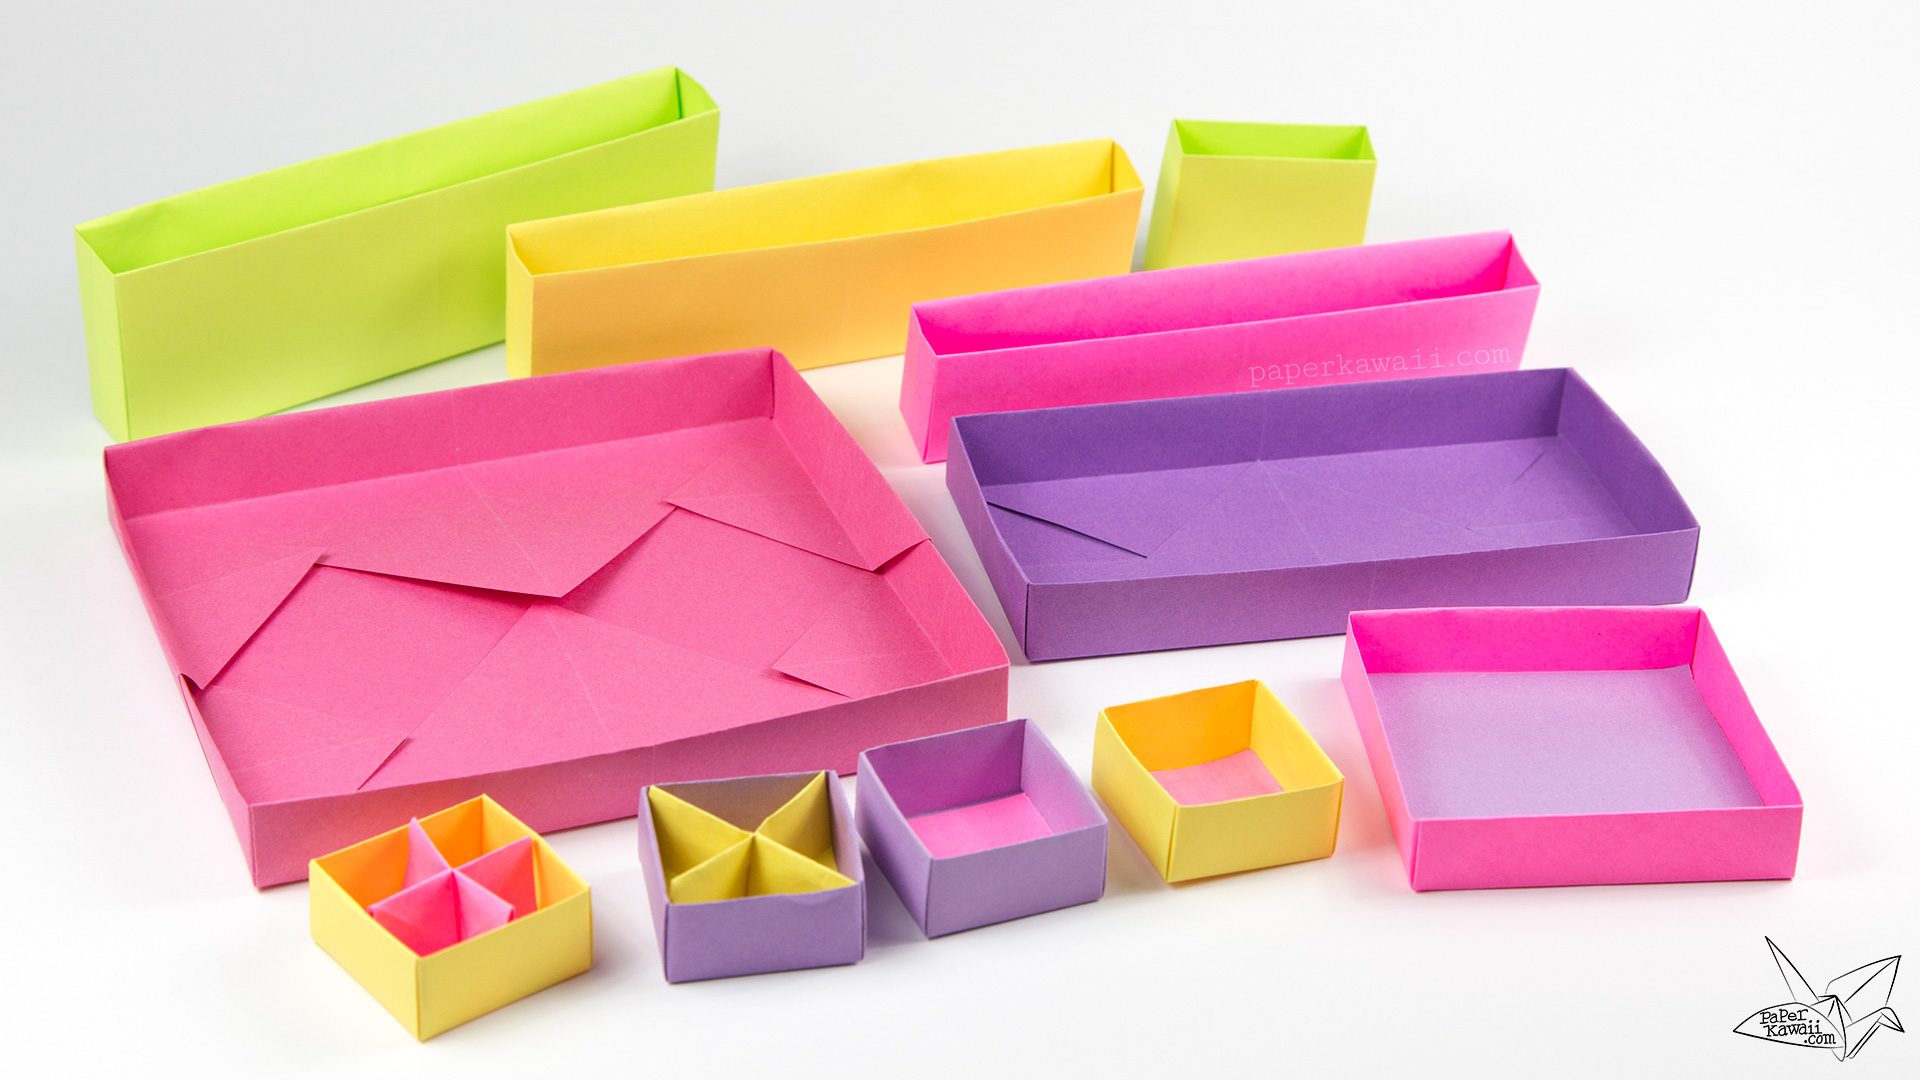
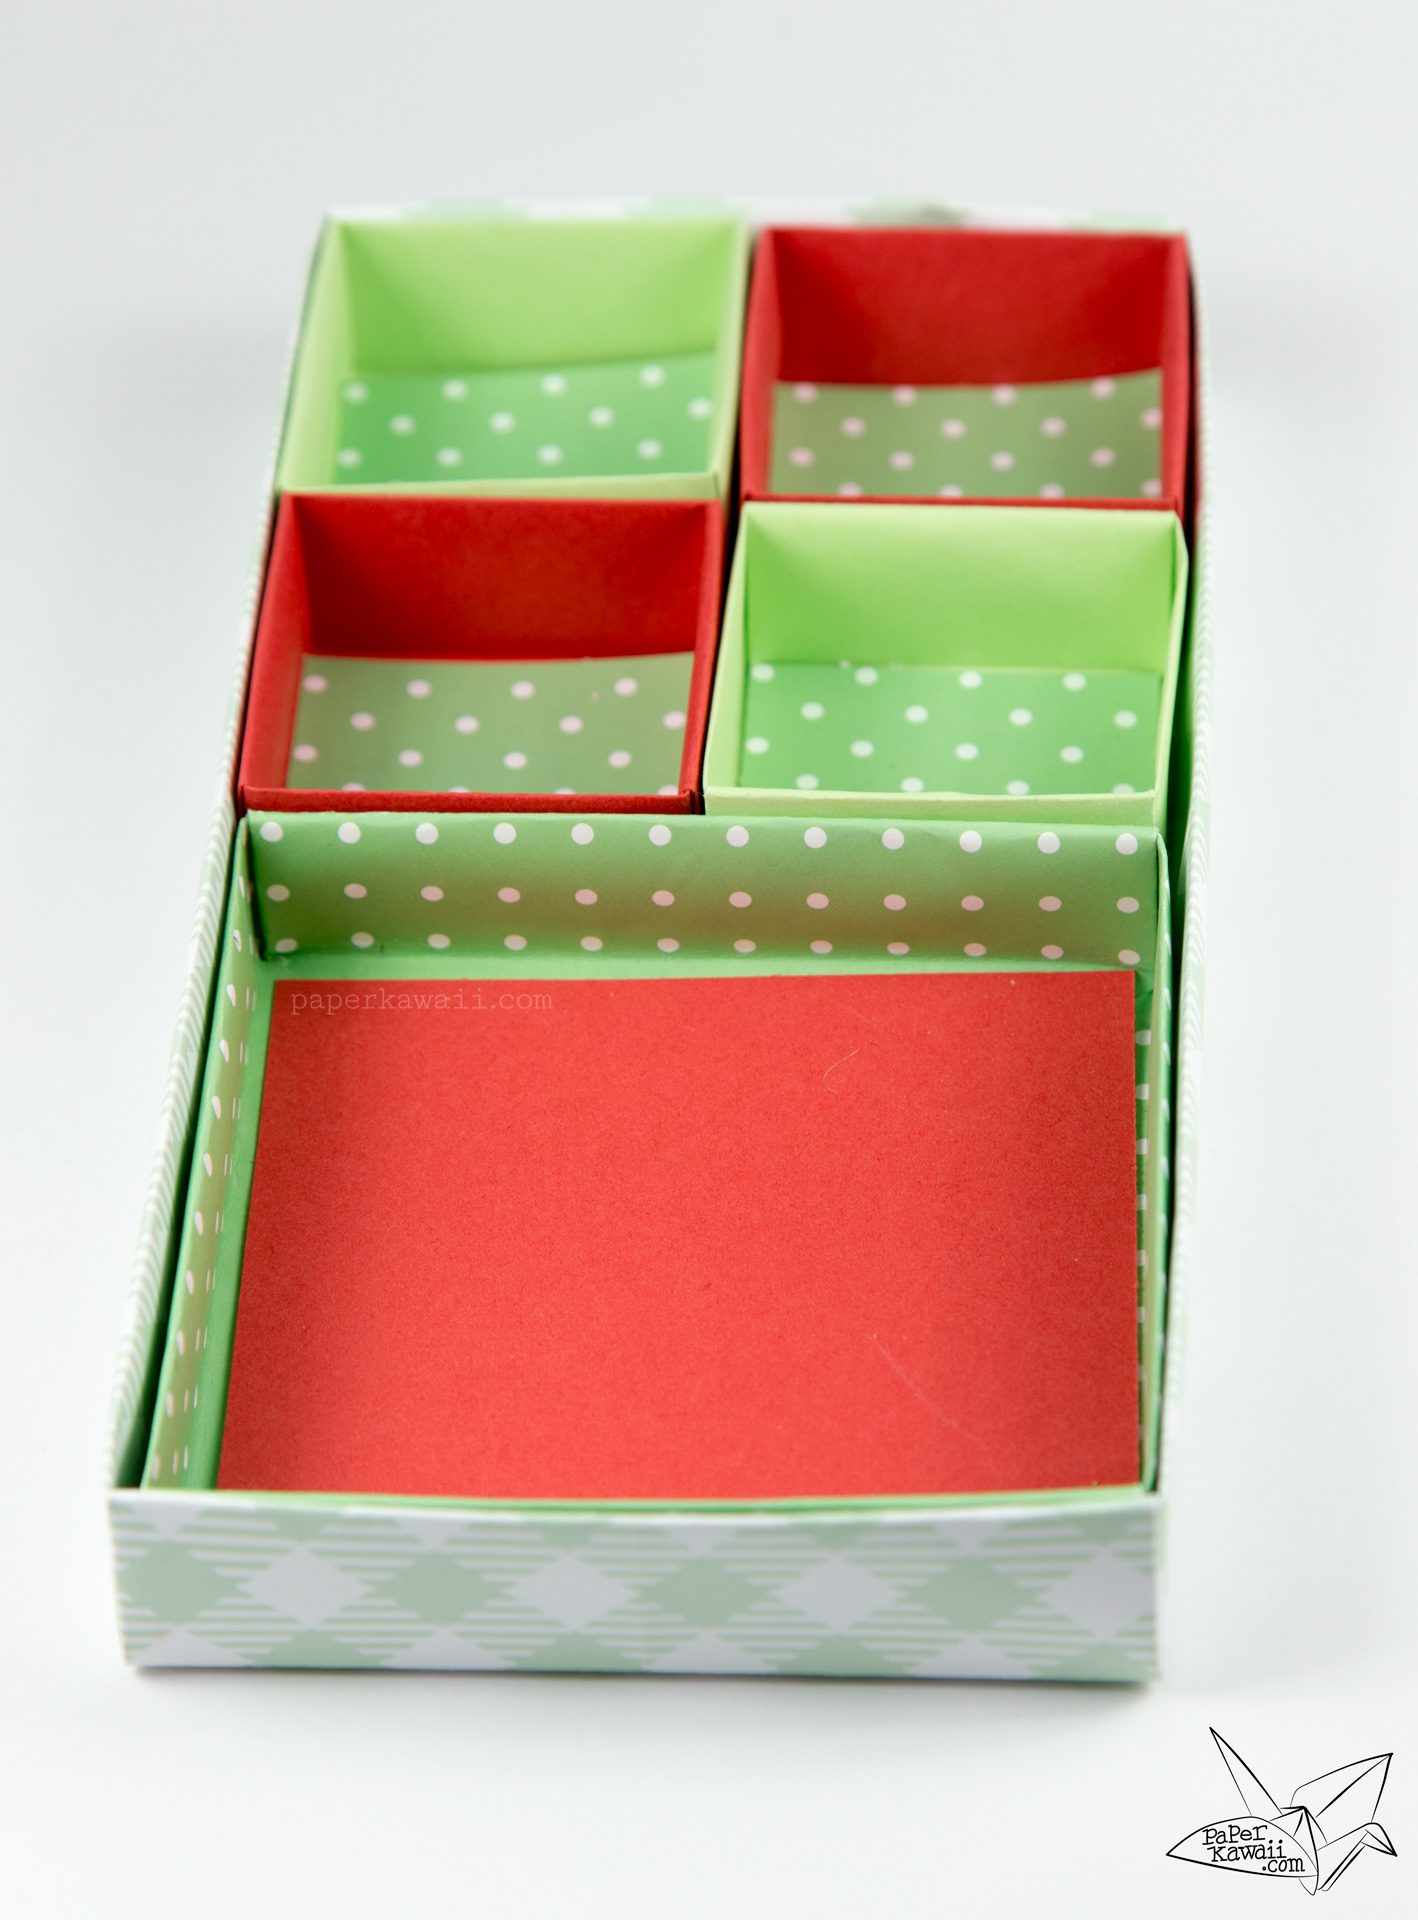
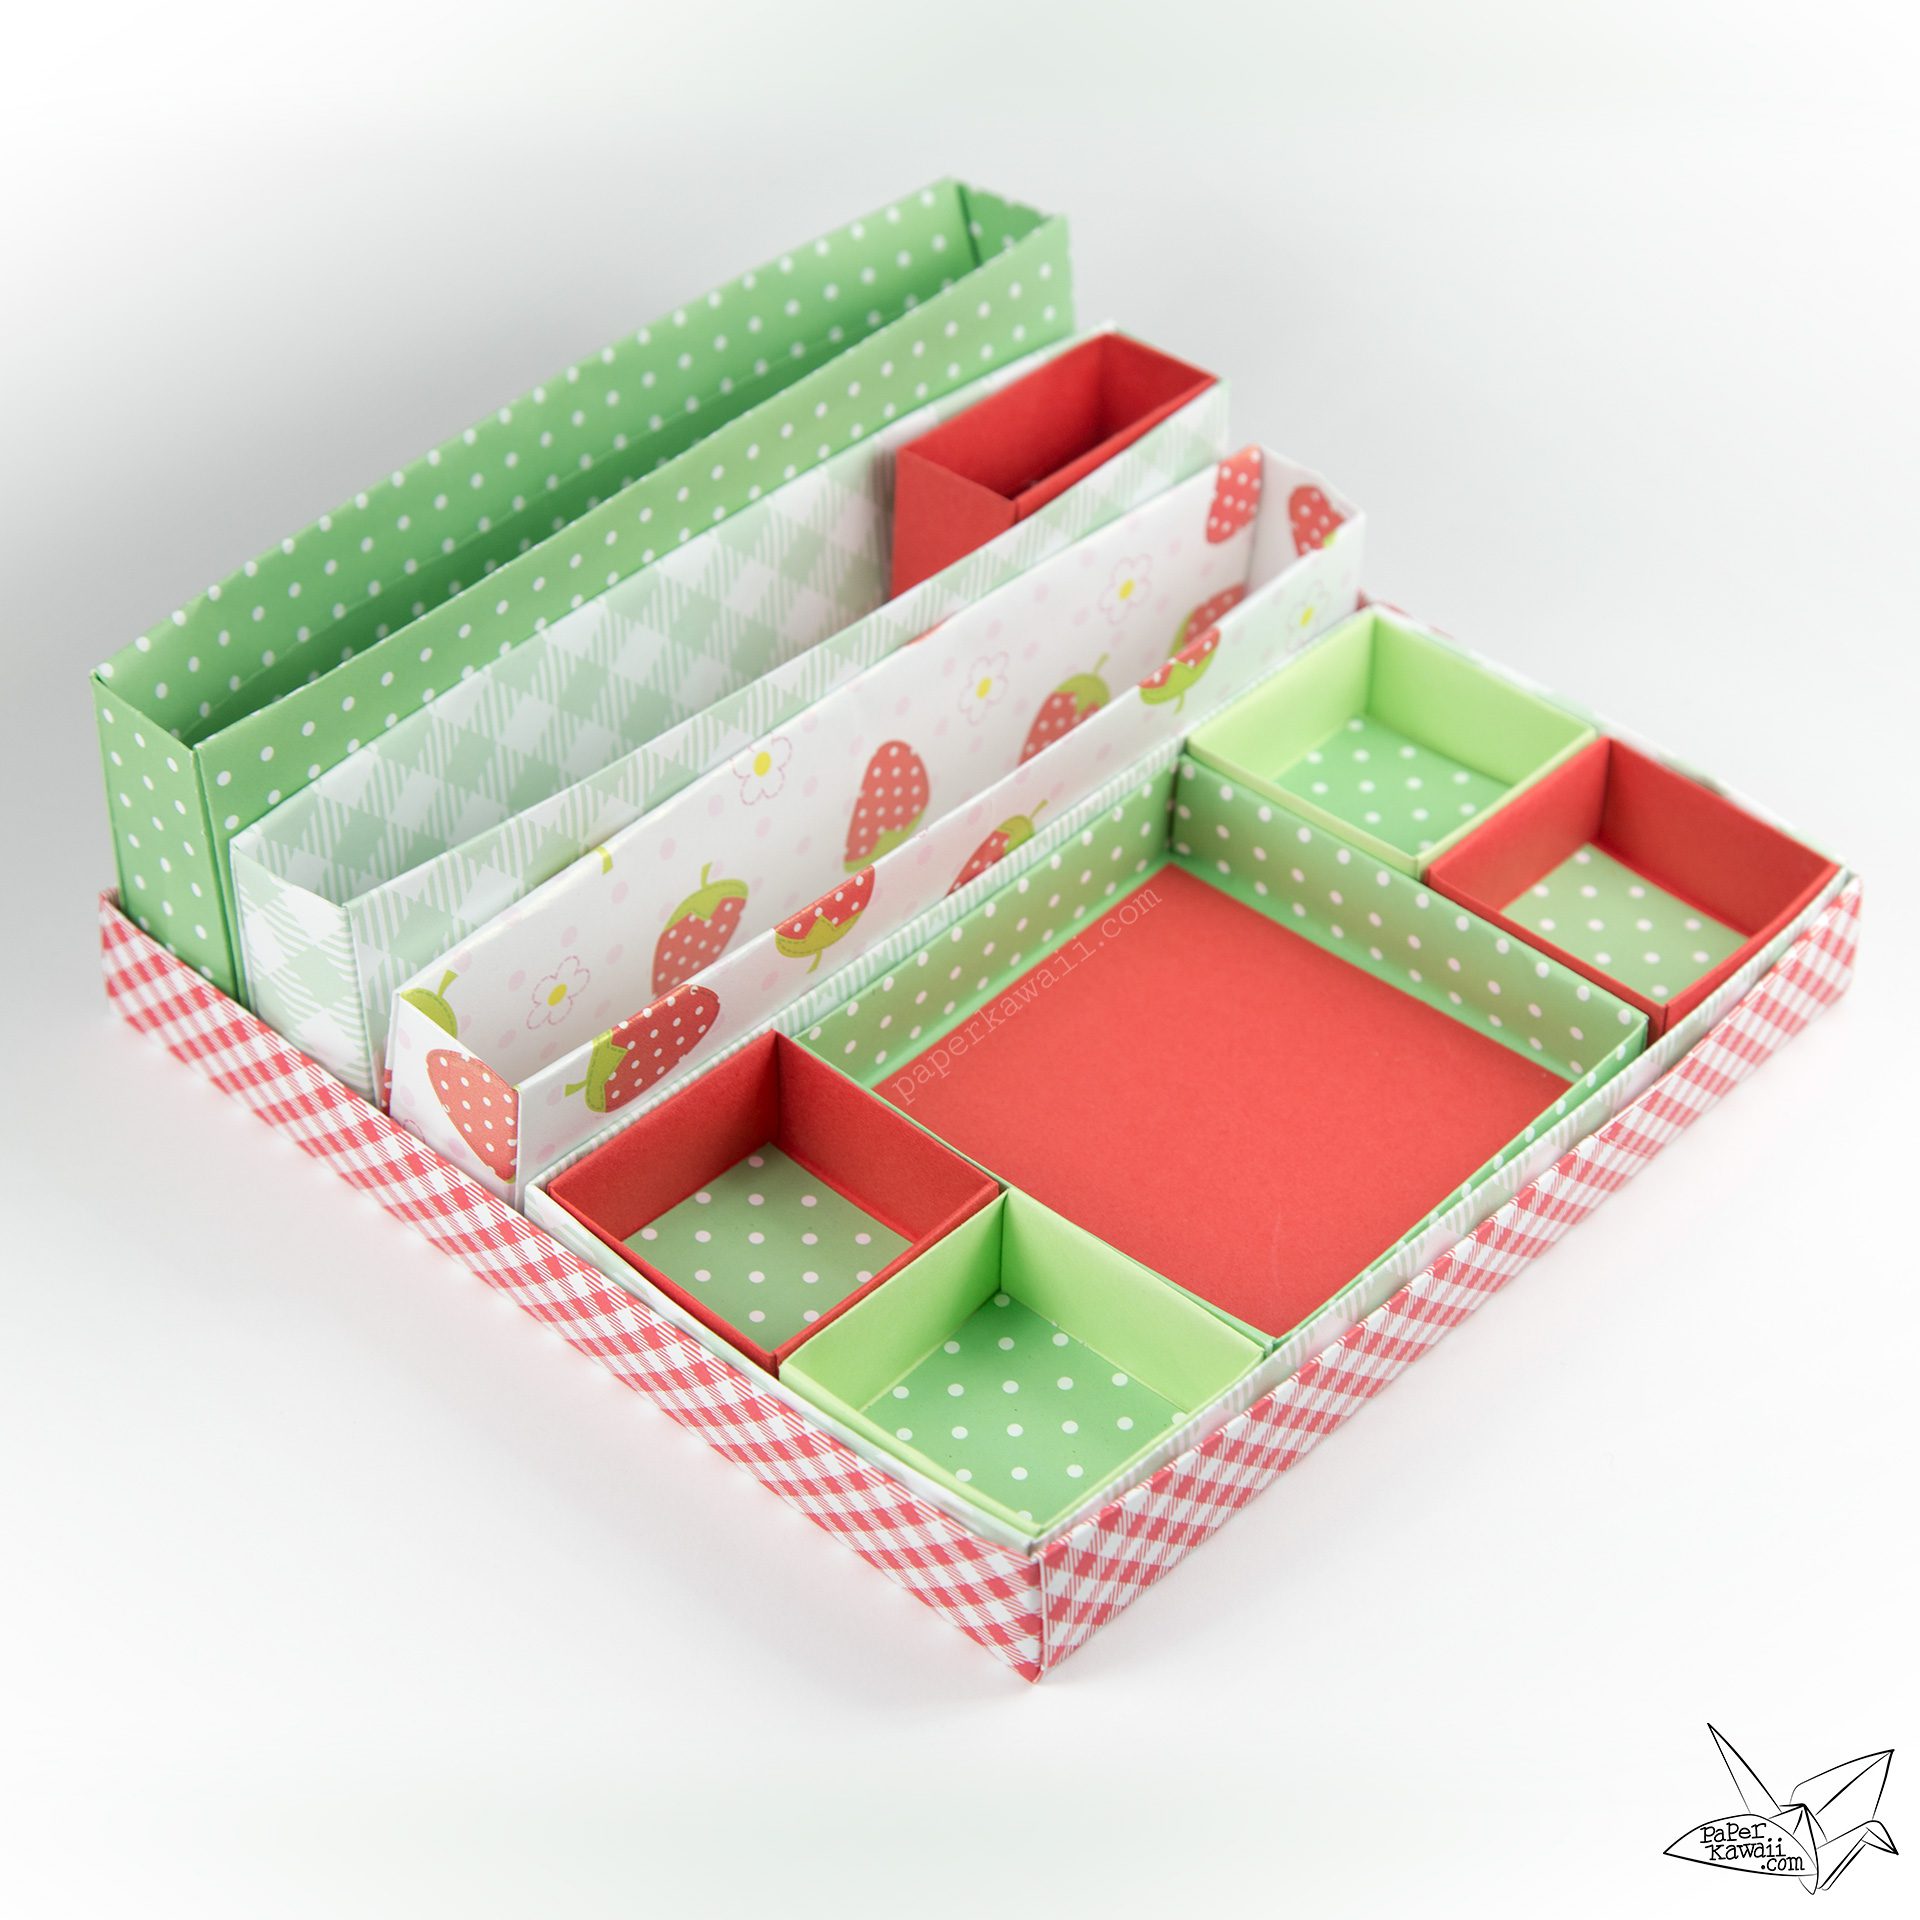
Make a useful DIY origami desk organiser with 10 origami boxes, no glue required. Use these nested origami boxes for stationery, makeup or jewellery.
I hope you like making this origami desk organiser. No glue is needed (but you can reinforce it with glue if you want). I also cut out little squares to go into the front boxes to finish.
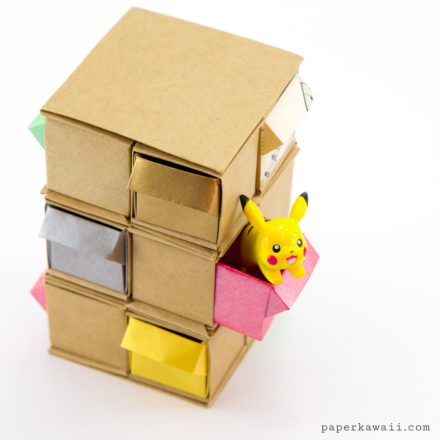
It took quite a long time to make these boxes fit together properly, and the video is longer than I’d like. I guess you’re learning 10 different boxes here. You can re-arrange the boxes however you like.
I recommend making this with thick paper if you have it. My paper is standard printer quality paper about 80GSM. It is ok but would not be sturdy enough to store heavy things. Thicker paper works better.
This model is featured in one of my origami ebooks:
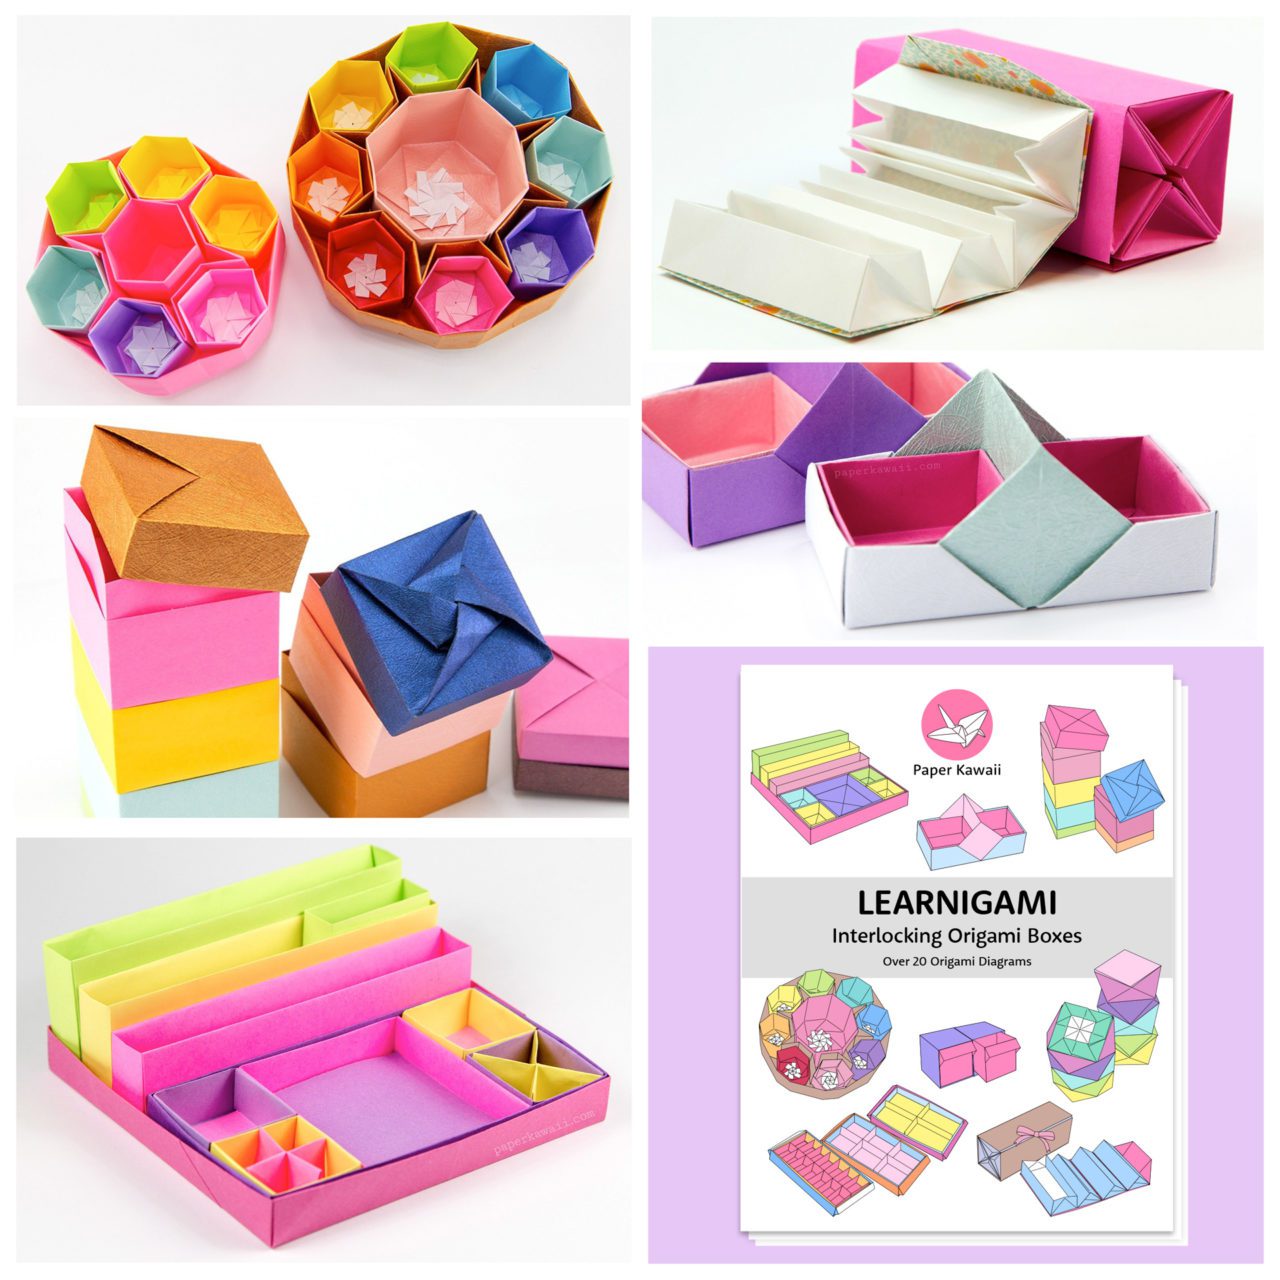
LEARNIGAMI – Interlocking Origami Boxes E-book
Features over 20 origami diagrams. These origami boxes interlock, slot or fit together to become a larger piece. Each origami project is clearly diagrammed with annotations throughout.
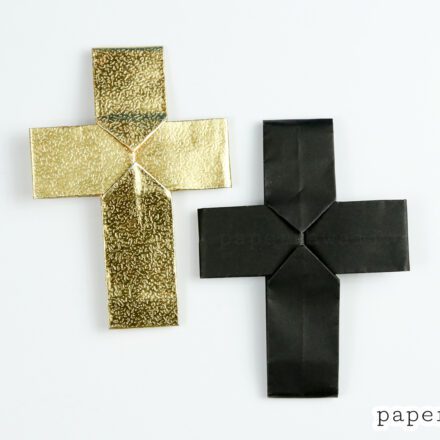
Design: © Paper Kawaii Copyright Information (except for the + divider, masu boxes & envelope box) (X shaped divider tutorial here).
Level: ★★★☆☆
You will need:
Outer Tray: 2 sheets square paper (21 x 21 cm)
Inner Tray & Boxes: 4 sheets of square paper (21 x 21 cm)
Square Inner Box: 1 sheet of square paper (15 x 15 cm)
Smaller Square Boxes: 4 sheets of square paper (10 x 10 cm)
Final model size: 15 x 14.5 cm
Other sizes:
US LETTER: 8.5 x 8.5 inches, 6 x 6 inches, 4 x 4 inches.
CUT FROM A3: 42 x 42 cm, 28 x 28 cm, 18.6 x 18.6 cm.
Large Craft Paper Books: 30 x 30 cm, 21.4 cm, 14.2 cm.
Work it out yourself: Take your largest sized square paper. Divide it by 1.4. That is your second size. Divide that by 1.5. That is your last size.
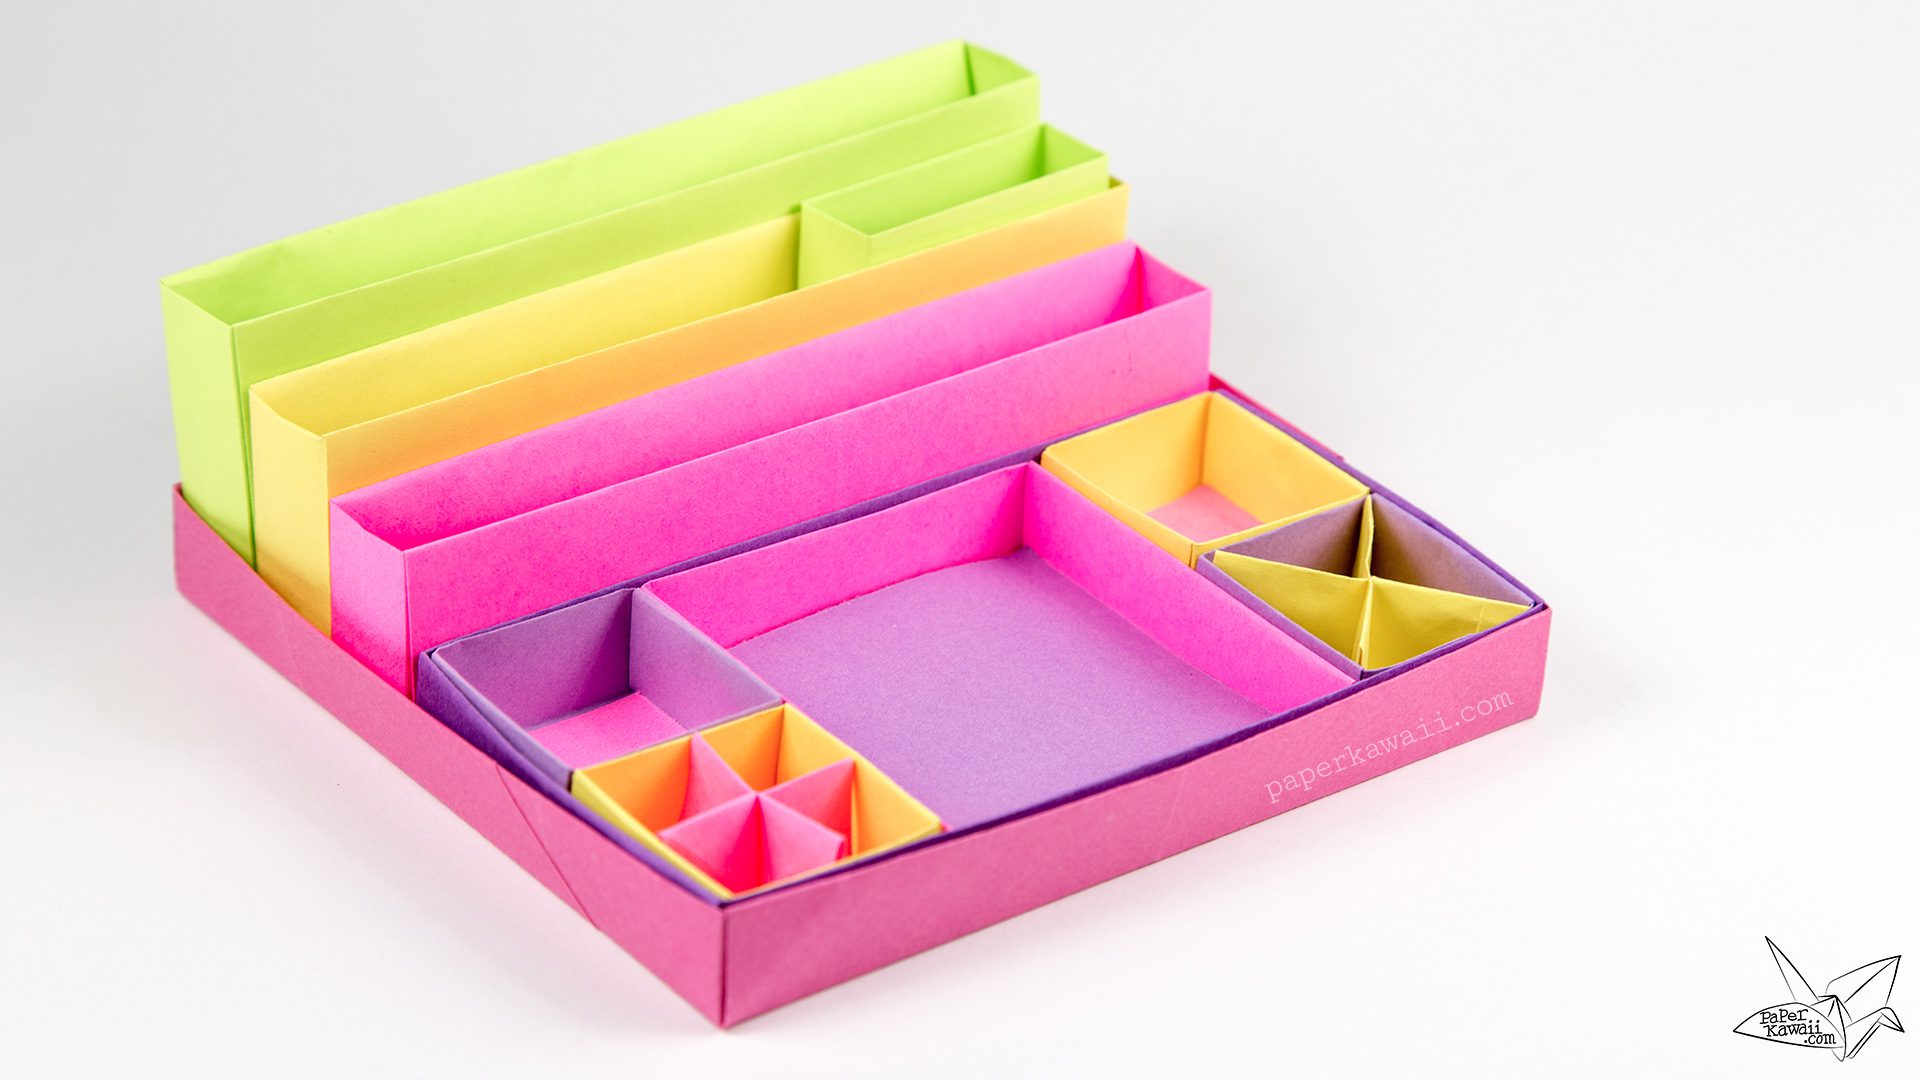
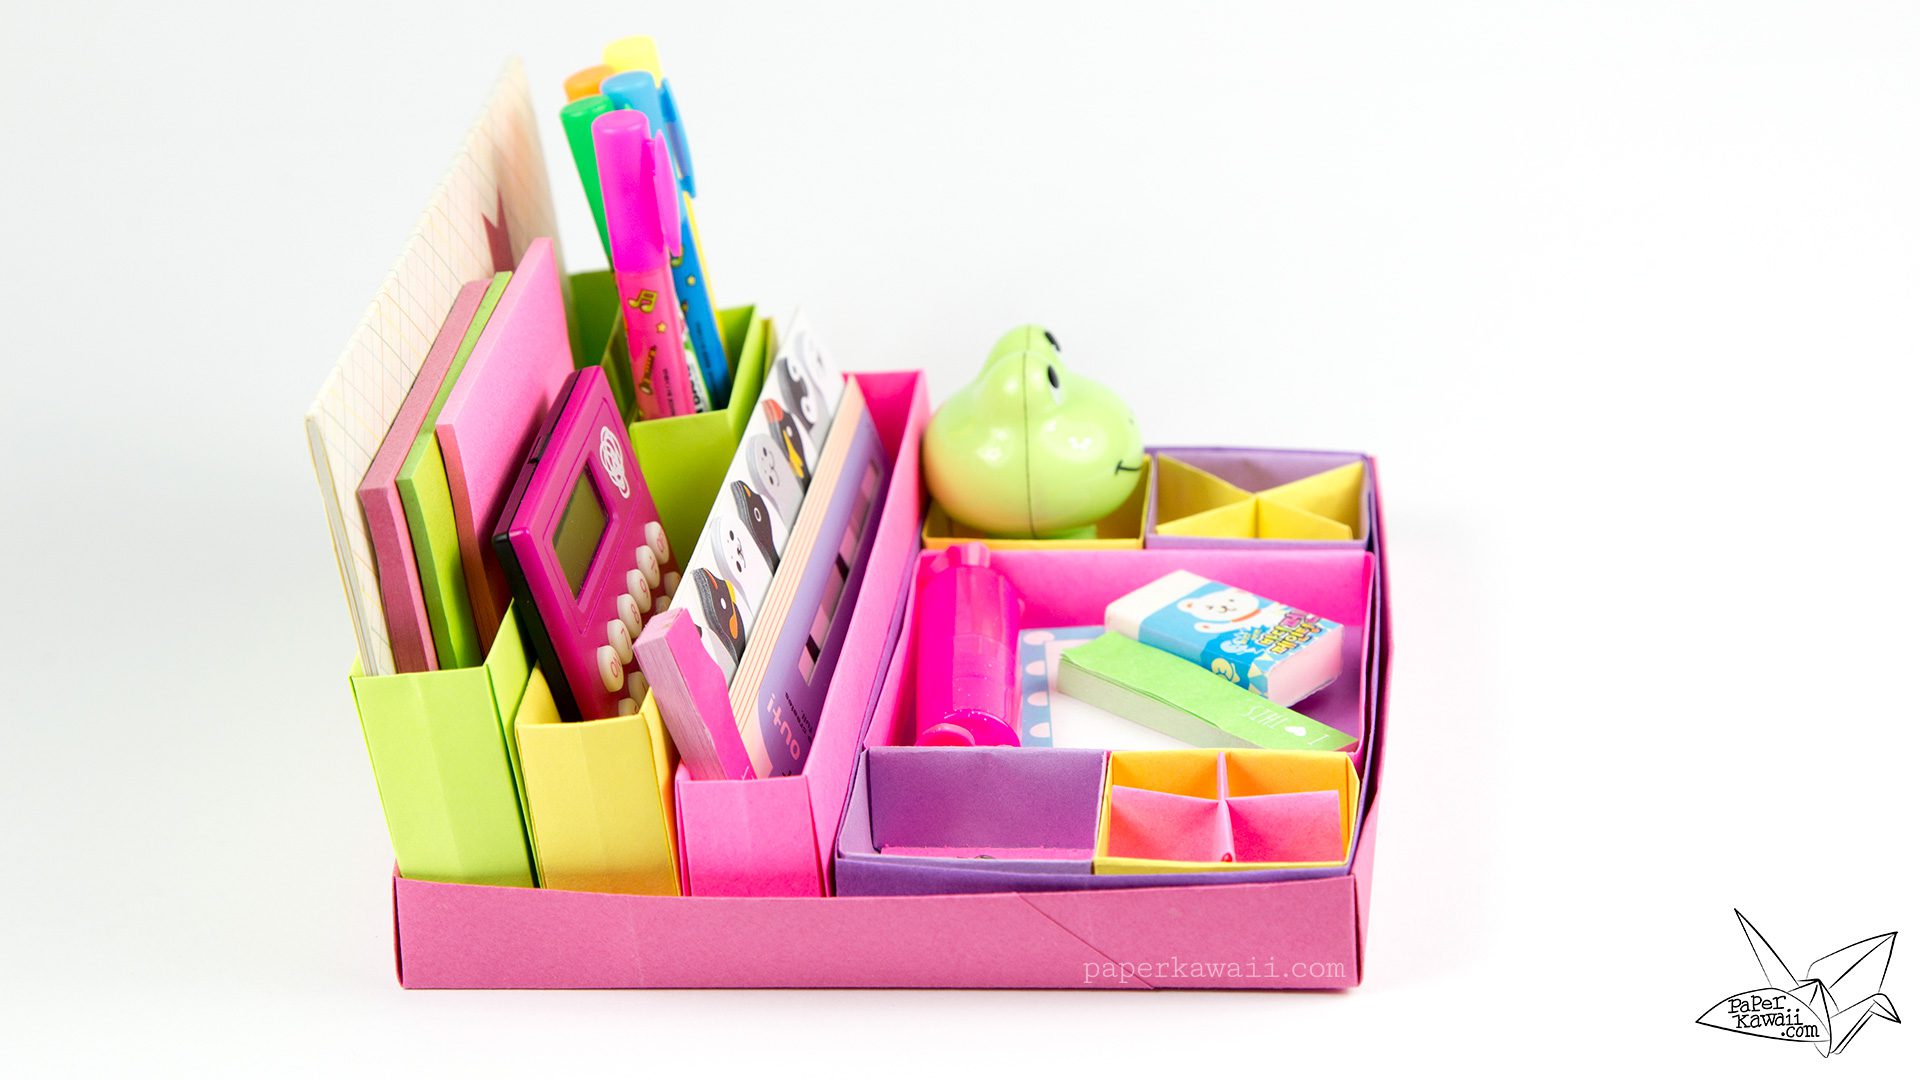
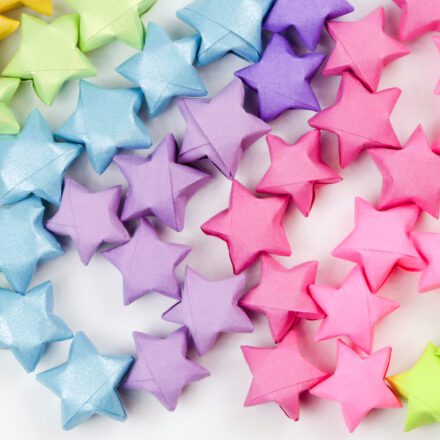
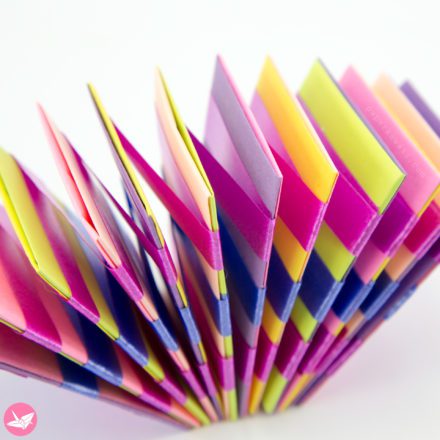
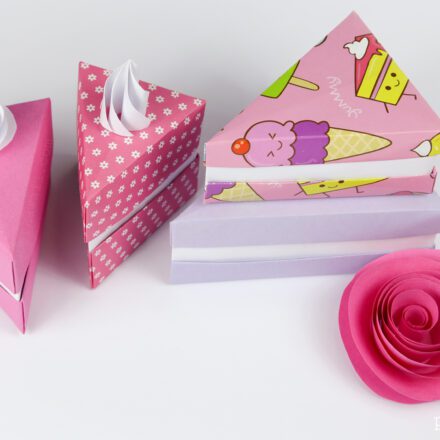
These brightly coloured ones are made with standard weight (60-80gsm) paper from a local shop, it’s like regular printer paper.
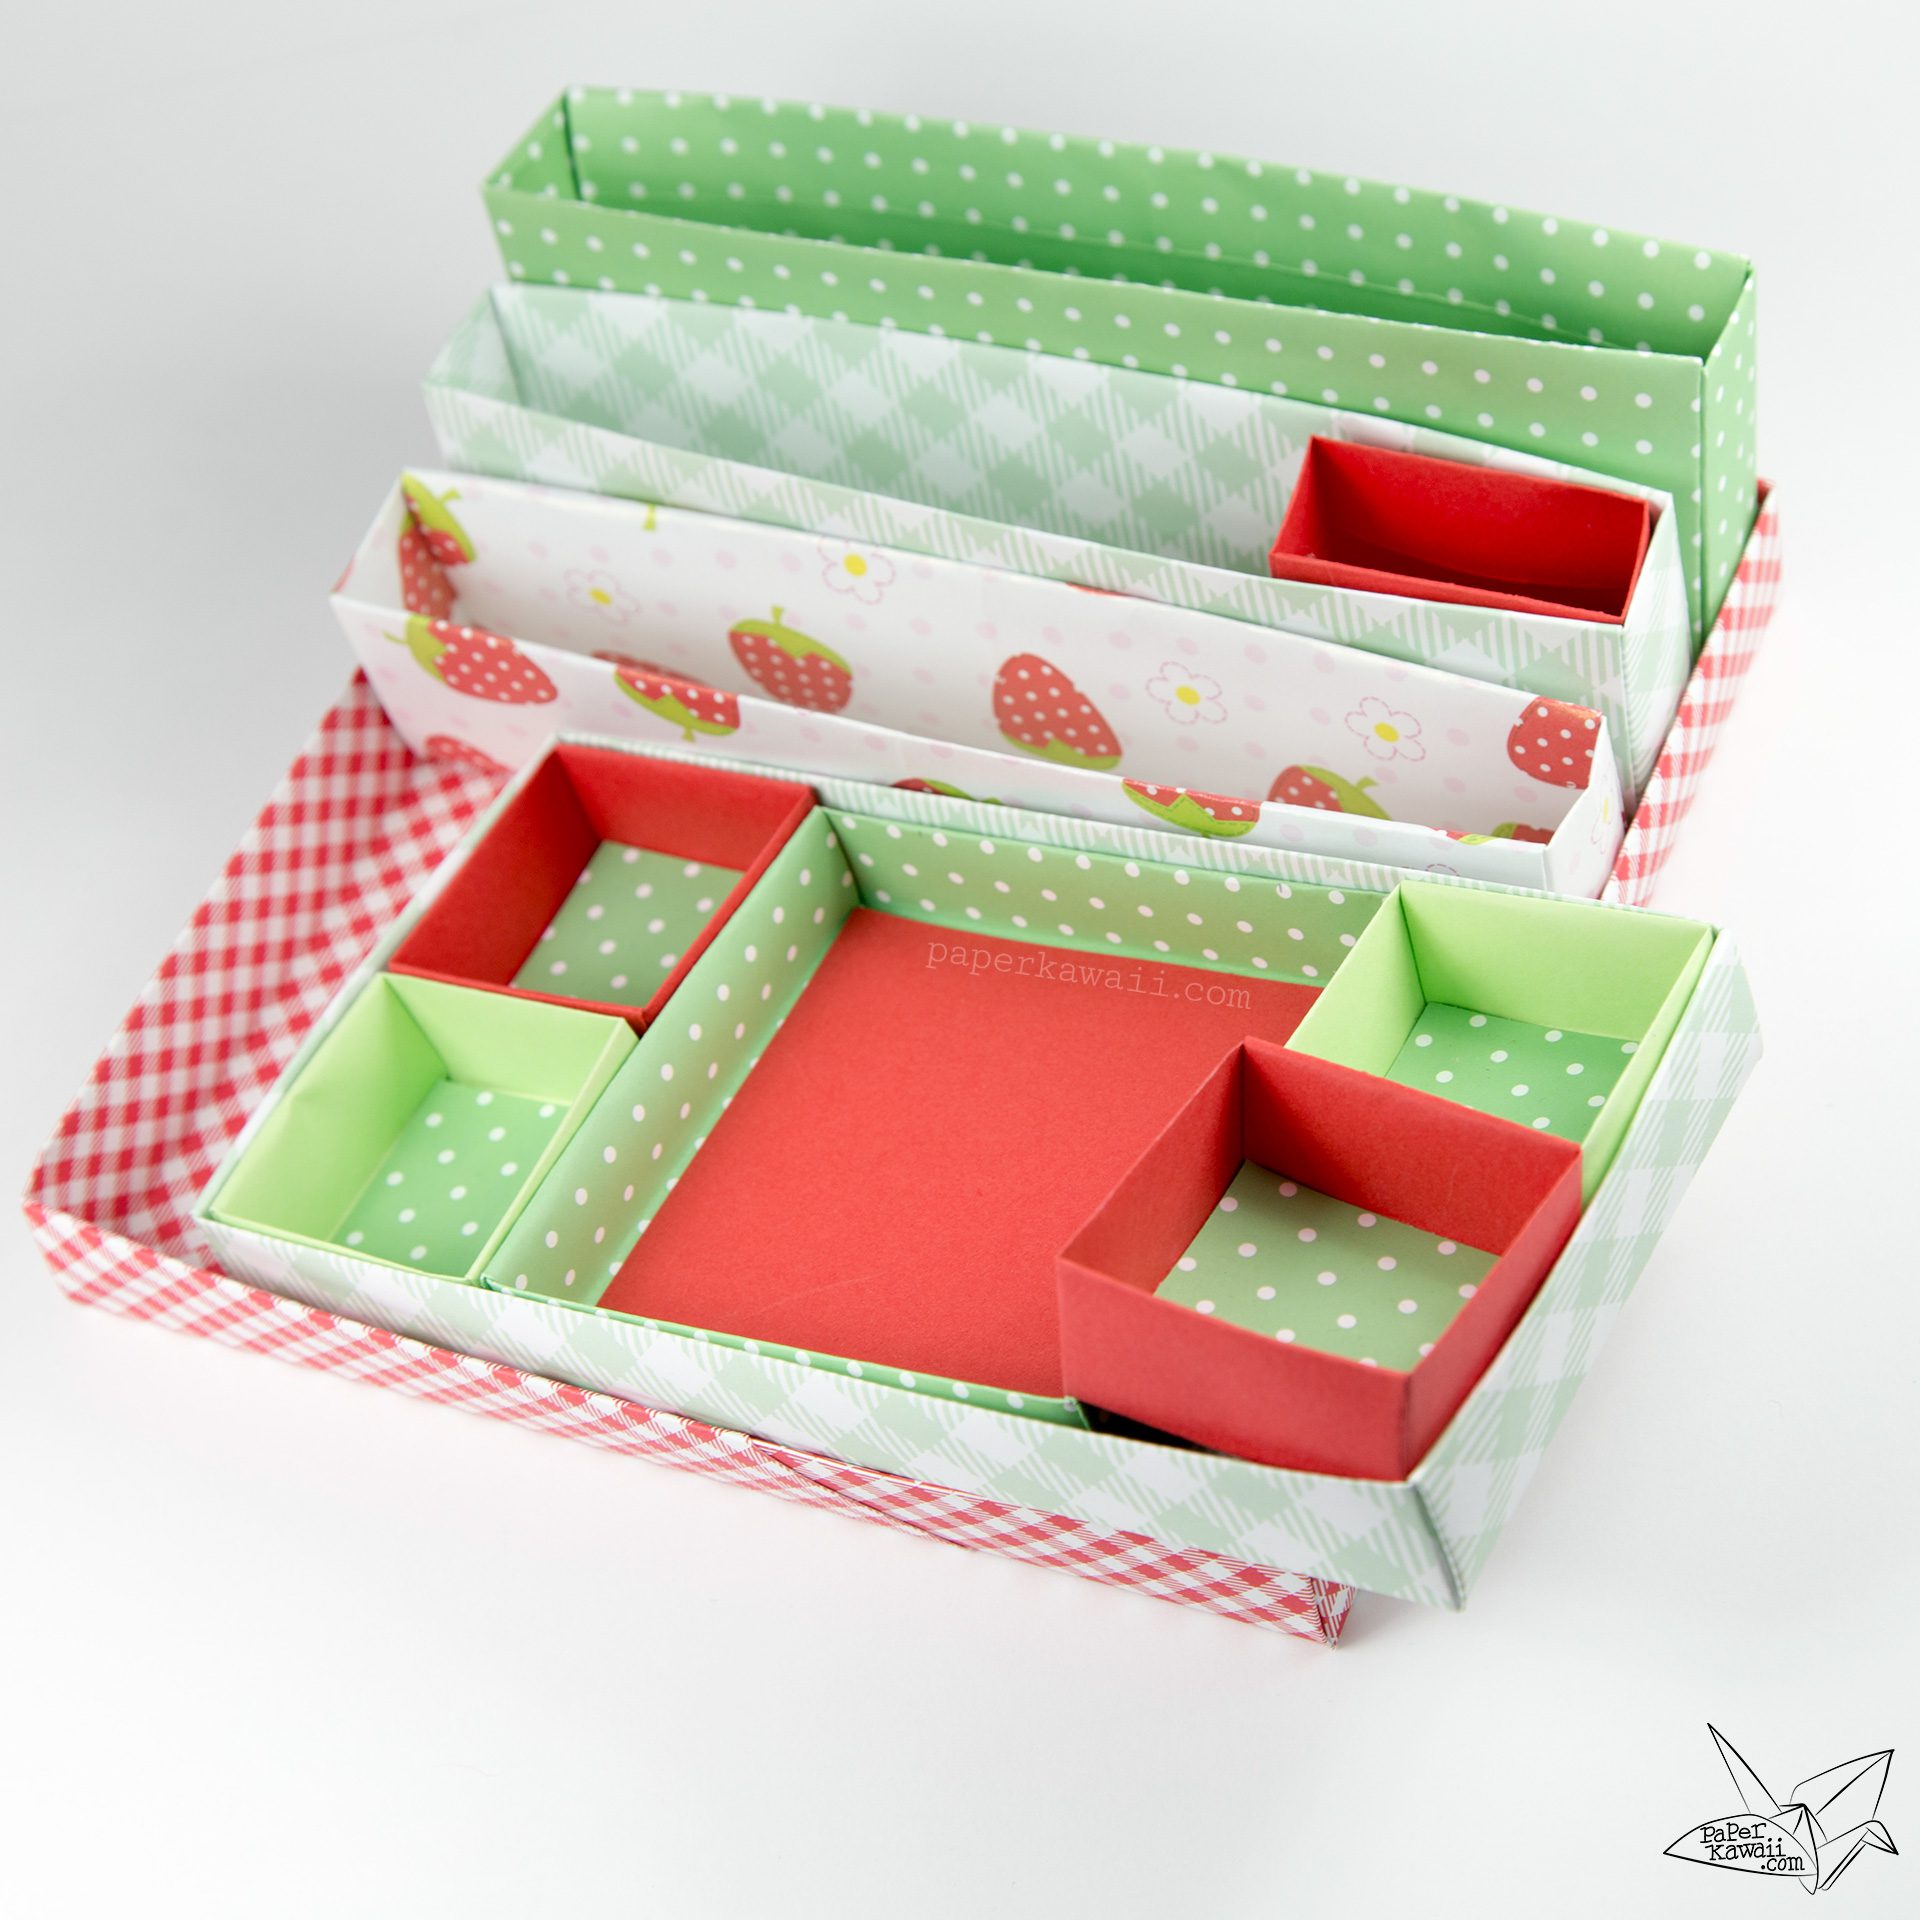
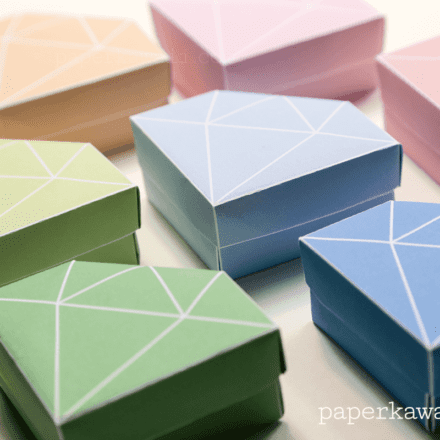
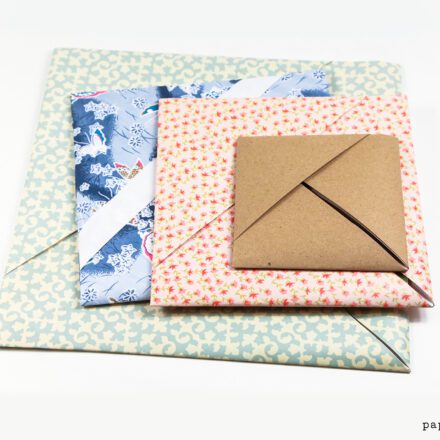
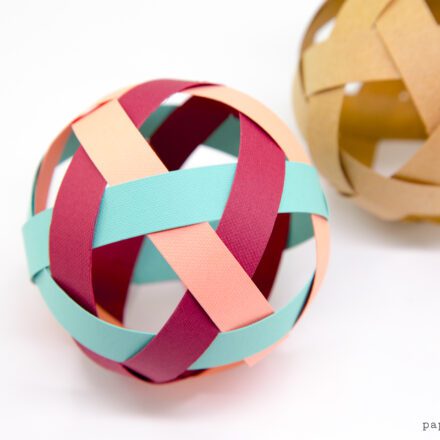
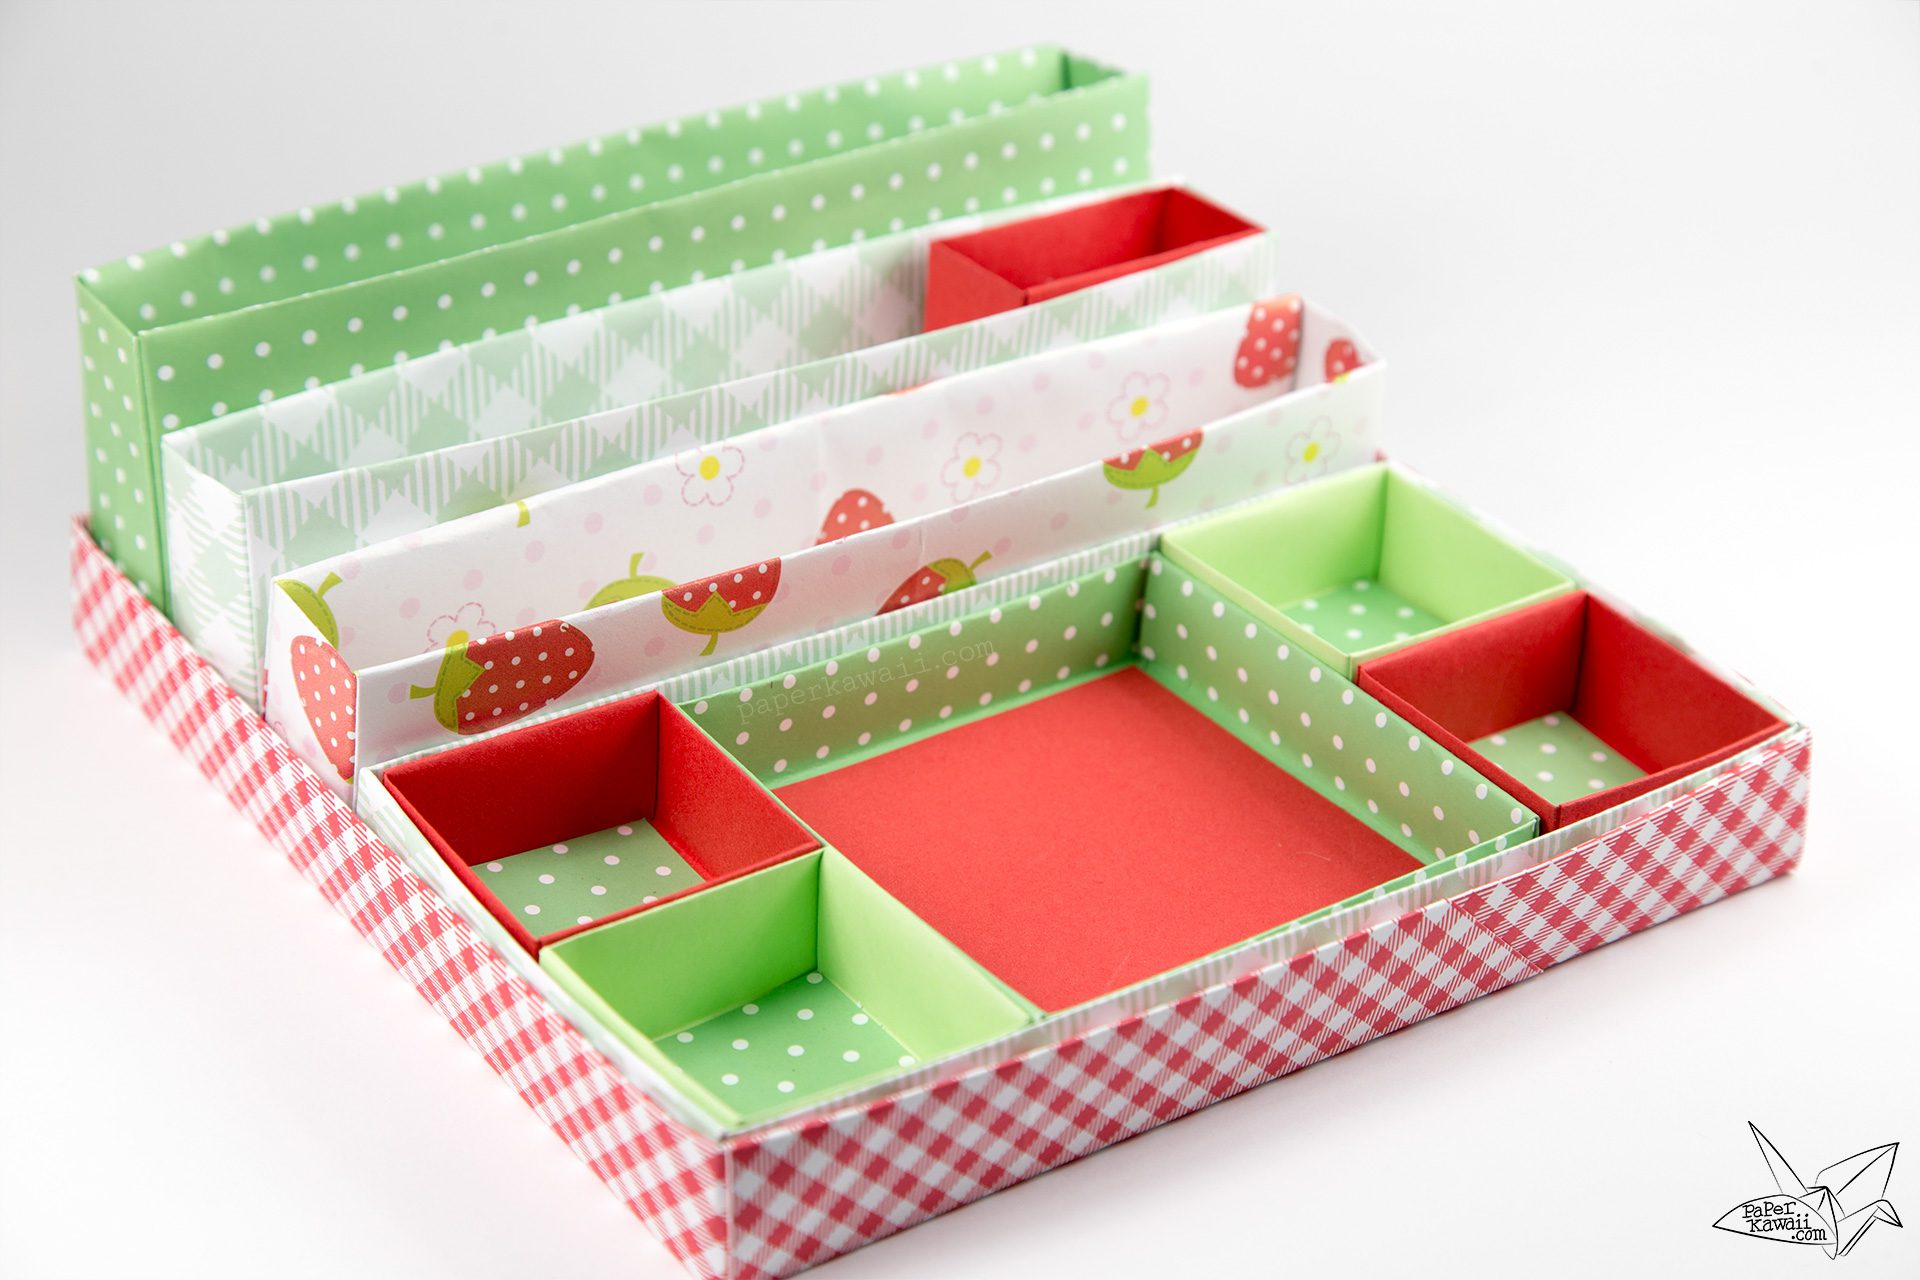
These sturdier ones are made from thick craft paper from one of those big books, it’s about 120 gsm, and reinforced with some glue here and there. I was going for a picnic theme here.
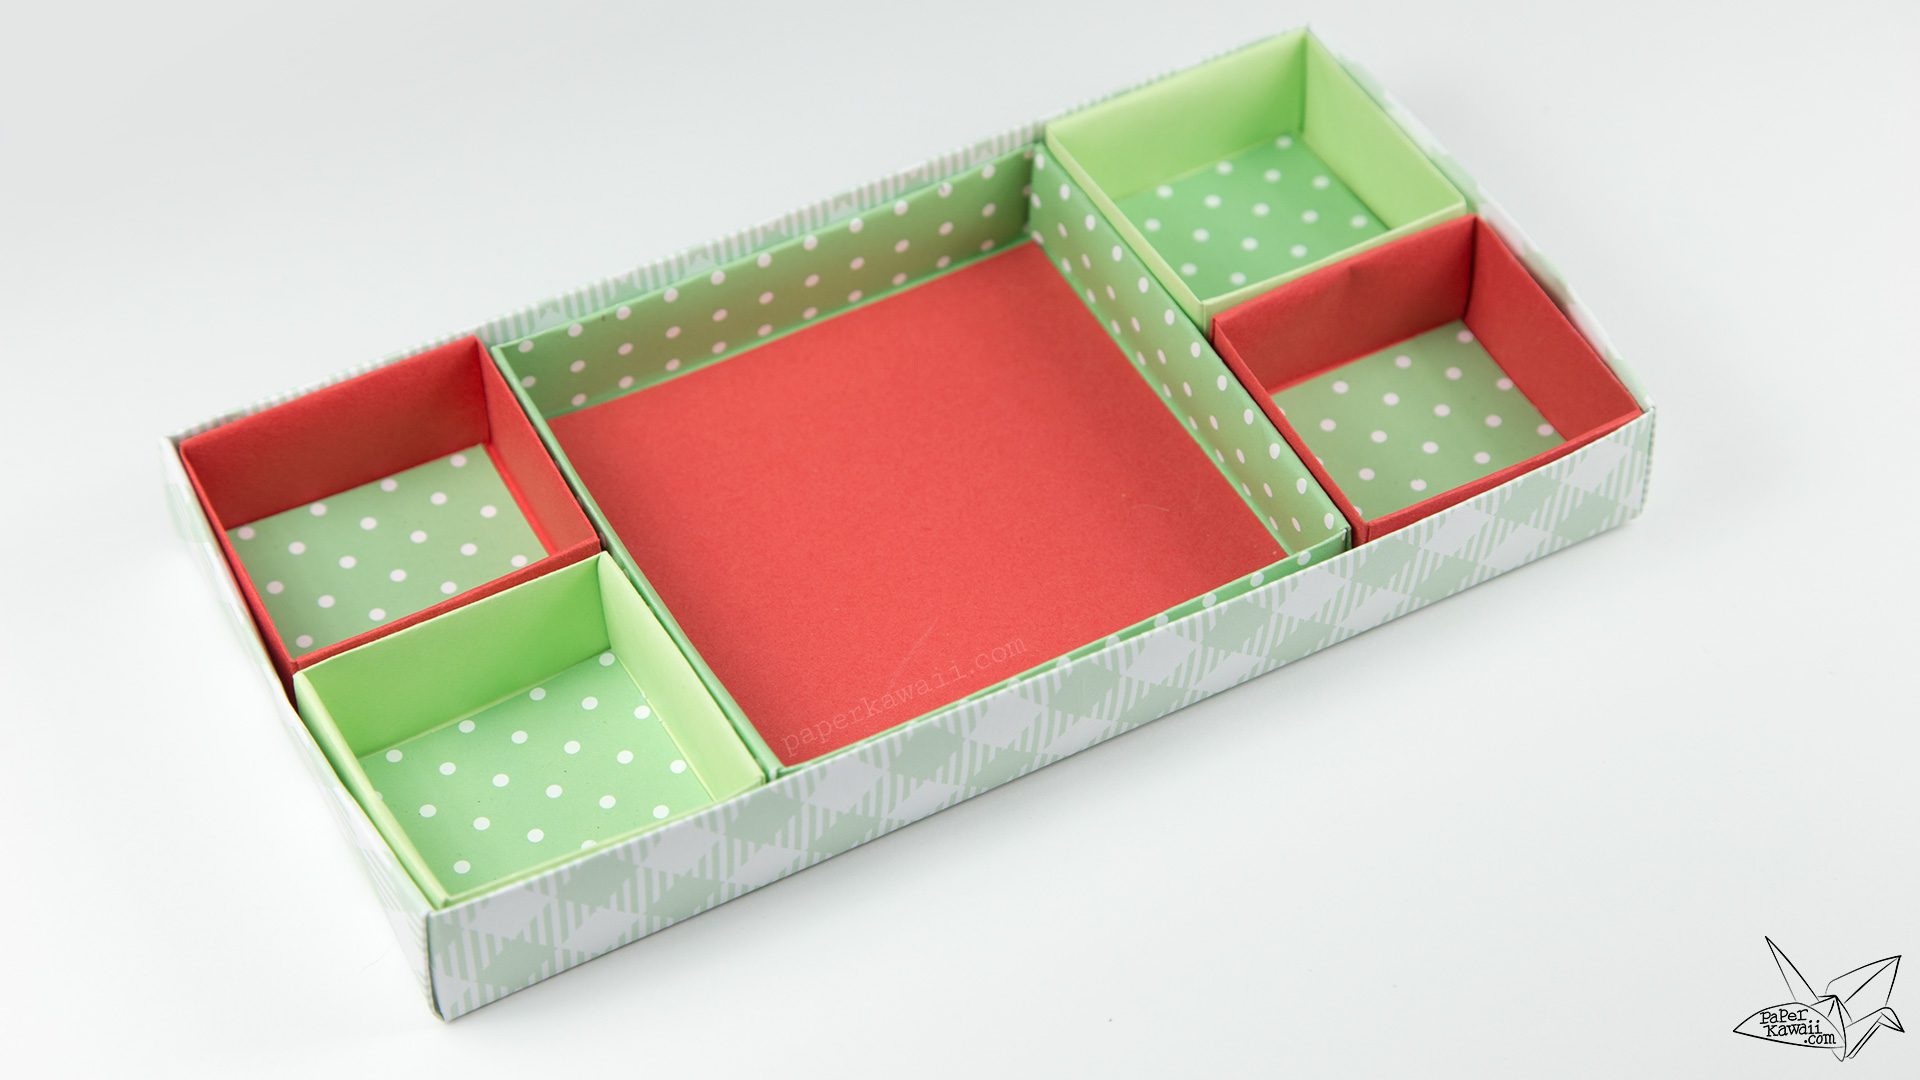
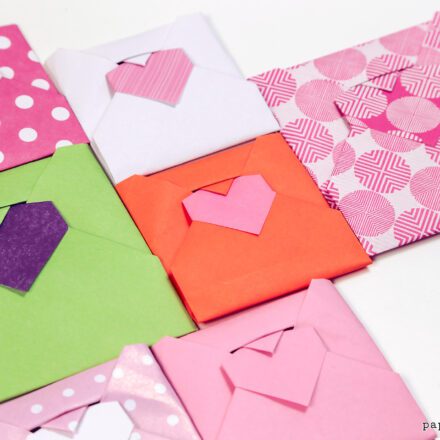
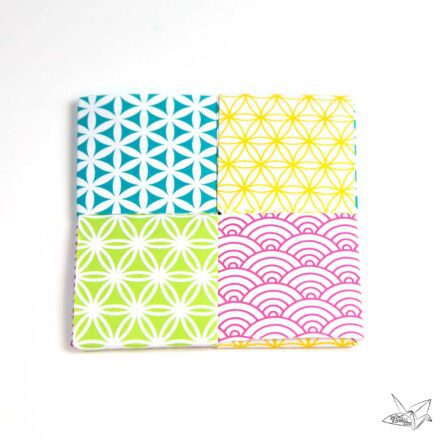
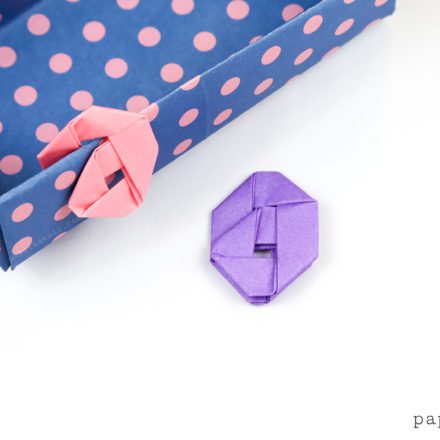
The front section is nice on it’s own as well, these would be good draw dividers.
I love this. I want to give it to my father on Father’s Day!! But, there were a lot of ingredients! I didn’t have many of it. I had one of it!! I really really wanted to give it to my Dad!!!!!!!!!!!!!!!!!!!!!
😭🤦🙍 🙁 :-\ :-[ :'(
I am in LOVE with this design. Since dad’s birthday is coming up this has to be my gift to him. If I can make it. Without him finding out. 🙂
I can’t seem to find the tutorial, can someone give me the link?
what is the frog doing there xD
When making the outer tray, I noticed that the paper would not stay down when I was done making one part of the tray. Would it be okay to use glue?
it’s beautiful!
I Love it! So nice and useful! Thank you very much to share with us! =DDDDDDD
() ()
(*__*)
That Llama paper is adorable! :3
It is so cool
Uwaaaaa so cute!
How did you get 8.8 by 21 for the divider.
sorry not sure what you mean..
For the inside divider (that is for overall divider)
Joining the question.
I believe they ment how to calculate the divider 8.8×21?
For everything else you gave a way to calculate sizing but not for the divider itself.
what were the calculations?
Thank you!
I love the big desk organizer! Great item!
Super cool just what I was looking for ty
Please do a picture tutorial!
I want a specific size for USA printer paper… what can I use.. Or can I use the actual sizes.. I think I’ll use the sizes given but still answer, because it might not work.. and I do not want to waist my dads paper, Tysm! P.S. is this easy.. because now that I look closer.. I see it’s just boxes and boxes.. I though it was gonna be really complicated! I think I can do it, and that it is easy…
Nvm it is very hard
No, Chiji, you can do it! Use cheap paper for practice and don’t worry about wasting it. This is art practice–you deserve a couple extra sheets of paper! If you are really worried about waste, you can use scrap paper for practice (you can cut squares from old junk mail letters, the unwrinkled parts of paper bags, unused sheets of paper from old school notebooks, and so on). If you get frustrated, take a break and try again later. Your brain is like a muscle: it will get stronger while it “rests” and next time you try, it will be easier. The more often you “work out” your brain, the stronger it gets. And you will feel so good when you finally finish the project!
I’ve wanted to make this one for a while but didn’t find any larger paper until yesterday at one of my favorite discount stores. It’s a pad of heavier scrap-booking papers with sky and beach scenes. I didn’t like the main box in two parts so I used the instructions for the flat covered paper storage case. It came out a bit too big so I just made a fourth long narrow box. I also made a couple extra dividers. It was a time consuming project but satisfying and now I have a unique organizer for my desk at work!
What are the paper sizes for regular printer paper that is made into the largest square possible? Sorry… need to get a ruler.
That depends what size is your printer paper? I listed the sizes in the post, the ones I used are cut from my regular printer paper size which is A4 (21 x 21 cm) if you have US letter paper, that is also listed 🙂
P.S. I just posted a comment.. don’t worry about that one because I just got my answer before, I think II already knew though.. and then I saw this. so Ty
I love the picnic one so much I had to go find gingham patterned paper immediately! Hoping for the x-shaped divider soon 🙂
BTW never apologize for boxes, boxes are the BEST #boxlyfe4eva
GINGHAM PAPER DEPLOYED
Perfectly corrals everything I was using for story tetris… now if only I could corral the story as effectively…
This is SO CUTE. I wish I had small office supplies I could store in it. Most of my supplies are too large. 🙁
Yeah. Mine too.